118
16. Color Correction
The switcher provides 4 color correction channels that can be assigned to inputs. In addition, Clip
adjustment allows users to set signal level limits for all color correction outputs. The following features
are available:
Max. 4 color correction channels
Separate or group adjustment for RGB White/Black/Gamma levels.
Three Color Correction modes available: BAL (balanced), DIF (differential) and SEPIA.
Two Clip modes available: YBR and RGB (GBR)
16-1. Assigning a Color Correction Channel
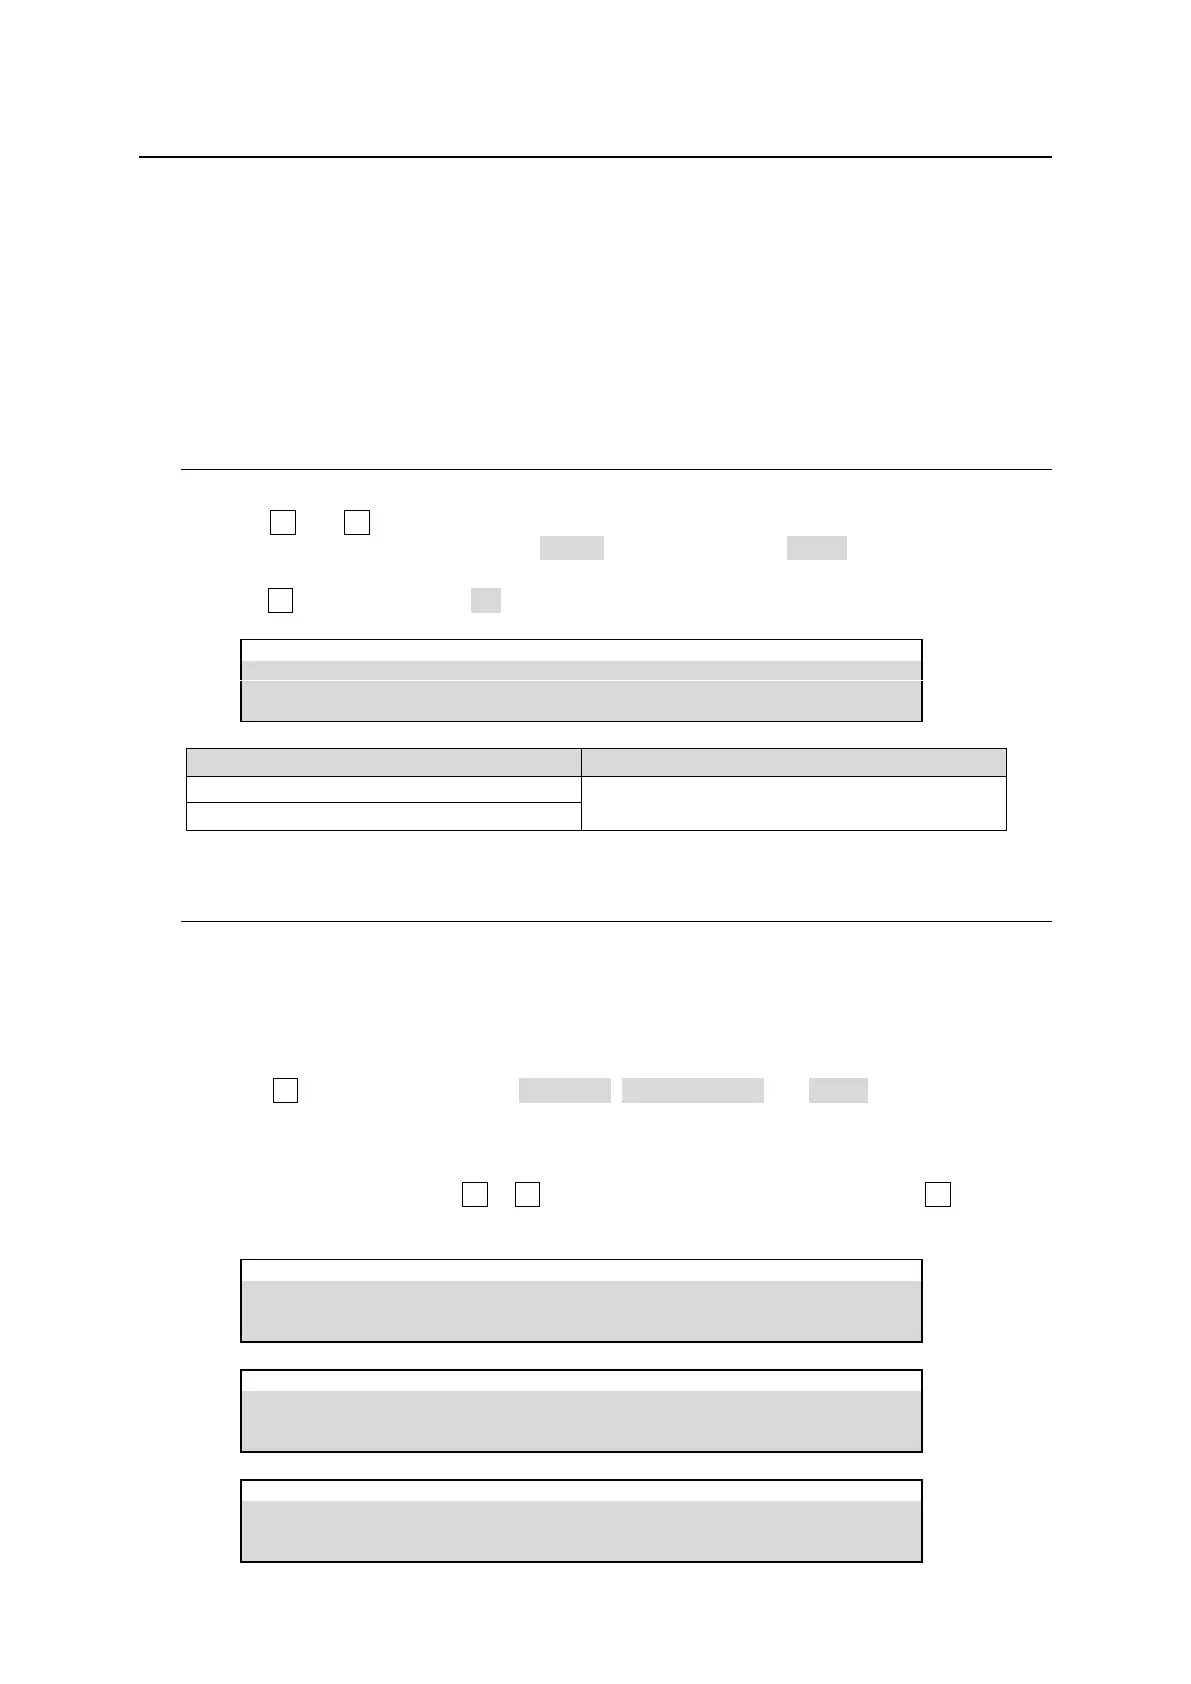
(1) Open the [SETUP > COLOR CORRECT > CC1] menu.
(2) Use F1 and F2 to select a signal to assign to a color correction channel. For example, to
assign a channel to STILL1, select STILL1 under SIGNAL and INPUT under TYPE. (See the
table below for more details.)
(3) Use F3 to turn ENABLE to ON to enable the color correction channel.
SETUP > COLOR CORRECT > CC1
INPUT (Settings are stored per INPUT.)
CH (Settings are stored per CHANNEL.)
16-2. Adjusting Colors
Now the selected video signal can be processed using Color Correction. Check and adjust the
signal using a waveform monitor and vector scope. Also use an SDI monitor to compare pre- and
post-processed images.
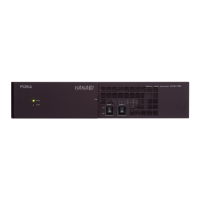
Selecting a Correction Mode
(1) Open [SETUP > COLOR CORRECT > CC1] menu PAGE 2.
(2) Turn F4 to select the mode from BALANCE, DIFFERENTIAL and SEPIA.
<If BALANCE or DIFFERENTIAL selected>
Set signal levels for WHITE, BLACK and GAMMA in PAGE 2 to 4. Set levels for R, G and B
components respectively using F1 to F3 for each. In the CC GAMMA menu, turning F4 allows you
to select the gamma curve type.
SETUP > COLOR CORRECT > CC1
SETUP > COLOR CORRECT > CC1
SETUP > COLOR CORRECT > CC1