05/2014
4-75
DC SC2020
Disassembly/Assembly and Adjustment
56. DADF
Version 1.1
REP 56.1.1 DADF
Parts List on PL 56.1
Removal
WARNING
When turning OFF the power switch, check that the ’Data’ lamp
is OFF and that there is no Job in progress.
Turn OFF the power switch and make sure that the screen dis-
play or the Power Saver LED turns OFF.
Check that the power switch is OFF and unplug the power plug.
1. Remove the Rear Cover. (REP 19.1.5)
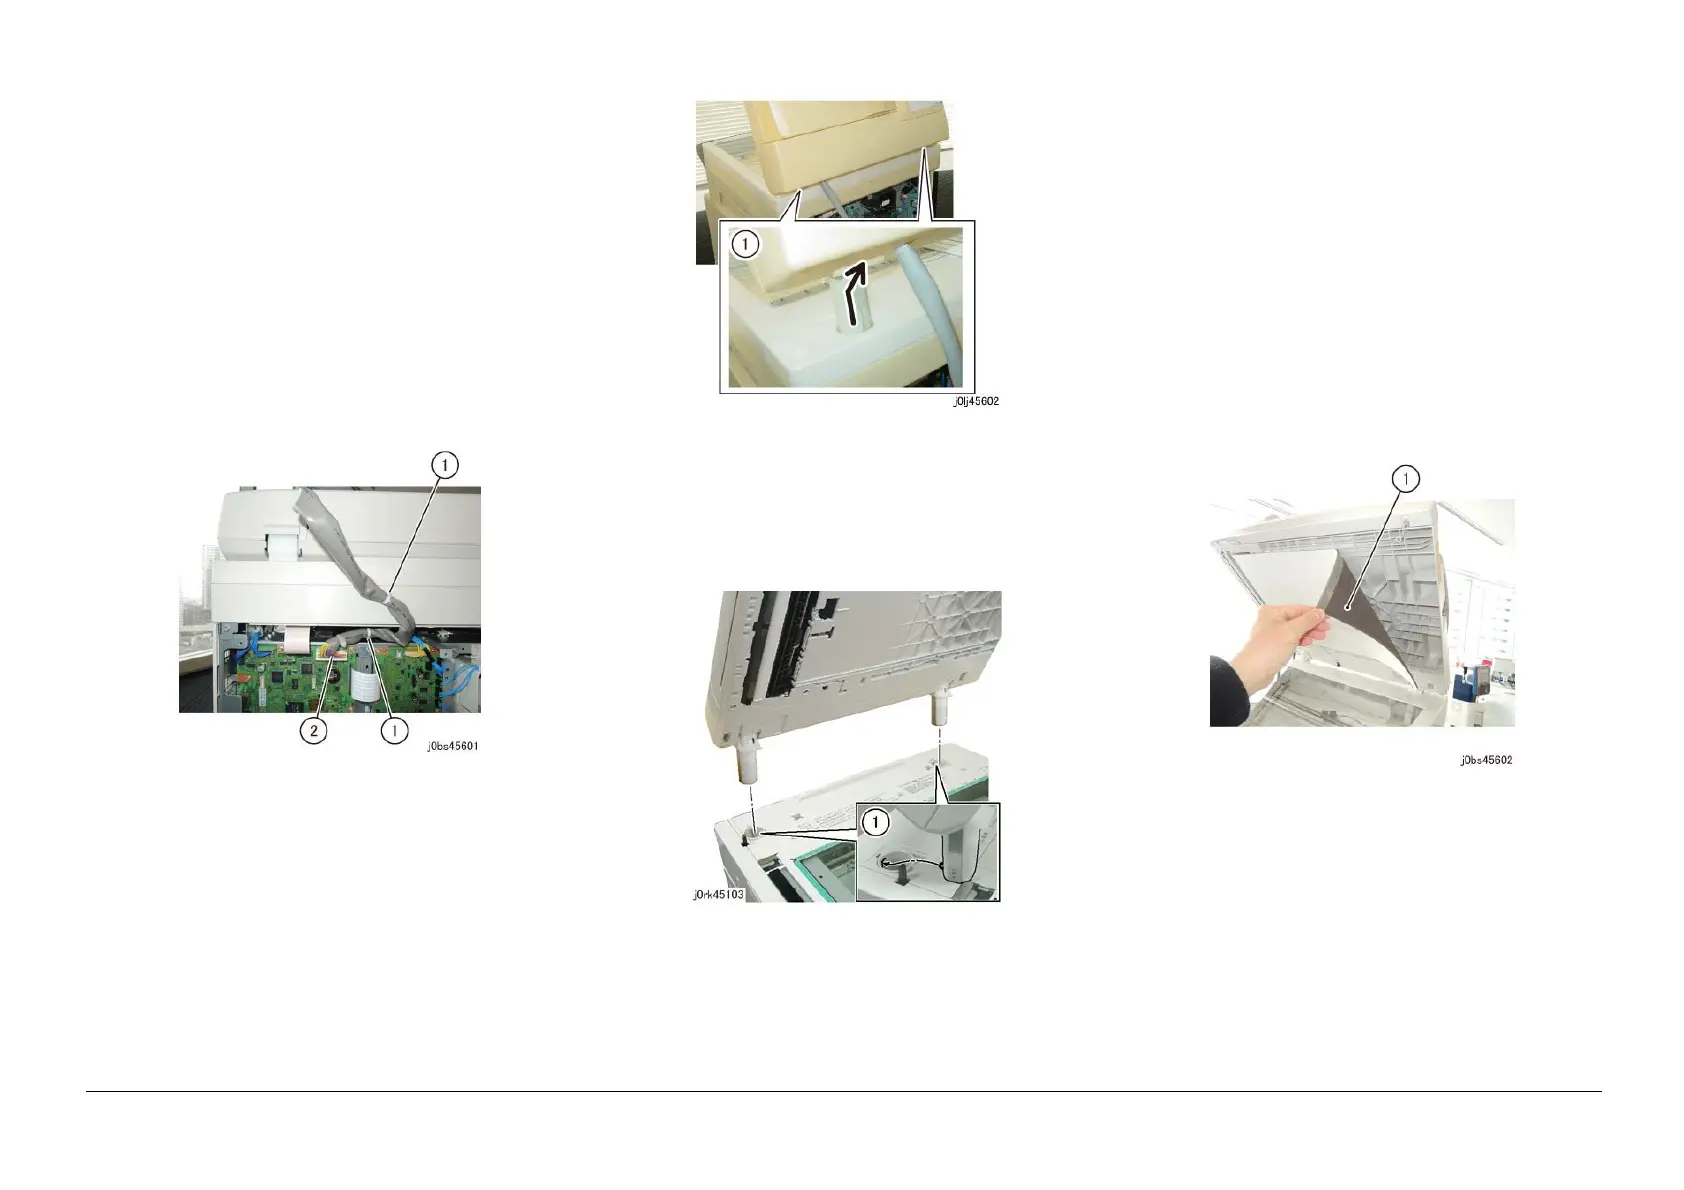
2. Disconnect the connector. (Figure 1)
(1) Remove the cable band (x2).
(2) Disconnect the connector.
Figure 1 j0bs45601
3. Remove the DADF. (Figure 2)
(1) Slant the Counter Balance in the direction of the arrow
and remove it.
Figure 2 j0lj45602
Replacement
1. To install, carry out the removal steps in reverse order.
2. Install the DADF. (Figure 3)
(1) Insert the tabs of the Counter Balance into the grooves of
the installation holes.
Figure 3 j0rk45103
REP 56.1.2 DADF Platen Cushion
Parts List on PL 56.1
Removal
WARNING
When turning OFF the power switch, check that the ’Data’ lamp
is OFF and that there is no Job in progress.
Turn OFF the power switch and make sure that the screen dis-
play or the Power Saver LED turns OFF.
Check that the power switch is OFF and unplug the power plug.
NOTE: The DADF Platen Cushion is pasted on with double sided
adhesive tapes.
1. Peel off the DADF Platen Cushion. (Figure 1)
(1) Peel off the DADF Platen Cushion.
Figure 1 j0bs45602
Replacement
1. Paste on the DADF Platen Cushion. (Figure 2)
(1) Place the DADF Platen Cushion on the Platen Glass.
(2) Set up the gap between the Regi Guide and Platen
Guide.
(3) Slowly lower the DADF to paste the DADF Platen Cush-
ion to it.

 Loading...


