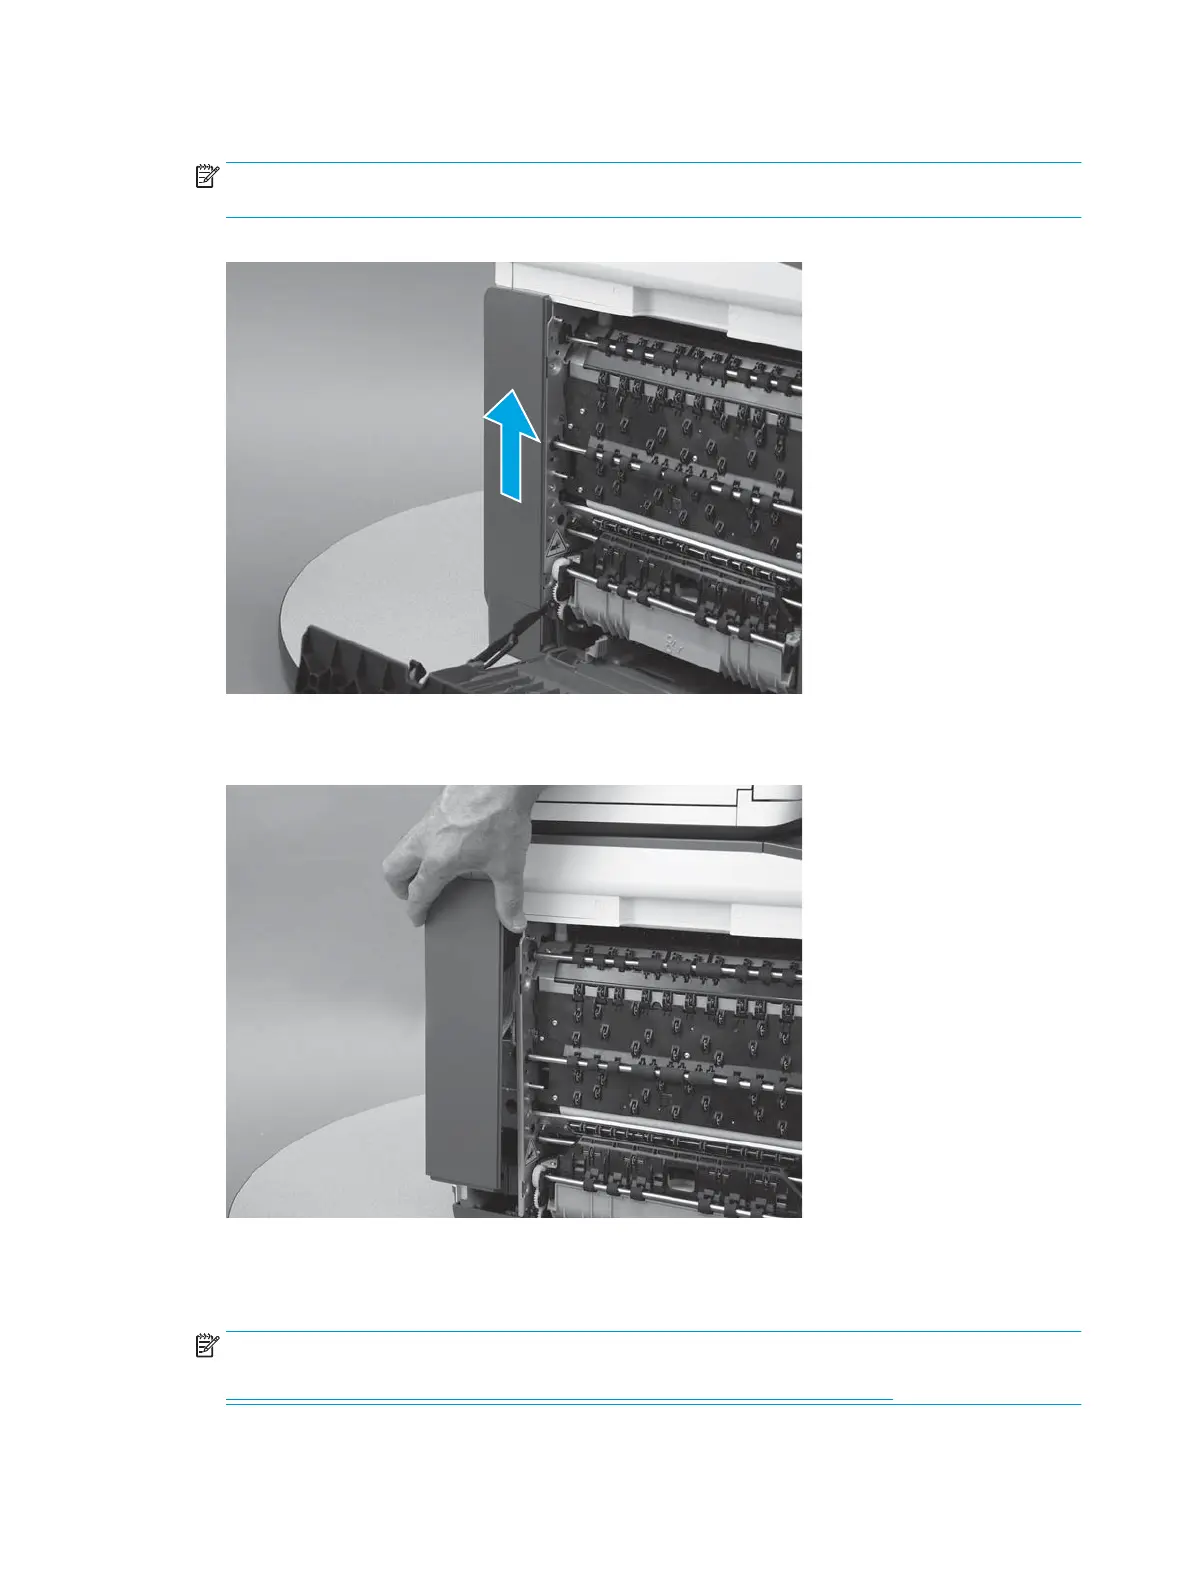
2. Release the cover by sliding it up about 10 mm (0.4 in).
NOTE: This cover can be very diicult to release. It might be easier to use a at-blade screwdriver to
pry the bottom edge of the cover up and away from the chassis.
Figure 1-112 Release the cover
3. Remove the cover.
Figure 1-113 Remove the left rear cover
Step 3: Unpack the replacement assembly
1. Dispose of the defective part.
NOTE: HP recommends responsible disposal of the defective part.
http://www8.hp.com/us/en/hp-information/environment/product-recycling.html
104 Chapter 1 Removal and replacement ENWW
 Loading...