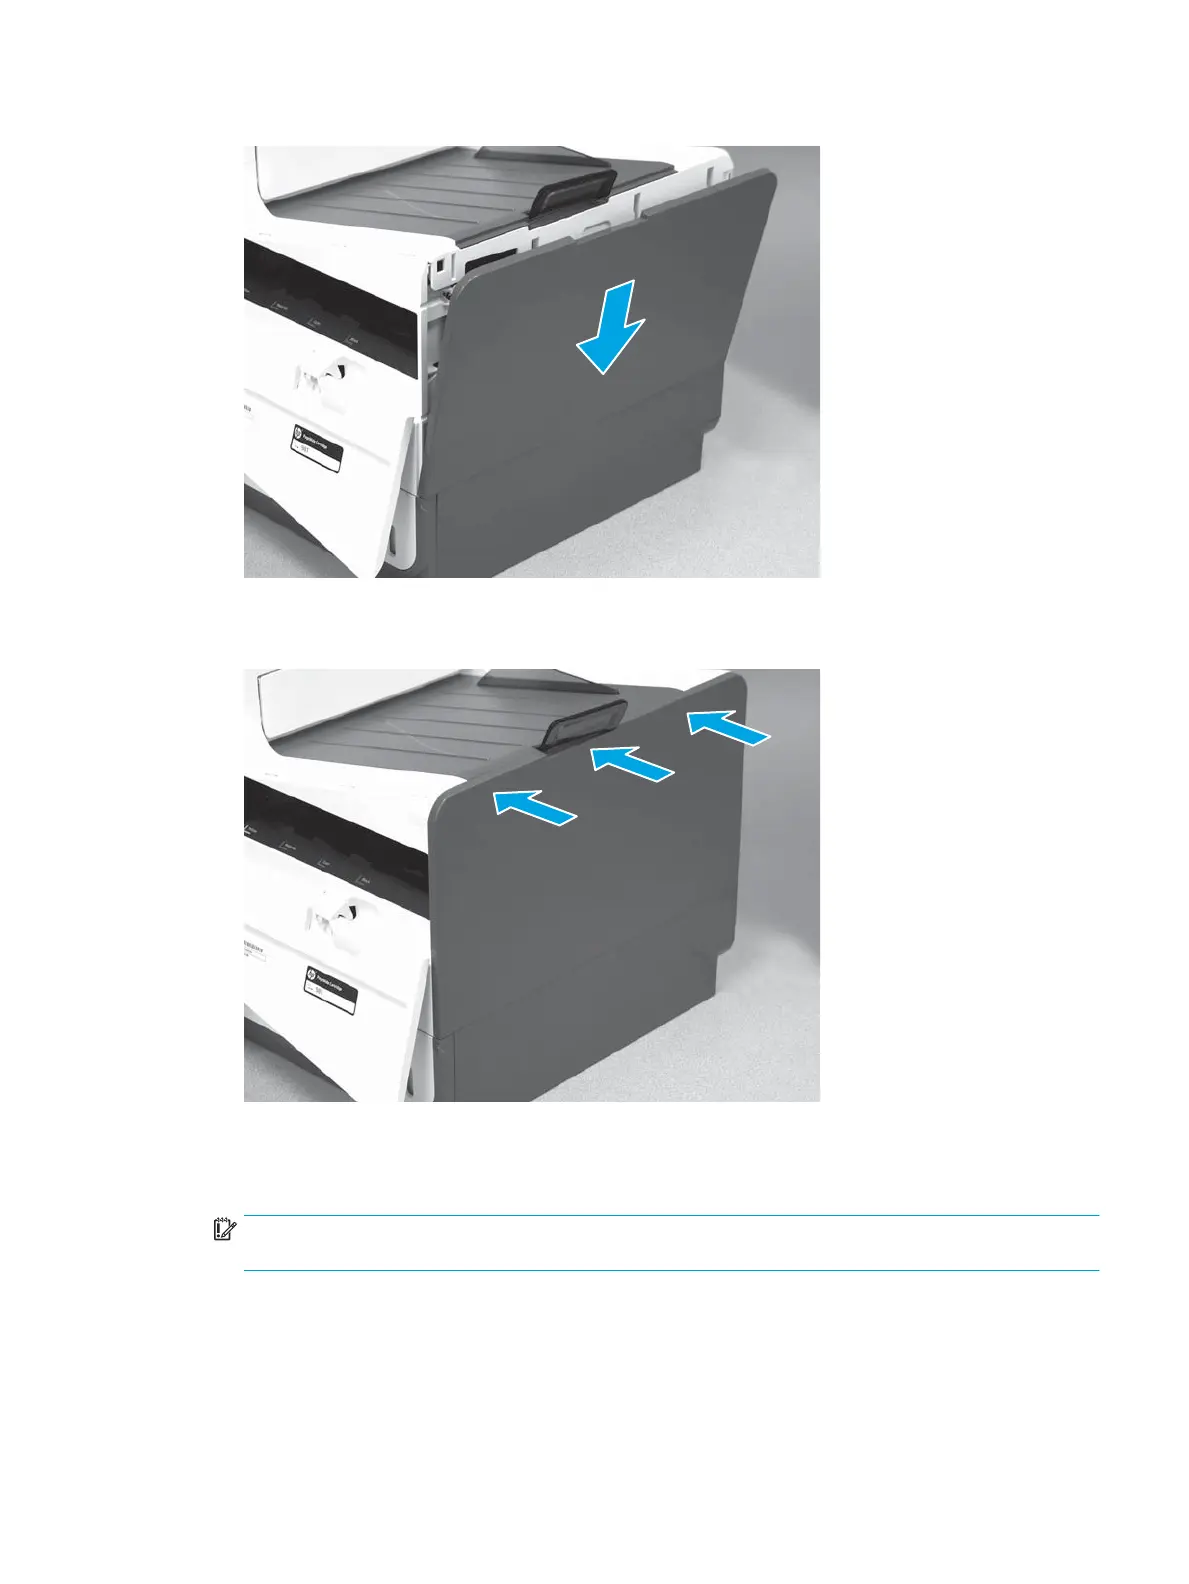
Figure 1-957 Position the right cover (outer) on the printer
2. Push in along the top edge of the right cover (outer) to install it.
Figure 1-958 Install the right cover (outer)
Step 21: Install the formatter cover (PM)
▲
Slide the cover onto the printer (callout 1) to install it, and then install two thumb screws (callout 2).
IMPORTANT: Make sure that the cover from the defective unit (DU) is installed on the replacement
print mechanism (PM) so that the regulatory and serial number label is transferred to the PM.
ENWW Removal and replacement procedures 571
 Loading...