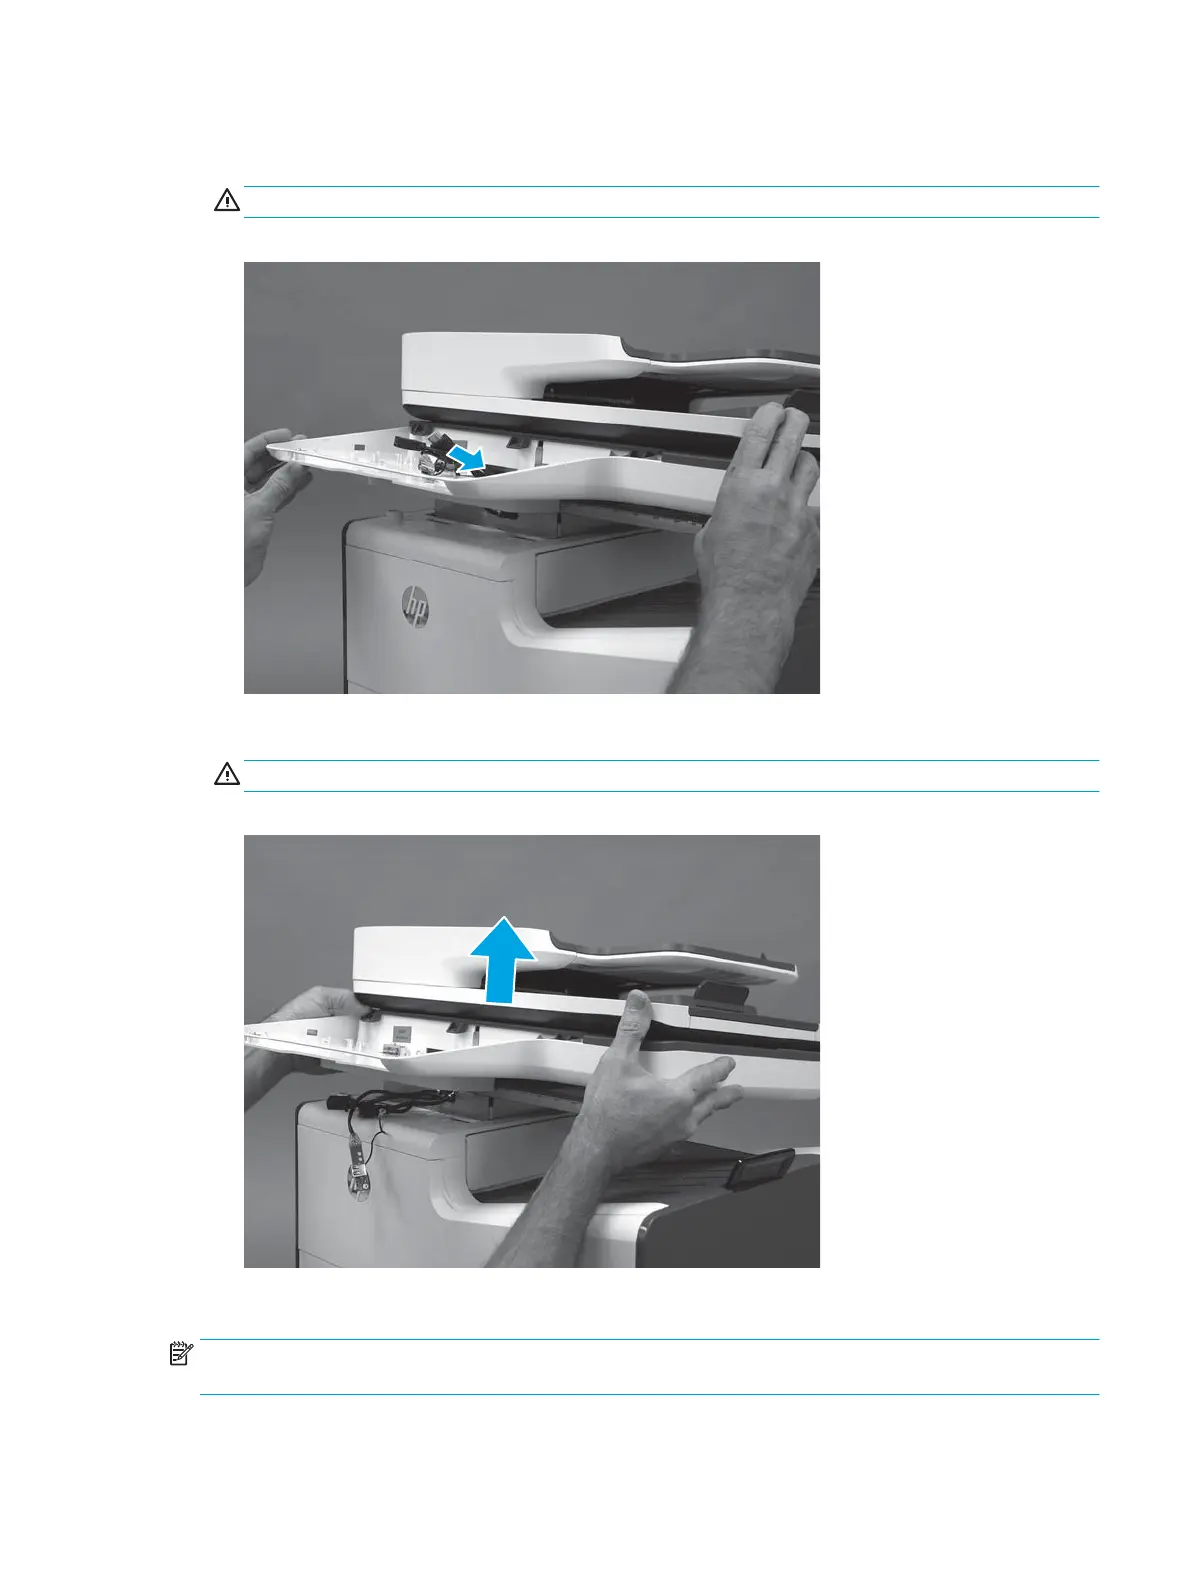
22. Slightly lift the front of the ISA up, and then pass the wire harnesses and cables through the opening in
the ISA chassis.
CAUTION: The ISA is not captive on the printer base. Do not let it fall o of the printer base.
Figure 1-216 Pass the wire harnesses and cables through the opening
23. Lift the ISA straight up and o of the printer base to remove it.
CAUTION: The ISA is bulky and heavy. Do not drop the ISA.
Figure 1-217 Remove the ISA
Step 2: Remove the left rear cover
NOTE: The gures in this section show the 586 printer. However, the instructions for removing the cover are
valid for 556 printers.
1. Remove two screws (callout 1).
ENWW Removal and replacement procedures 165
 Loading...