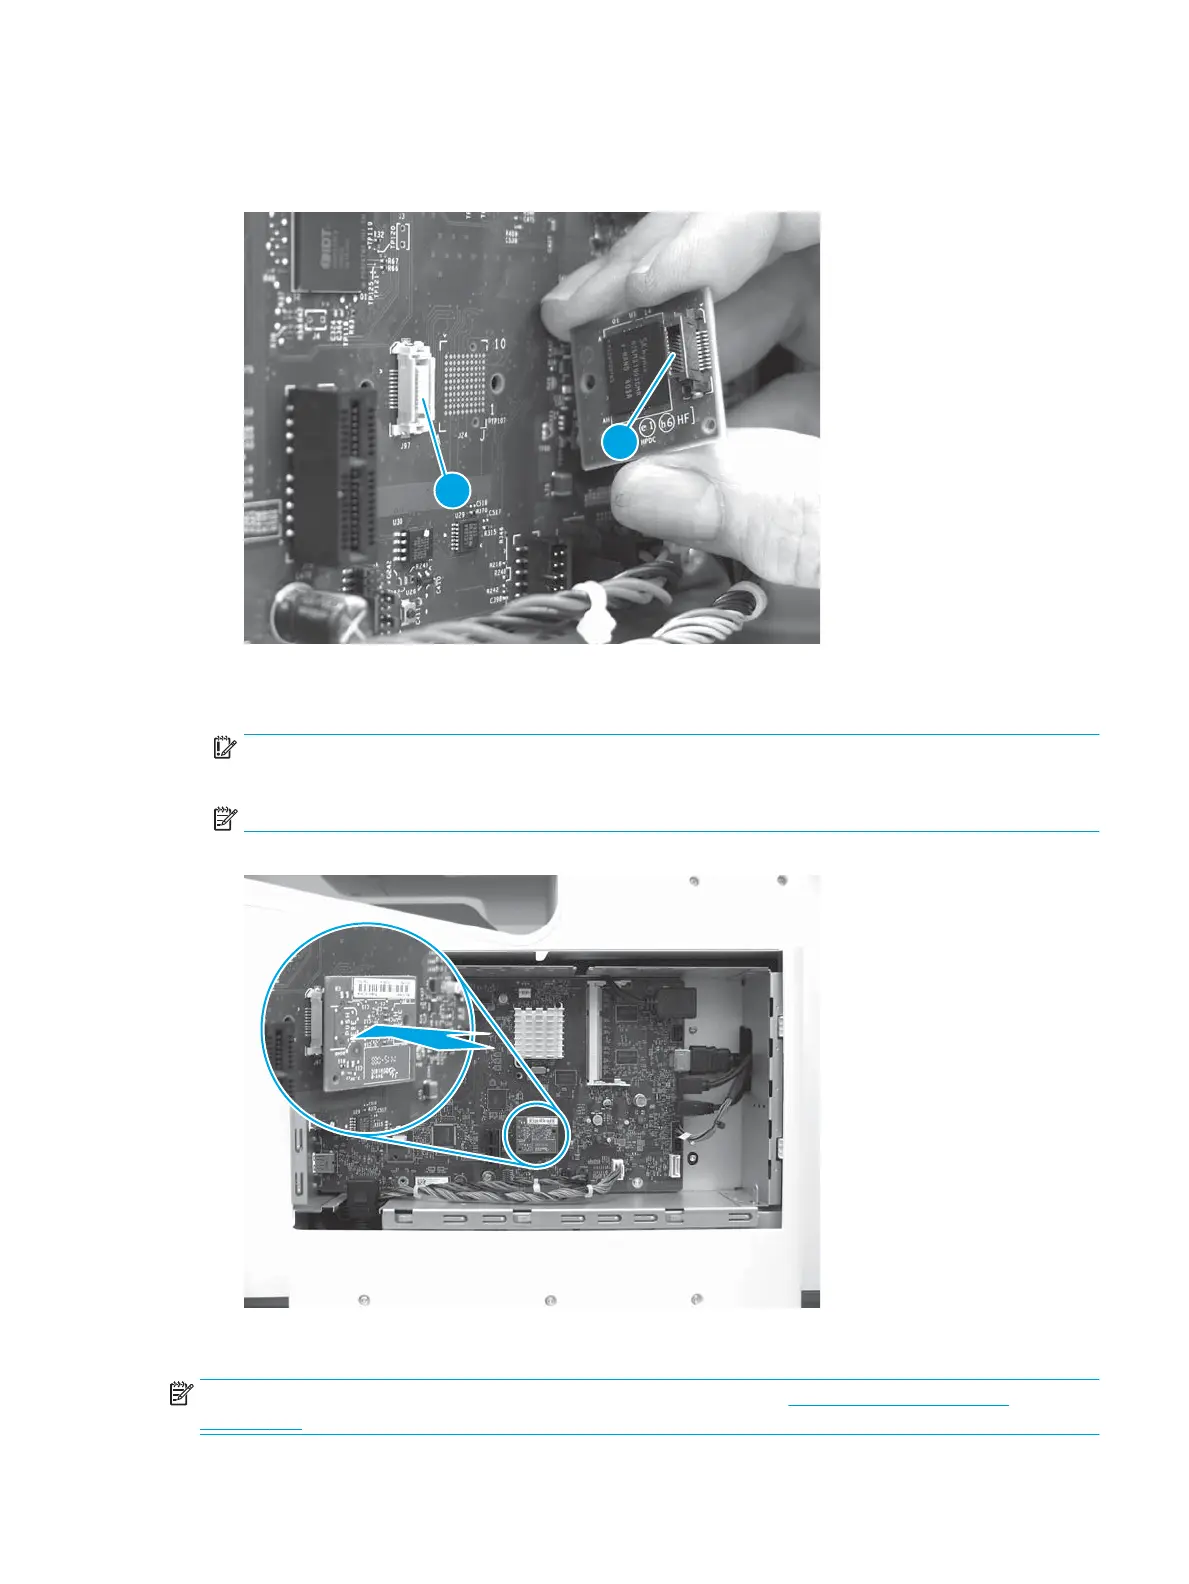
1. Note the location of the connector (callout 1) on the eMMC and the connector (callout 2) on the
formatter.
Figure 1-596 Locate the eMMC connectors
2. Align the connector on the replacement eMMC (callout 1) with the connector on the formatter, and then
push the eMMC onto the formatter to install it.
IMPORTANT: Push on the eMMC at the location shown by the arrow. Ignore any “Push here” label on
the eMMC itself. Make sure that the eMMC is fully seated in the connector .
NOTE: The eMMC can only be installed in one direction on the formatter.
Figure 1-597 Install the eMMC
Step 11: Install the hard-disk drive (HDD)
NOTE: HDD models only. For all other models, skip this step and go to Step 12: Install the fax PCA
on page 369.
ENWW Removal and replacement procedures 367
 Loading...