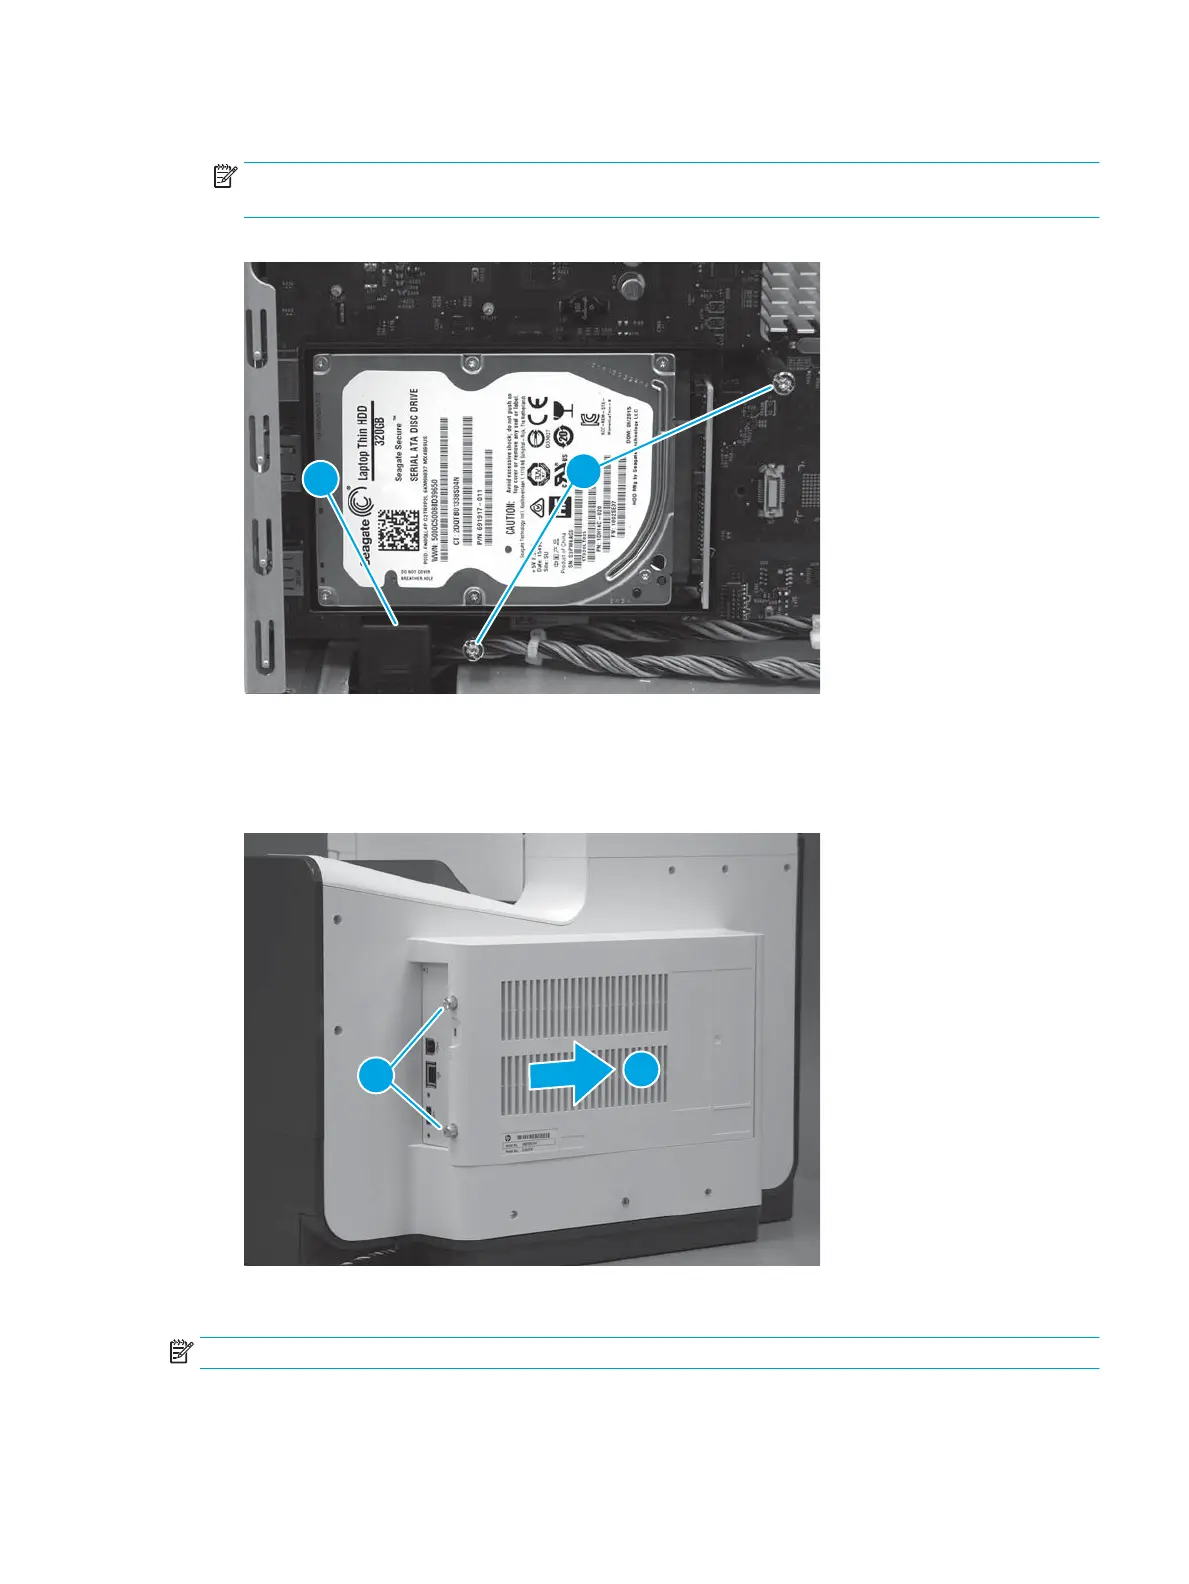
3. Install two thumbscrews (callout 1).
NOTE: If the connector (callout 2) was disconnected to make it easier to install the lower thumbscrew,
connect it now.
Figure 1-72 Install two thumb screws
Step 6: Install the formatter cover
▲
Slide the cover onto the printer (callout 1) to install it, and then install two thumb screws (callout 2).
Figure 1-73 Install the formatter cover
Step 7: Reinstall the product rmware
NOTE: If this installation is a replacement HDD, use the following steps to reinstall the rmware.
ENWW Removal and replacement procedures 65
 Loading...