3. Install two screws (callout 1).
Figure 1-525 Install two screws
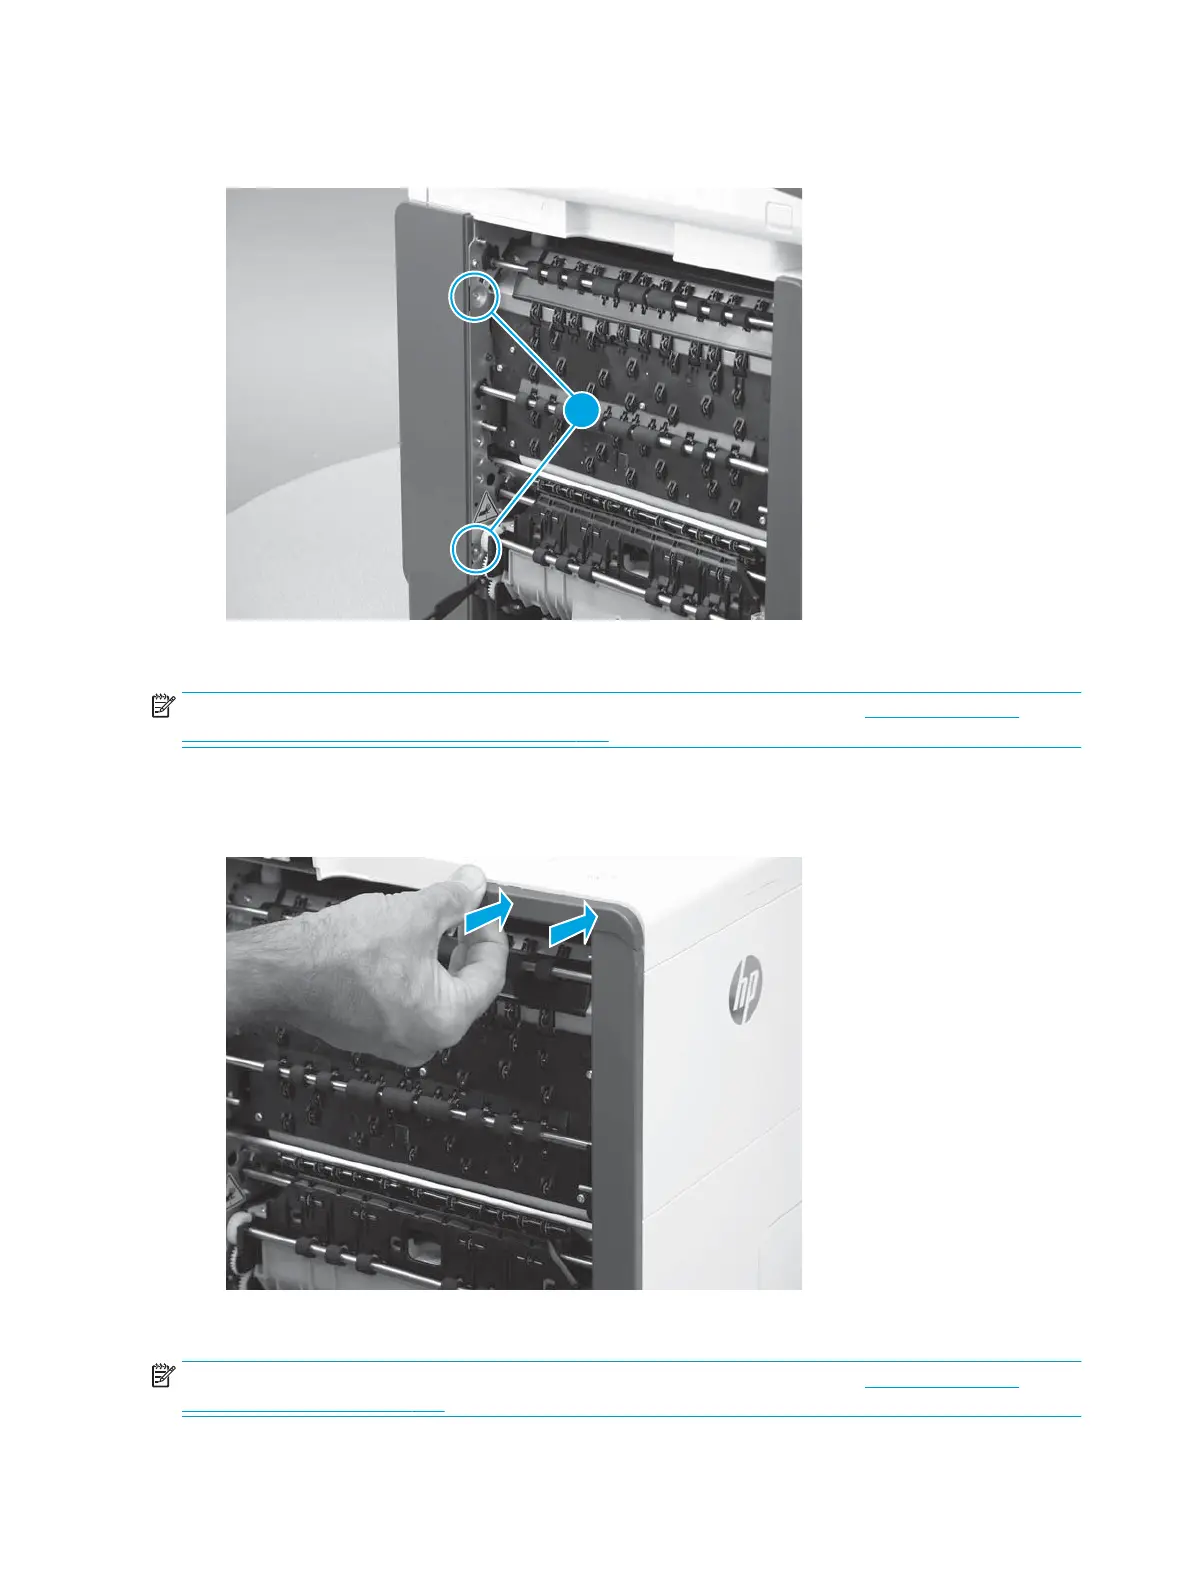
Step 24: Install the left-rear top cover cap (556)
NOTE: This step is for the 556 printer. For the 586 printer, skip this step and go to Step 25: Install the
integrated scanner assembly (ISA; 586) on page 326.
▲
Align the bosses on the back side of the cover with the holes in the top cover, and then push the cover
straight onto the top cover to install it.
Figure 1-526 Install the left-front top cover cap (556)
Step 25: Install the integrated scanner assembly (ISA; 586)
NOTE: This step is for the 586 printer. For the 556 printer, skip this step and go to Step 26: Install the
control panel (556) on page 339.
326 Chapter 1 Removal and replacement ENWW
 Loading...