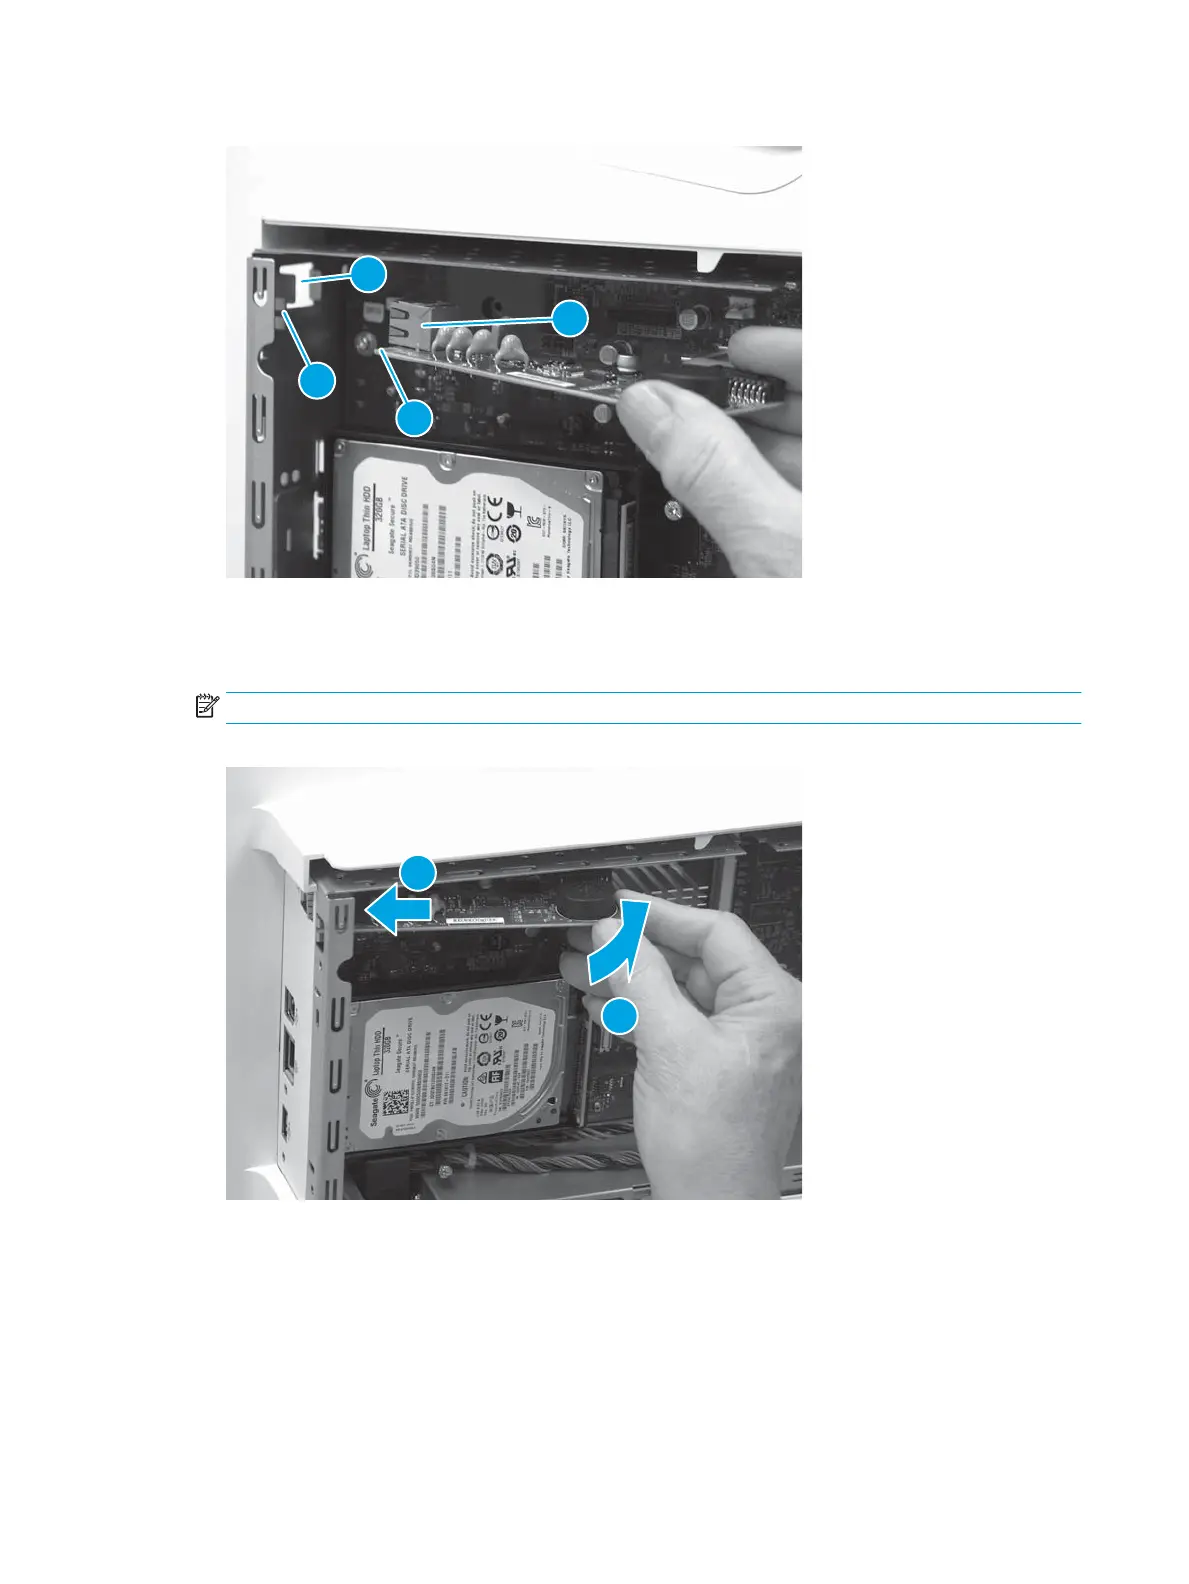
Figure 1-601 Locate the slots in the sheet-metal
2. Slide the fax PCA to the left (callout 1) to install the port and the edge of the PCA into the formatter case,
as described in the previous step. Rotate the right edge (callout 2) of the PCA toward the formatter to
install it in the connector on the formatter.
NOTE: Make sure that the fax PCA is fully seated in the connector.
Figure 1-602 Install the fax PCA
Step 13: Install the formatter cover
▲
Slide the cover onto the printer (callout 1) to install it, and then install two thumb screws (callout 2).
370 Chapter 1 Removal and replacement ENWW
 Loading...