Removal and replacement strategy
Make sure that assemblies are replaced with the correct screw type. Using the incorrect screw (for example,
substituting a long screw for the correct shorter screw) can cause damage to the printer or interfere with
printer operation. Do not intermix screws that are removed from one assembly with the screws that are
removed from another assembly.
Tracking fasteners used in this printer
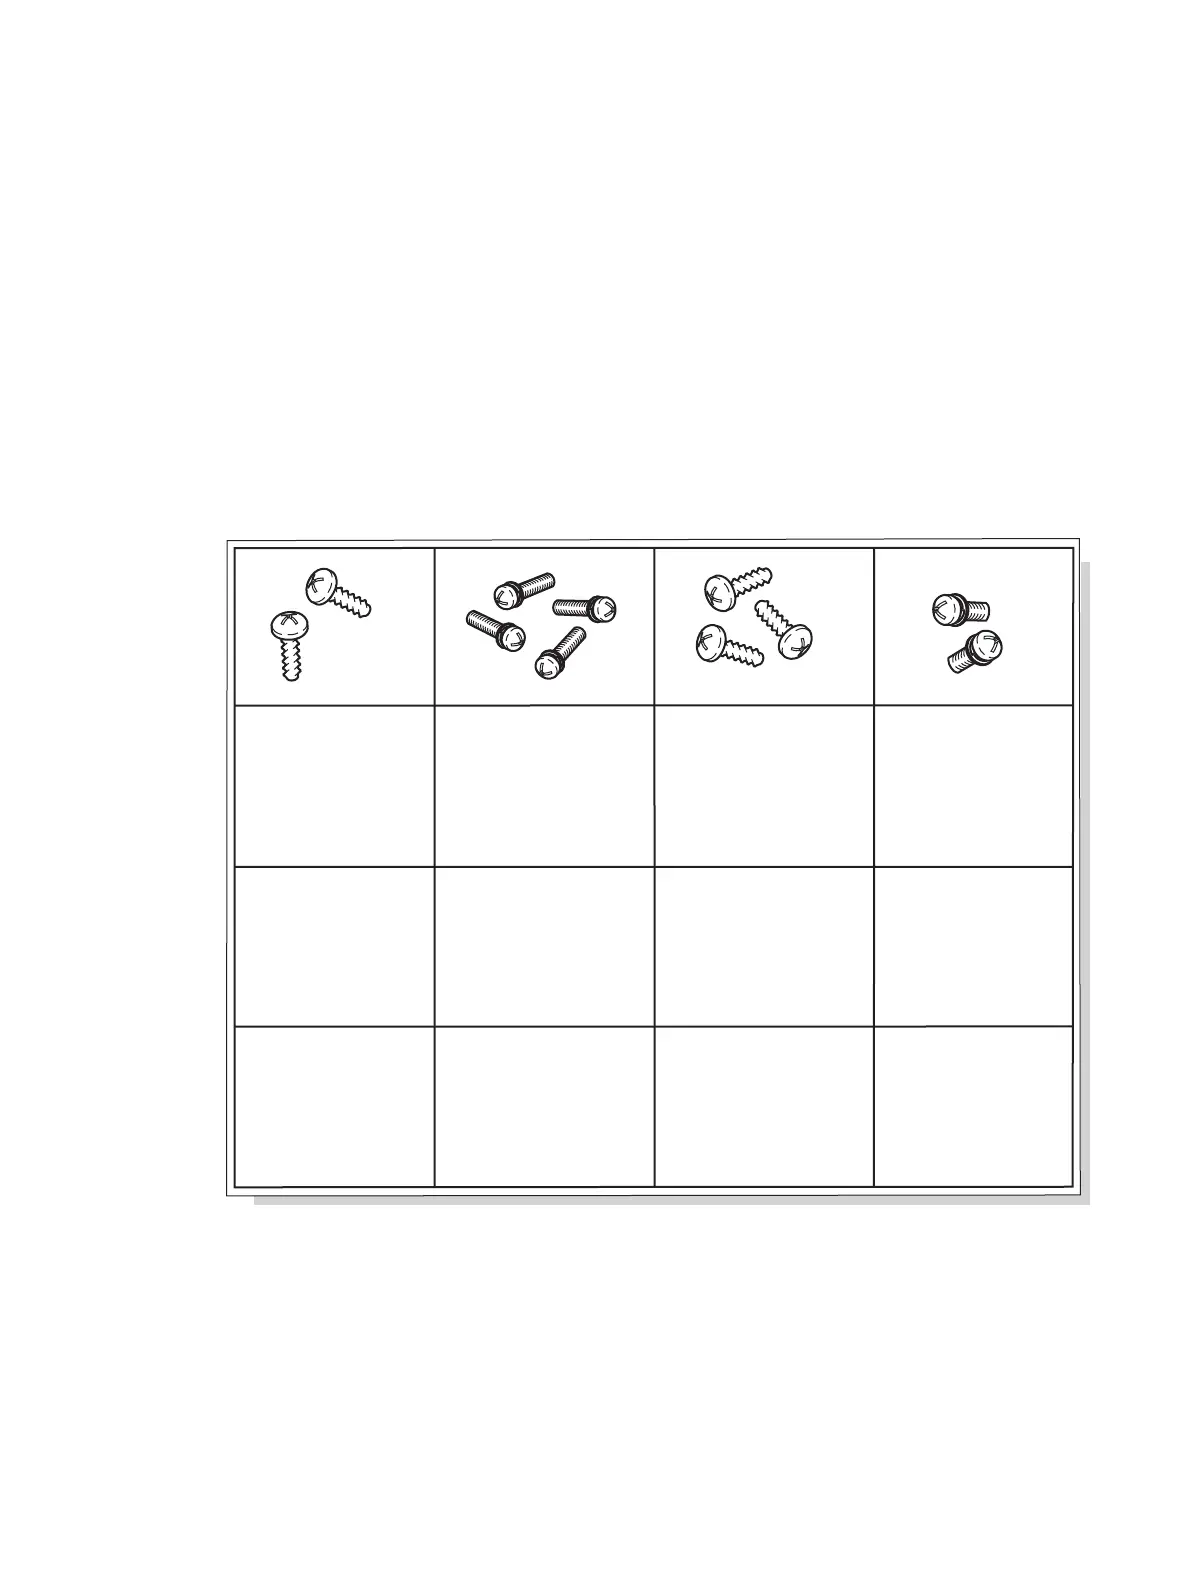
Create a matrix to keep track of screws as they are removed during printer disassembly.
1. Draw a series of boxes on a blank sheet of paper.
2. When removing screws, write the removal step number in one of the squares, and place the screws in
that square.
For example, in the gure below steps 4, 7, 9 and 10.2 are screw removal steps.
Figure 1-782 Tracking fasteners
3. Screw installation steps include a reference to the step where the screws were removed. Match the
referenced step number to the corresponding matrix box, and use those screws to install the assembly.
This method makes sure that the correct type and size screw is correctly installed during reassembly.
Step 1: Unpack the Replacement Print Mechanism (PM)
1. Remove the replacement PM from the box by lifting it out by the bag around it.
476 Chapter 1 Removal and replacement ENWW
 Loading...