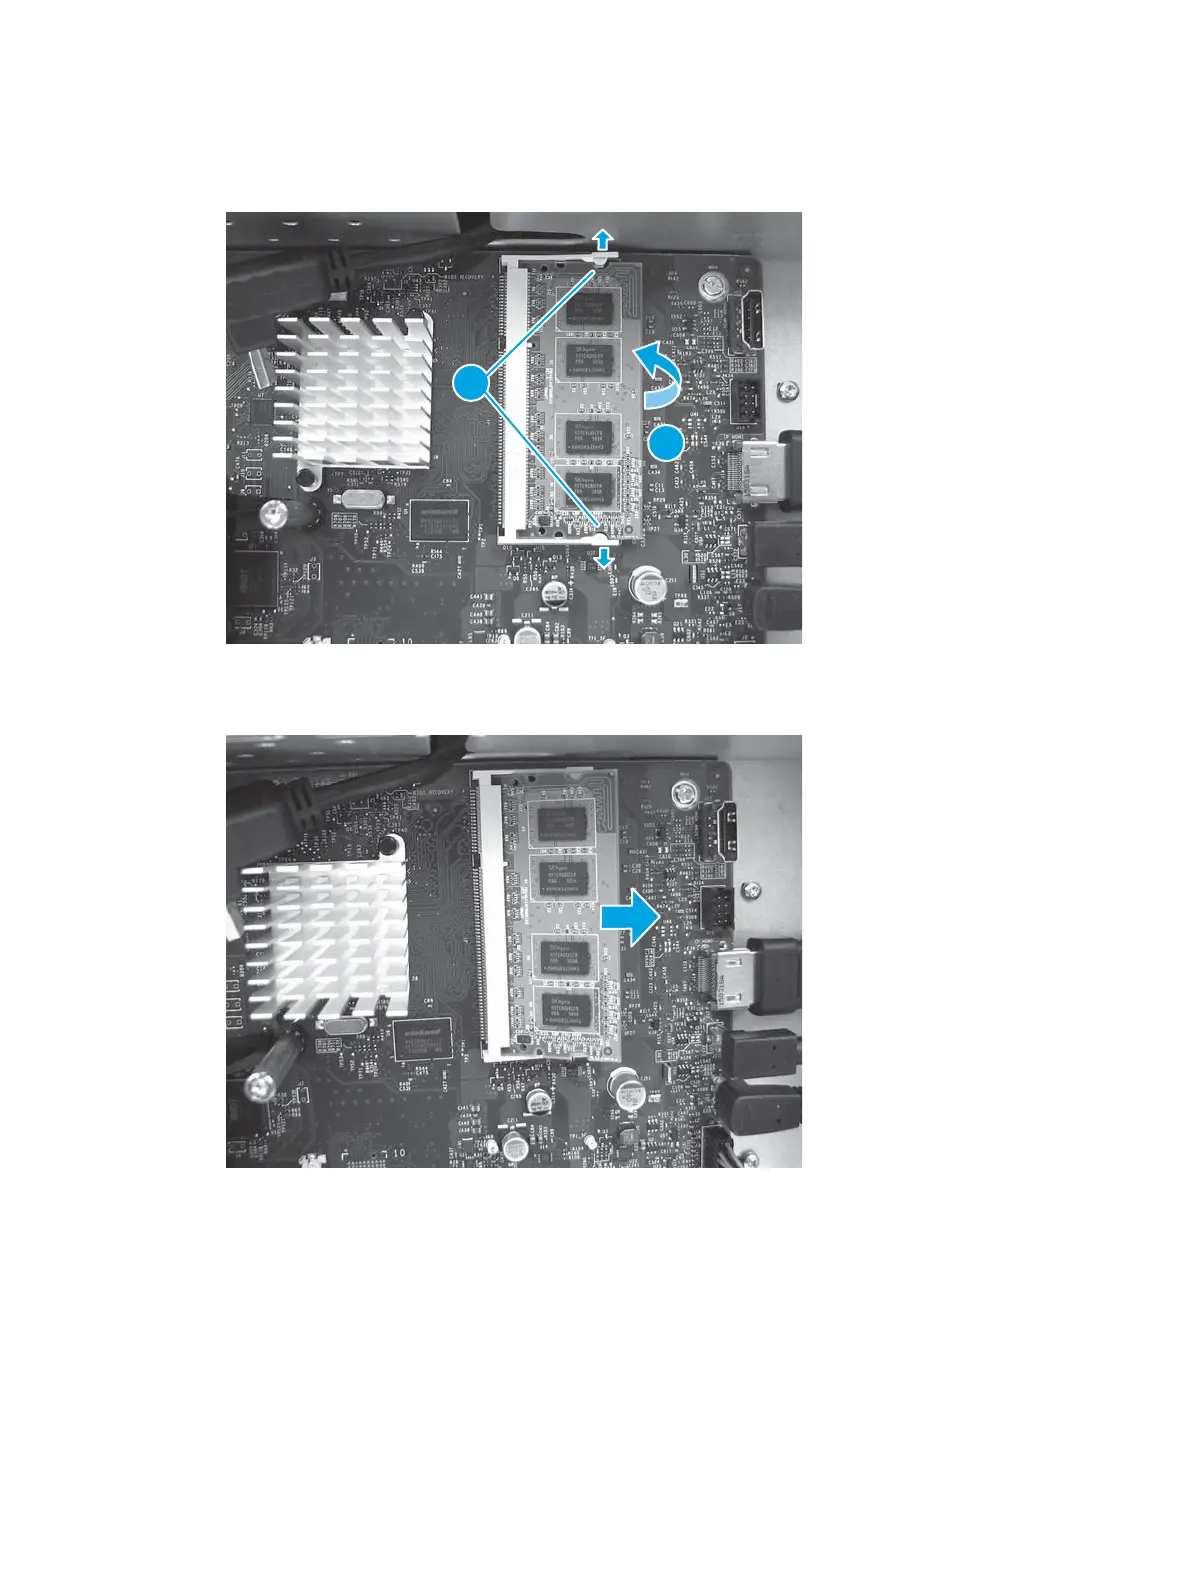
3. Release two locking arms (callout 1), and then rotate the right edge of the SODIMM away from the
holder (callout 2).
Figure 1-584 Release the SODIMM
4. Pull the SODIMM out and away from the holder to remove it.
Figure 1-585 Remove the SODIMM
Step 6: Remove the formatter
1. Disconnect all of the connectors and cables and then do one of the following:
●
For HDD models: Remove three screws (callout 1).
●
For all other models: Remove ve screws (callout 1 and callout 2).
360 Chapter 1 Removal and replacement ENWW
 Loading...