NOTE: During assembly removal and replacement, or if the printer is moved, remove the ink cartridges.
TIP: Some gures might show assemblies removed or installed that have not yet been removed or installed
at that specic step. However, the procedures are correct for this printer and the target assembly. Always
thoroughly read the instructions that accompany each gure.
Electrostatic discharge
CAUTION: Some parts are sensitive to electrostatic discharge (ESD). Look for the ESD reminder when
removing printer parts. Always perform service work at an ESD-protected workstation or mat. If an ESD
workstation or mat is not available, touch the sheet-metal chassis to provide a static ground before touching
an ESD-sensitive assembly.
Protect the ESD-sensitive assemblies by placing them in ESD pouches when they are out of the printer.
Required tools
●
#T10 TORX driver with a magnetic tip and a 152 mm (6 in) shaft length
●
Small at-blade screwdriver
●
Flat-blade screwdriver with a 152 mm (6 in) shaft length
●
Needle-nose pliers
●
ESD mat (if one is available) or ESD strap
●
Penlight (optional)
Fasteners types
WARNING! Make sure that assemblies are replaced with the correct screw type. Using the incorrect screw
(for example, substituting a long screw for the correct shorter screw) can cause damage to the printer or
interfere with printer operation. Do not intermix screws that are removed from one assembly with the screws
that are removed from another assembly.
NOTE: To install a self-tapping screw, rst turn it counterclockwise to align it with the existing thread
pattern, and then carefully turn it clockwise to tighten. Do not overtighten. If a self-tapping screw hole
becomes stripped, repair the screw hole or replace the aected assembly.
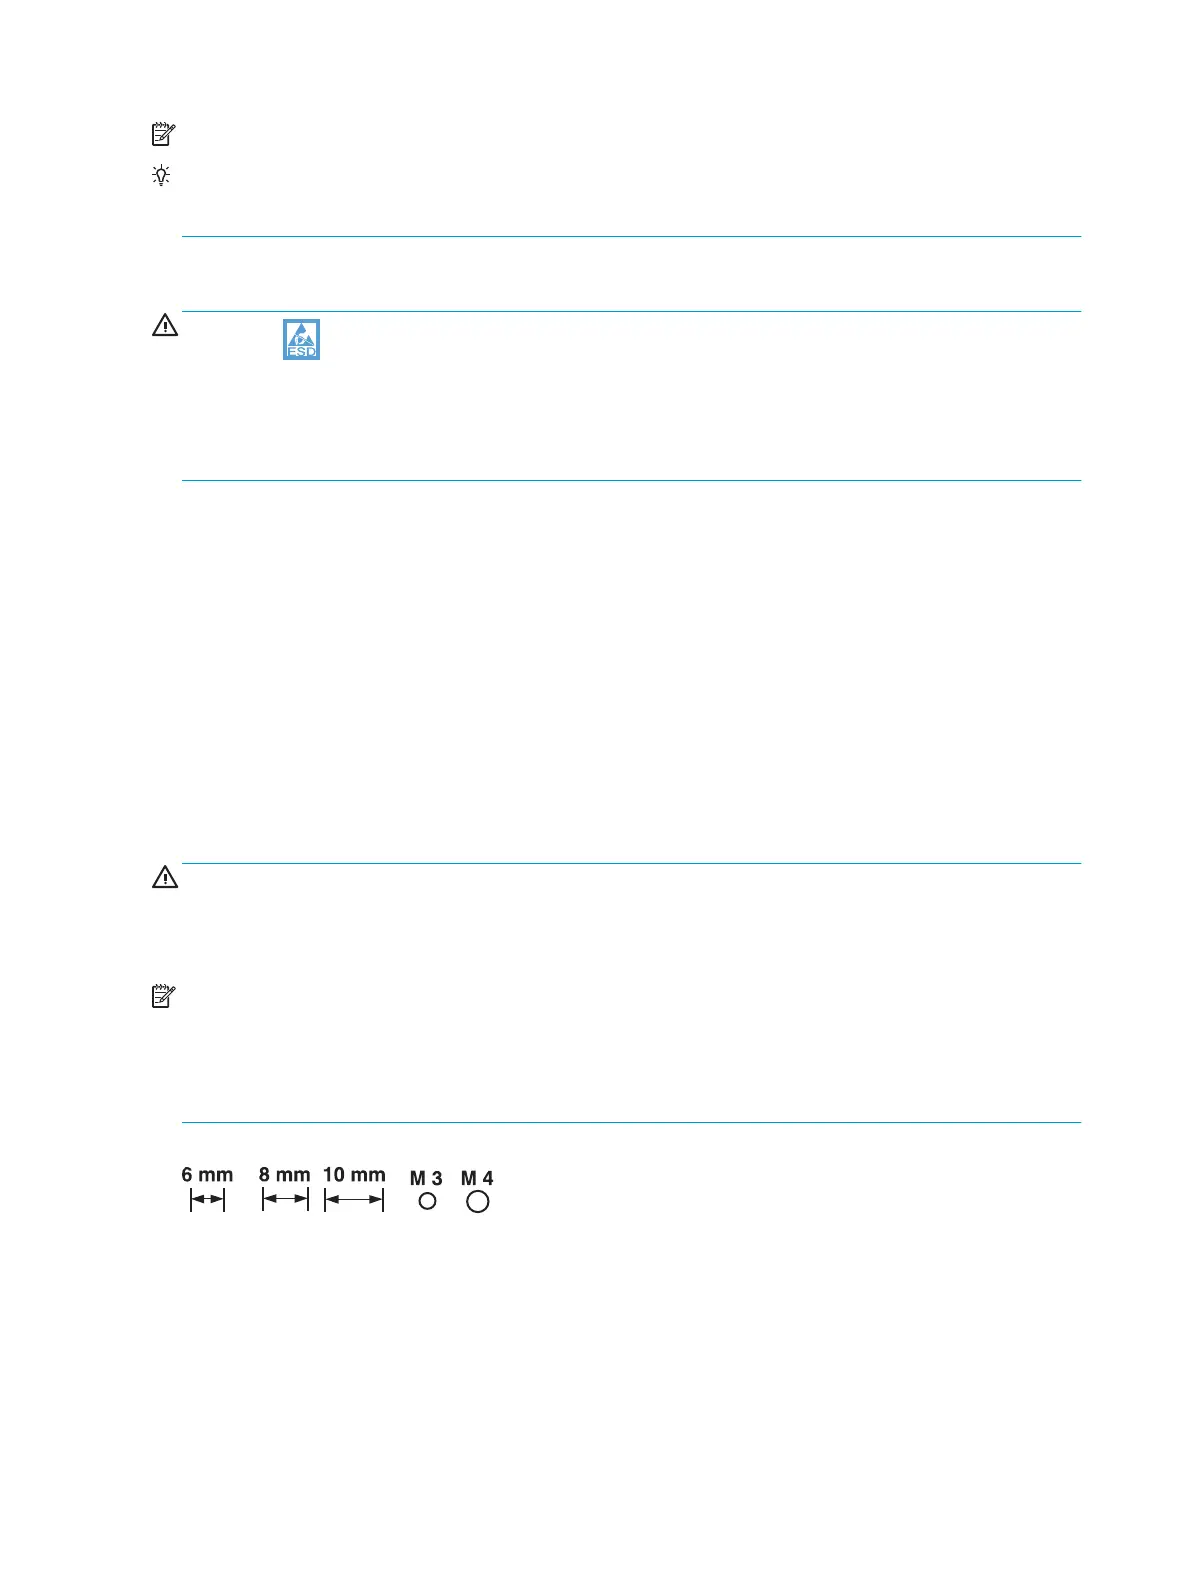
Always take note of the length, diameter, color, type, and location of each removed screw. Make sure that
screws are installed in the original location they were removed from during reinstallation.
Figure 1-1 Screw size chart
Service approach
Before performing service
●
Remove all paper from the printer.
●
Turn o the power using the power button.
4 Chapter 1 Removal and replacement ENWW
 Loading...