3. Remove two # 10 torx screws (callout 1).
CAUTION: Store the screws in a secure place where they cannot fall down into the printer.
Figure 1-293 Remove two screws
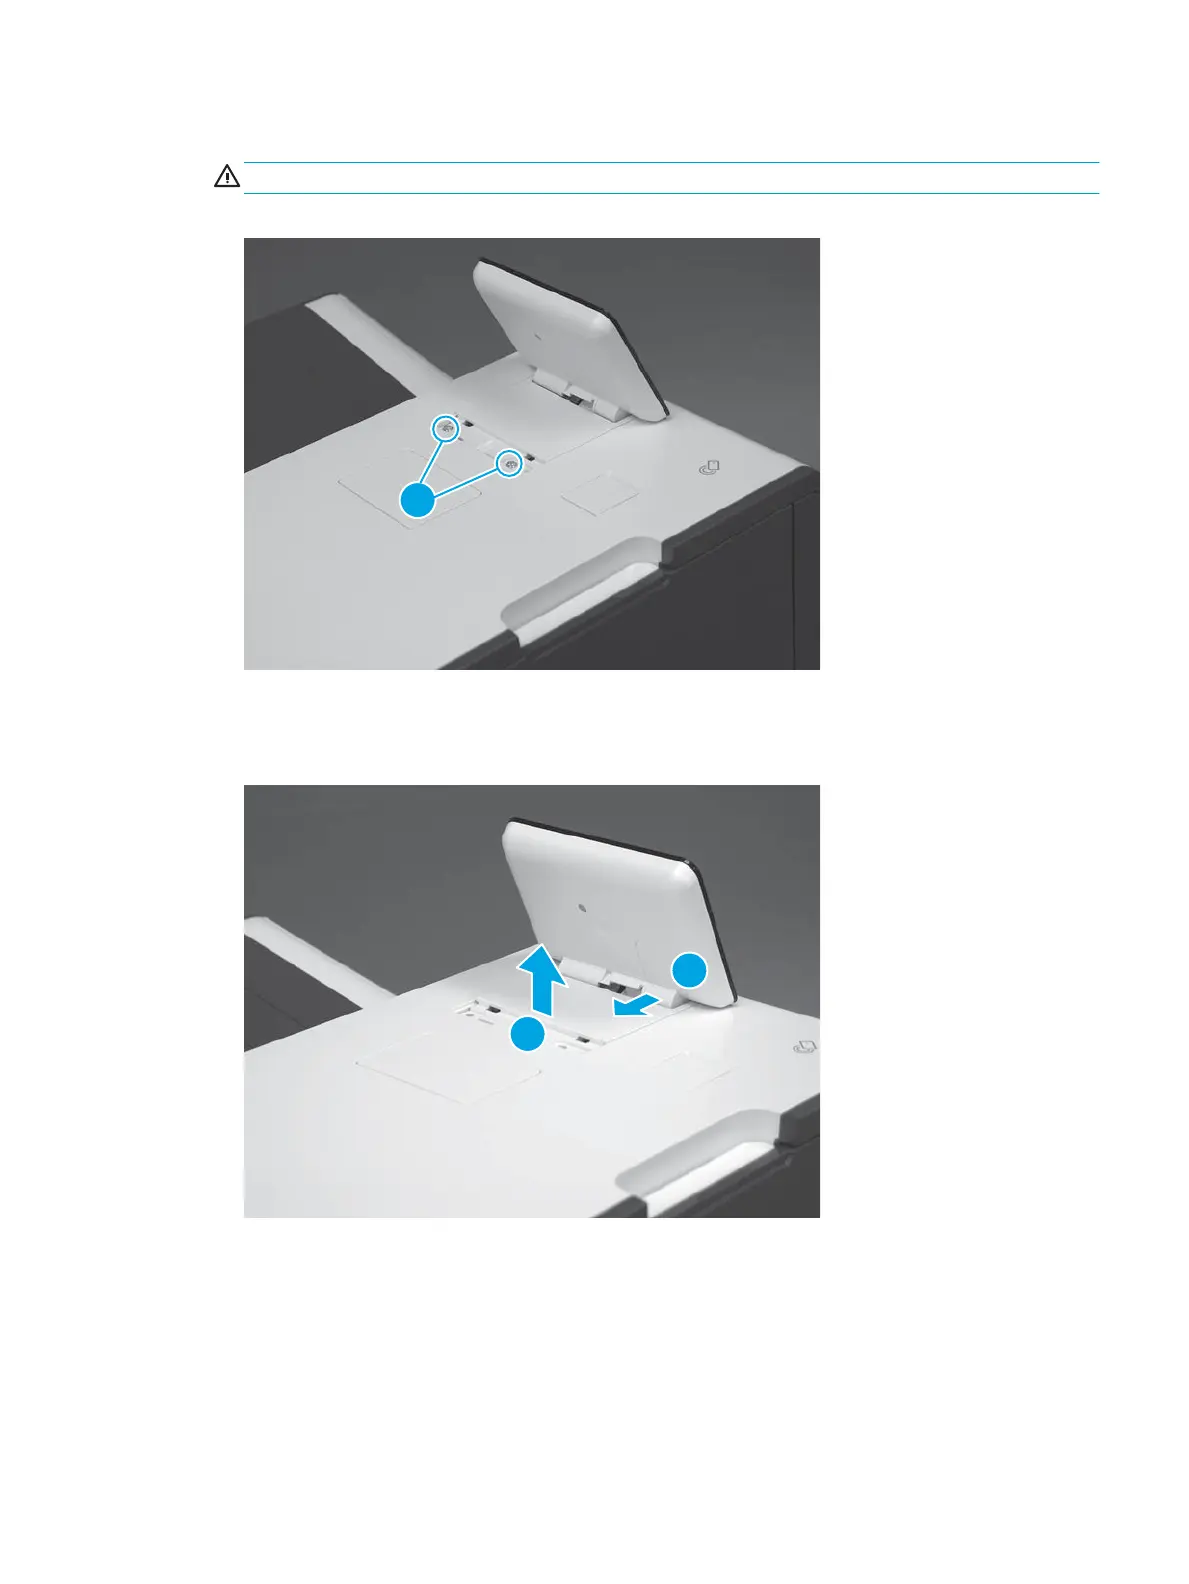
4. Lift up the rear edge of the control panel (callout 1), and then slightly slide it toward the rear of the
printer (callout 2) to release the front tabs.
Figure 1-294 Release the control panel over
ENWW Removal and replacement procedures 207
 Loading...