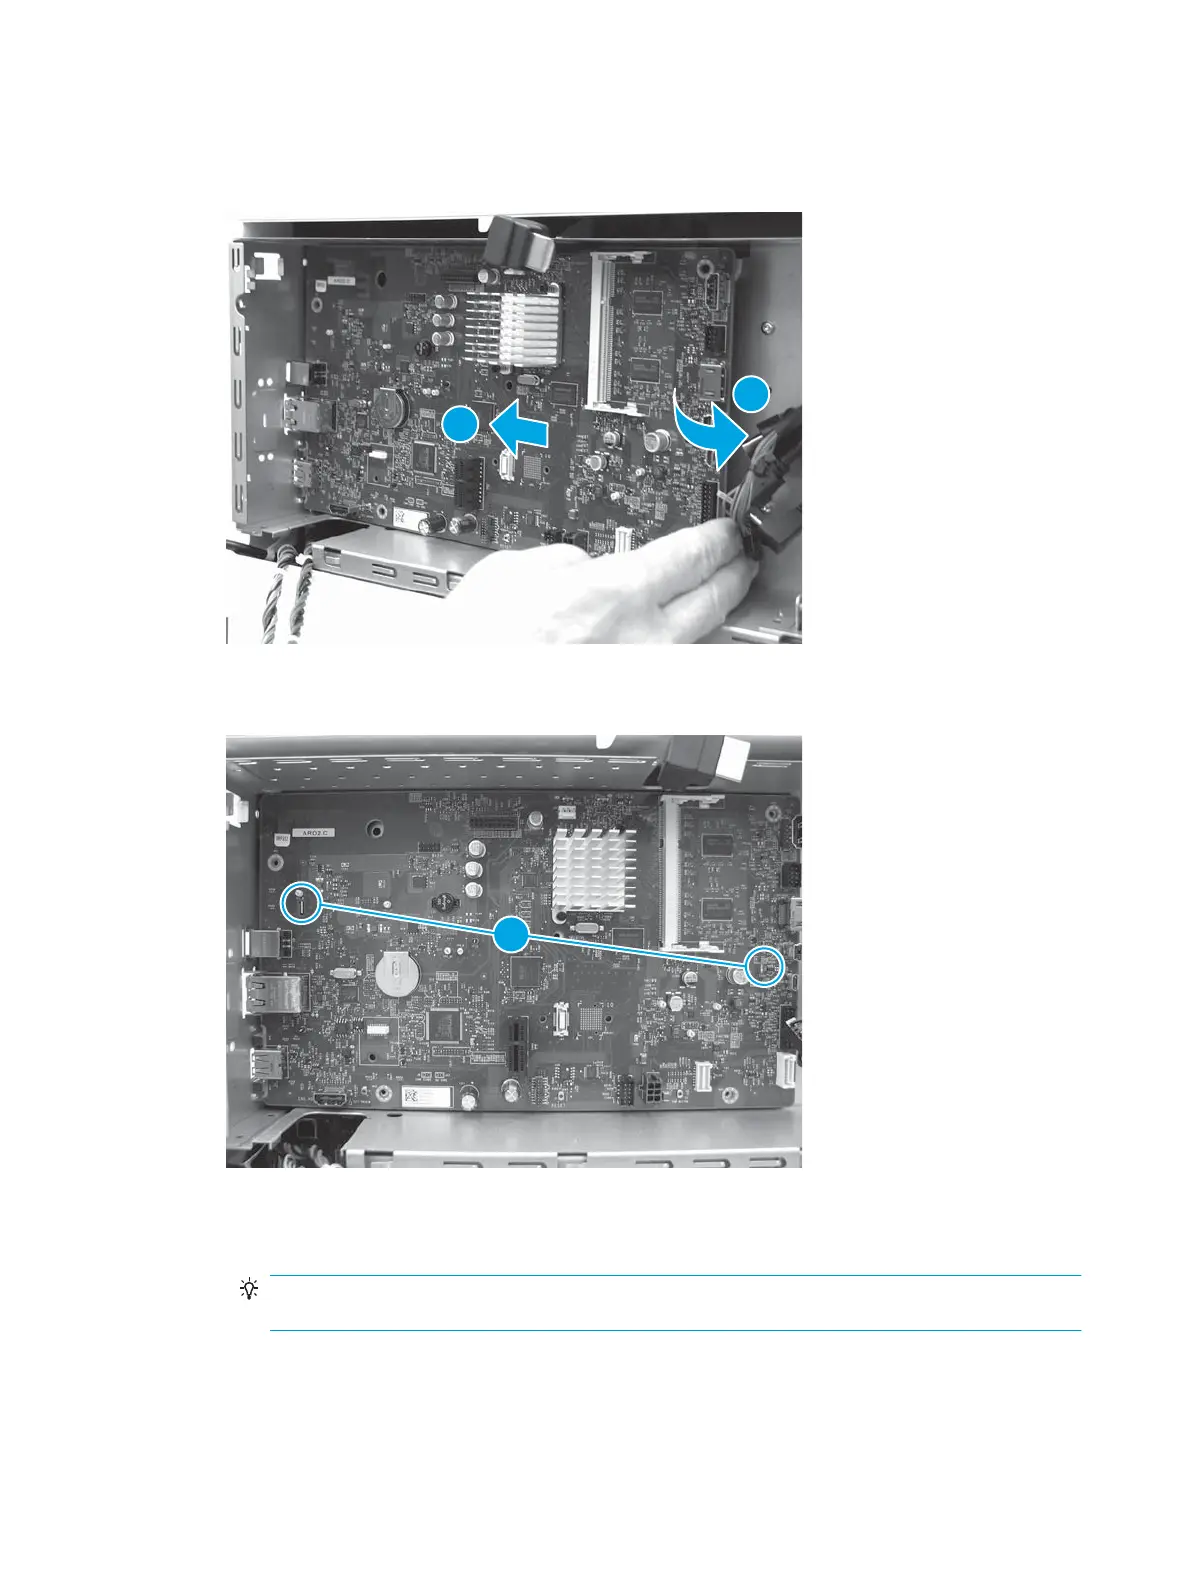
2. Slide the formatter to the left (callout 1) to position the ports in the openings, and then rotate the right
edge of the formatter toward the printer (callout 2).
Figure 1-590 Install the formatter
3. Make sure that the two metal tabs (callout 1) t securely into the slots in the formatter.
Figure 1-591 Check the tabs
4. Do one of the following:
●
For HDD models: Install three screws (callout 1), and then connect all of the connectors and cables.
TIP: For HDD models, t might be easier to install the lower thumbscrew by leaving one connector
(callout 3) disconnected.
●
For all other models: Install ve screws (callout 1 and callout 2), and then connect all of the
connectors and cables.
364 Chapter 1 Removal and replacement ENWW
 Loading...