15 - 52
IPN 074-397-P1G
HAPSITE Smart Operating Manual
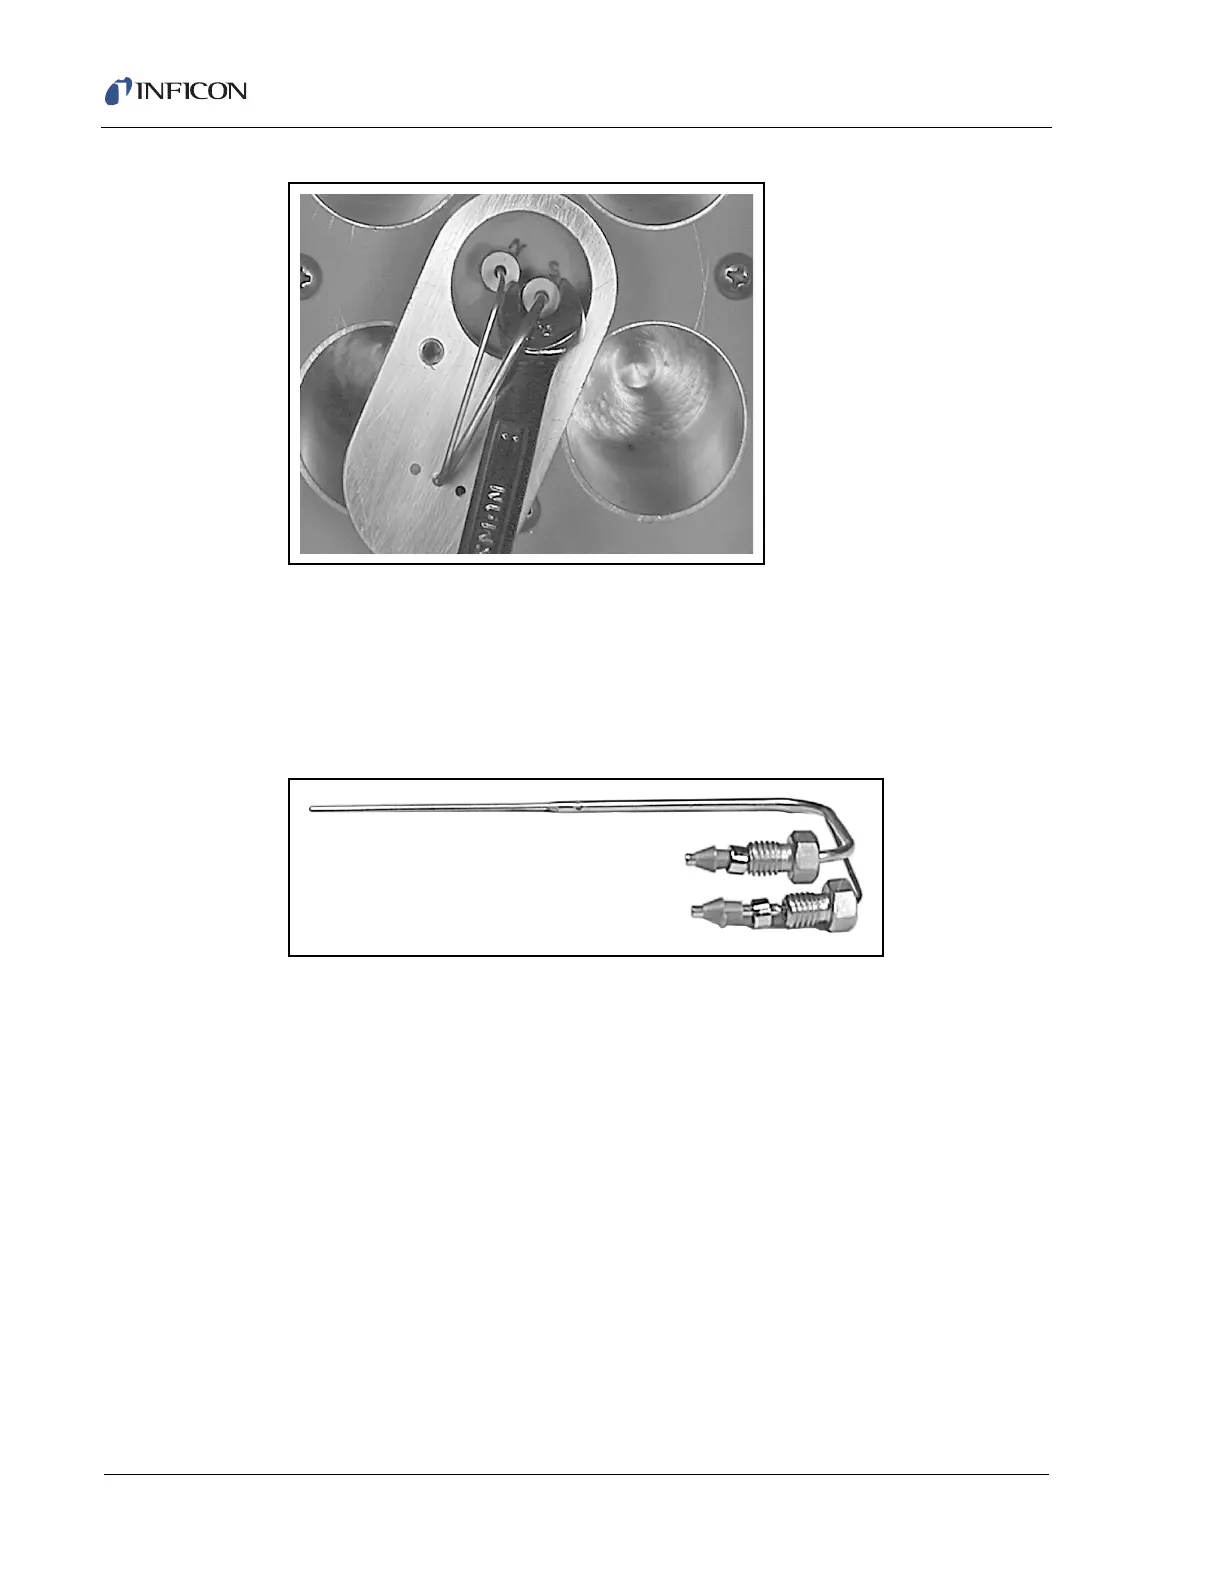
Figure 15-56 Removing the Nuts
5 Once both the connection fittings have been completely loosened, pull straight
up on the needle while holding the assembly in place. Set the used needle
aside, as well as the nut and ferrules at the end of the needle.
6 Place the nut and ferrules on both parts of the needle where they will be
re-inserted into the assembly. See Figure 15-57.
Figure 15-57 Needle Assembly with Nuts and Ferrules
7 Place the replacement needle back through the opening from which the used
needle has just been removed.
8 Guide the two connections to the appropriate openings and while firmly holding
down the needle to properly seat the ferrules, snugly tighten both connection
fittings using a 1/4" wrench. See Figure 15-58.