2 - 27
IPN 074-397-P1G
HAPSITE Smart Operating Manual
Procedure
1 Refer to section 2.9.2, Removing the Sample Loop, on page 2-29 to remove
the currently installed sample loop or to 2.9.5, Removing the Concentrator
Tube, on page 2-36 to remove the concentrator tube.
NOTE: There is not a specific orientation for the Sample Loop.
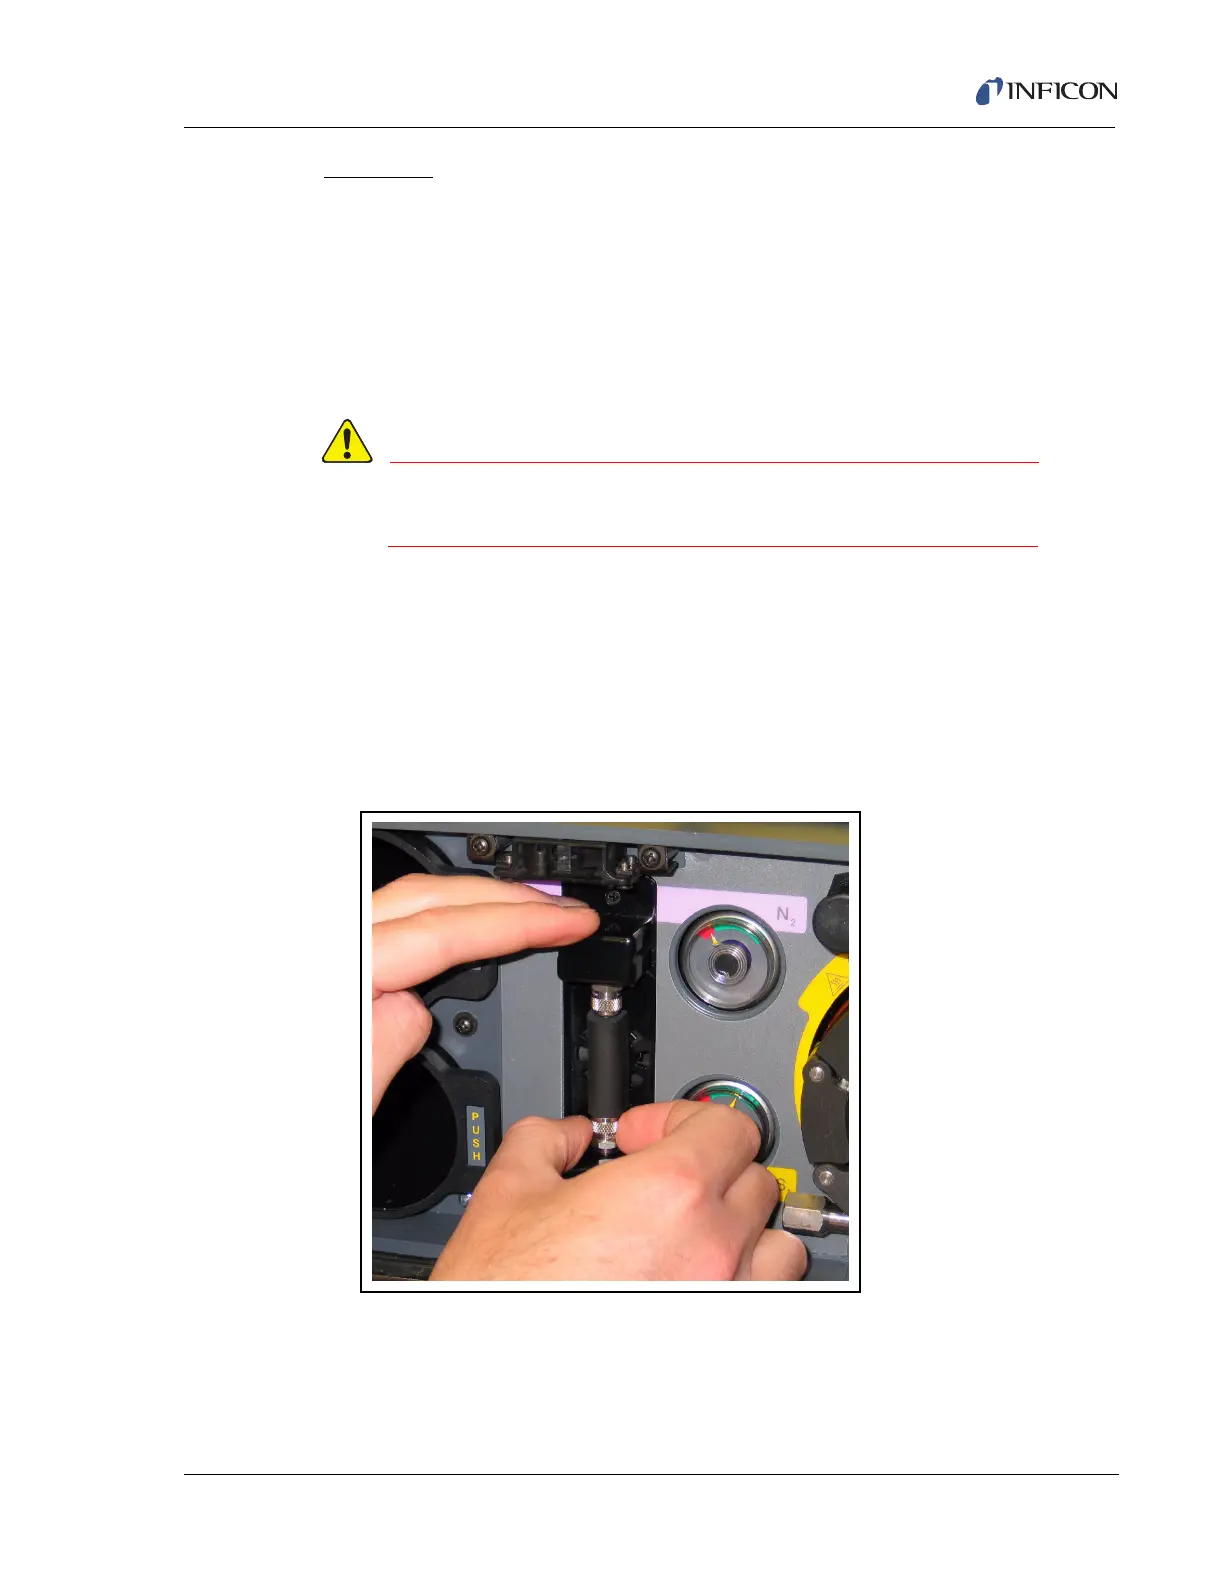
2 Make sure a ferrule is installed in each metal nut with the wide end of the cone
toward the center of the sample loop, as shown in Figure 2-37.
The elbow fittings and nuts may be hot. If necessary, let
the elbow fittings and nuts cool down before continuing.
3 While holding the ferrule and nut in place, insert one end of the sample loop
into the bottom elbow fitting.
4 Lift the top elbow fitting slightly, so that the top of the sample loop will fit
between the two fittings.
5 Press down on the top elbow and with your fingers, tighten the bottom nut until
the nut is finger tight. See Figure 2-38.
Figure 2-38 Tightening the Bottom Nut