281
7.9 SIGMA stitching exposure
Chapter 7
5
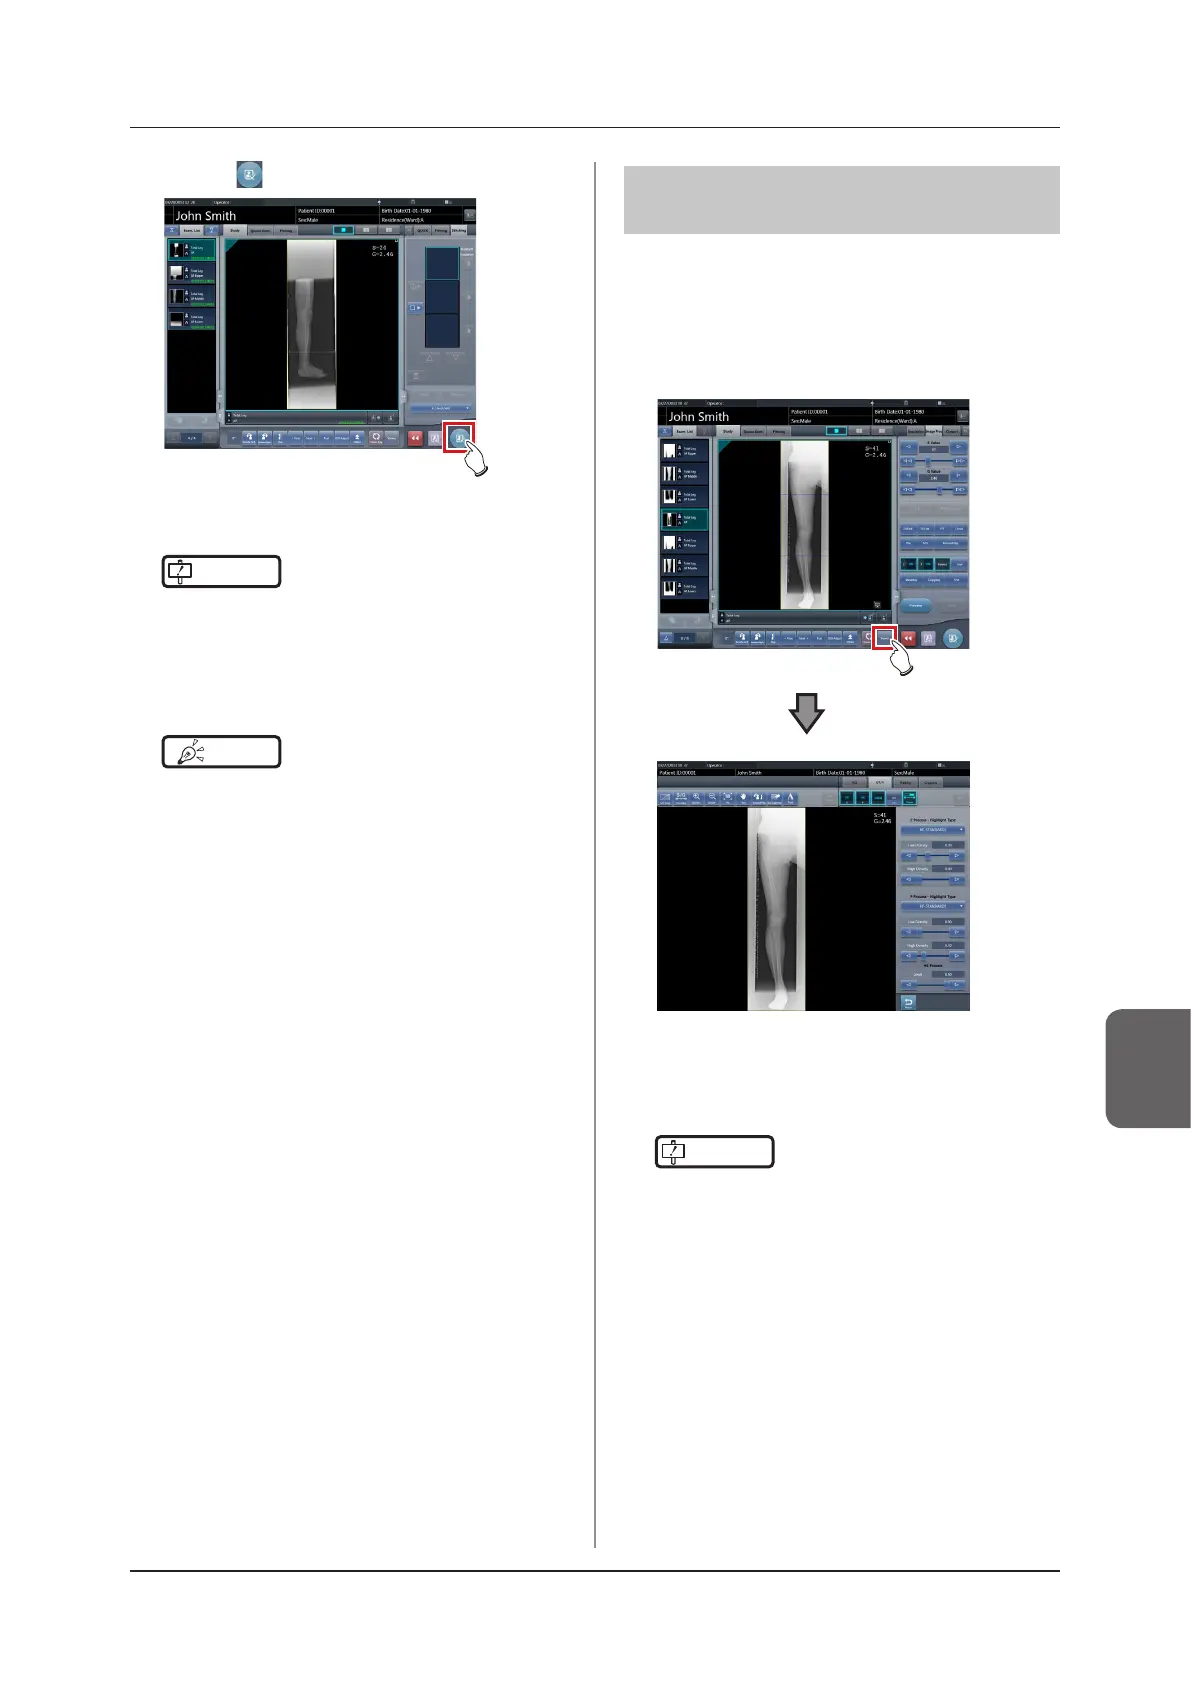
Press [ ].
• The combined image is output, and the display
returns to the initial screen.
IMPORTANT
•••••••••••••••••••••••••••••••••••••
• The stitching image is output rst, then non-stitching
images are output.
• If images are output before stitching, the stitching im-
age is output last.
•••••••••••••••••••••••••••••••••••••••••••••••••••••
HINT
•••••••••••••••••••••••••••••••••••••
• If outputting the combined image in sections, set the
number of sections by [Split].
• The order of combined image output can be changed.
For more details, contact Konica Minolta technical rep-
resentatives.
•••••••••••••••••••••••••••••••••••••••••••••••••••••
7.9.4 Image adjustment
The adjustment method for the combined image is as
follows.
1
Display the combined image and press
[Viewer].
• The viewer screen is displayed.
• Perform various image adjustments. For details
on how to operate the viewer screen, refer to
"3.6 Viewer screen".
IMPORTANT
•••••••••••••••••••••••••••••••••••••
• Note the following when adjusting images created by
stitching exposure.
– ROI adjustment is not possible.
– The exposure eld automatic recognition function
cannot be performed (manual adjustment is pos-
sible).
– If the eective image area is changed, only the im-
age size will change.
•••••••••••••••••••••••••••••••••••••••••••••••••••••