90
5.2 Exposure procedure with DR Detector (Basic connection)
5.2.5 Exposure procedure
The exposure procedure is as follows:
This section shows an example case of exposing sev-
eral body parts under the following conditions.
Exposure device
• Wall stand × 1
• DR Detector × 1
* Assume that the wall stand uses the AeroDR
UF Cable, and the DR Detector is inserted into
the AeroDR Battery Charger.
Exposure conditions and order of exposure
(1) CHEST - Chest Erect - AP
(2) SPINE - L-Spine - AP
(3) HEAD - Skull - PA
The exposure sequence and the positions in which
exposure images are displayed are as shown be-
low.
(1)
(3)
(2)
CHEST - Chest
Erect - AP
HEAD - Skull -
PA
SPINE - L-Spine
- AP
* The exposure sequence (1) - (3) is displayed for
ease of explanation, and is not displayed on the
actual screen.
IMPORTANT
•••••••••••••••••••••••••••••••••••••
• Always check the patient information and exposure
conditions before exposure.
• The DR Detector is precision equipment, and there-
fore impact or vibration during radiography or image
transfer may aect the image quality. Be careful when
handling the DR Detector during and just after radiog-
raphy.
• If an image is displayed when an exposure is not per-
formed, this may be a detection error due to noises,
etc. Perform rejected image (deletion of images) and
repeat exposure.
• If you have performed an exposure when "Ready" was
not displayed, repeat an exposure after approximately
one minute.
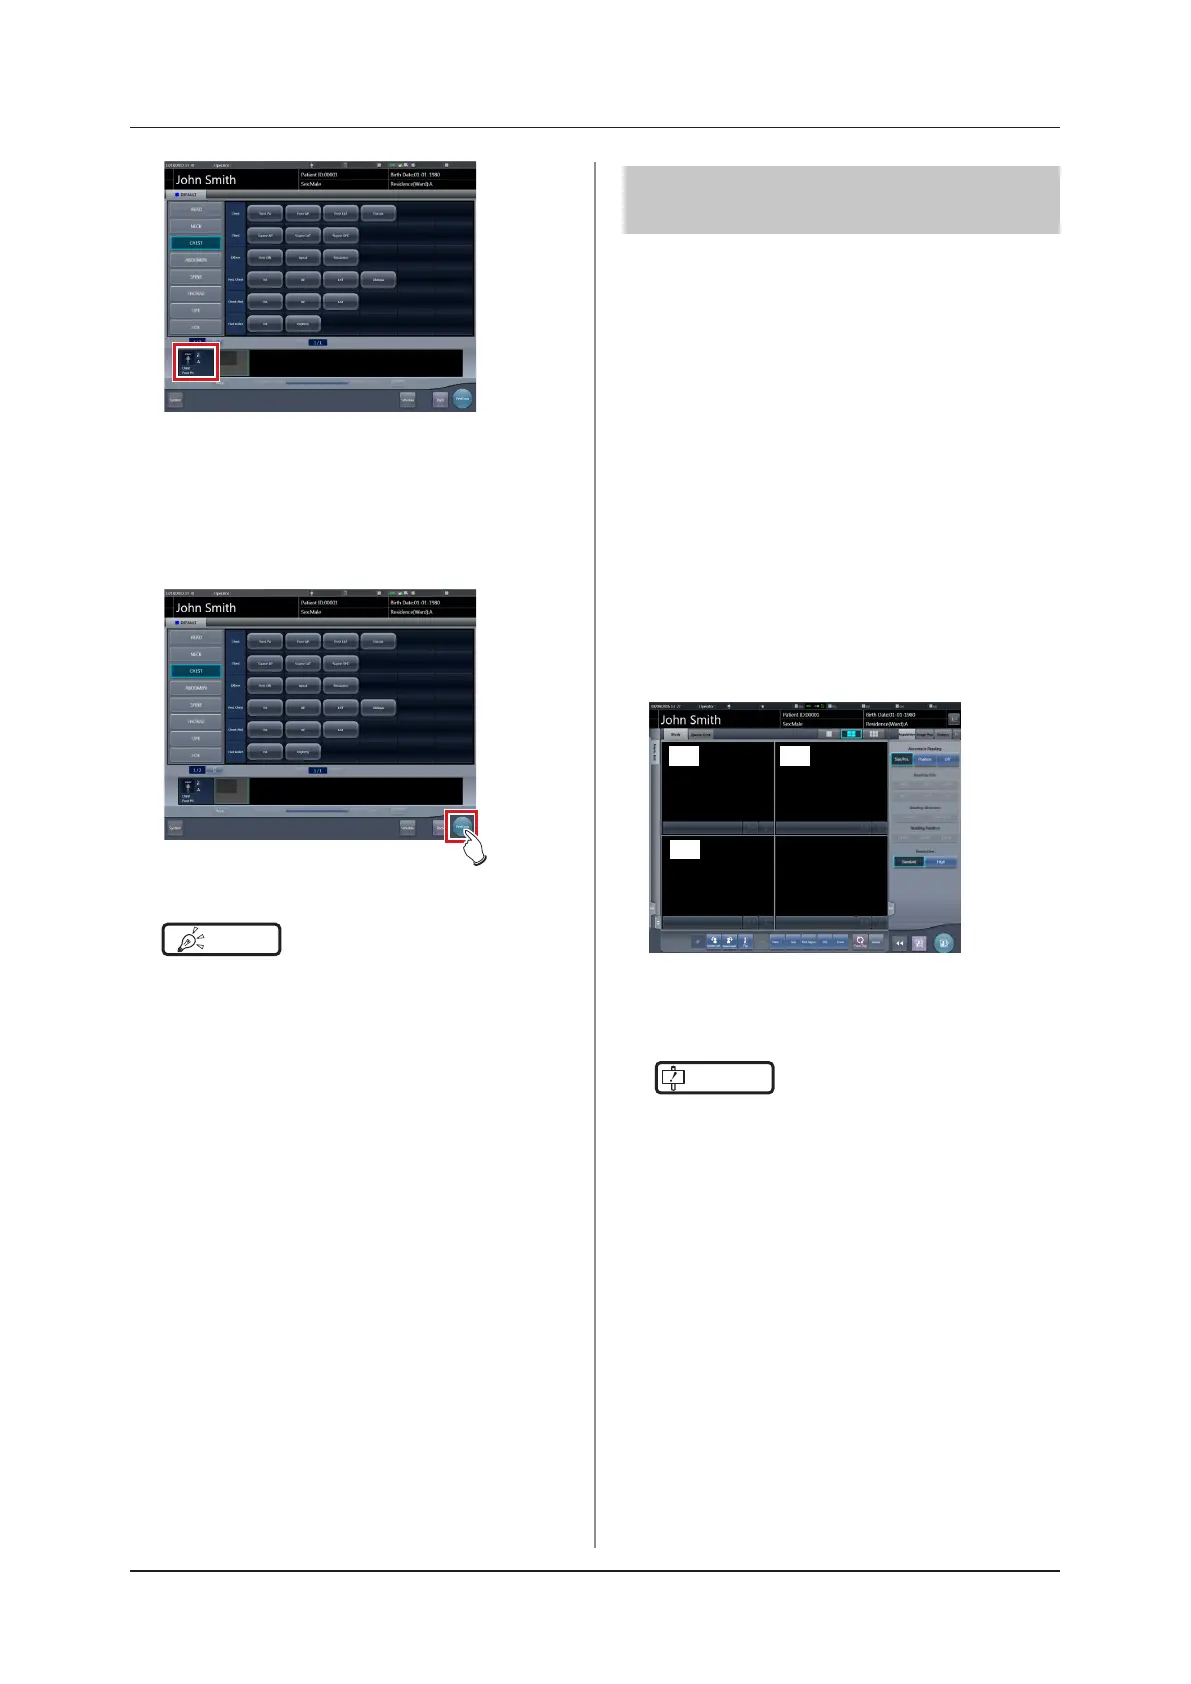
• The selected Exam. Tag is added to the Exam.
Tags display area. By repeating from step 1,
Exam. Tags can be added.
4
When nished selecting/adding the Exam.
Tags, press [Perform].
• The exposure screen is displayed.
HINT
•••••••••••••••••••••••••••••••••••••
• When only reserving an examination, after adding the
Exam. Tag, press [Schedule]. After reservation is per-
formed, the initial screen is displayed.
• Returning to the initial screen by pressing [Schedule]
does not set study date and time of image supplemen-
tal information automatically.
•
It is also possible to register multiple exposure methods
in 1 Exam. Tag. Register these methods when install-
ing.
• If you have set to register the Exam. Tags automati-
cally, the body part selection screen is not displayed.
The display transitions to the exposure screen.
•••••••••••••••••••••••••••••••••••••••••••••••••••••