239
7.4 Exposure with Unitless
Chapter 7
6
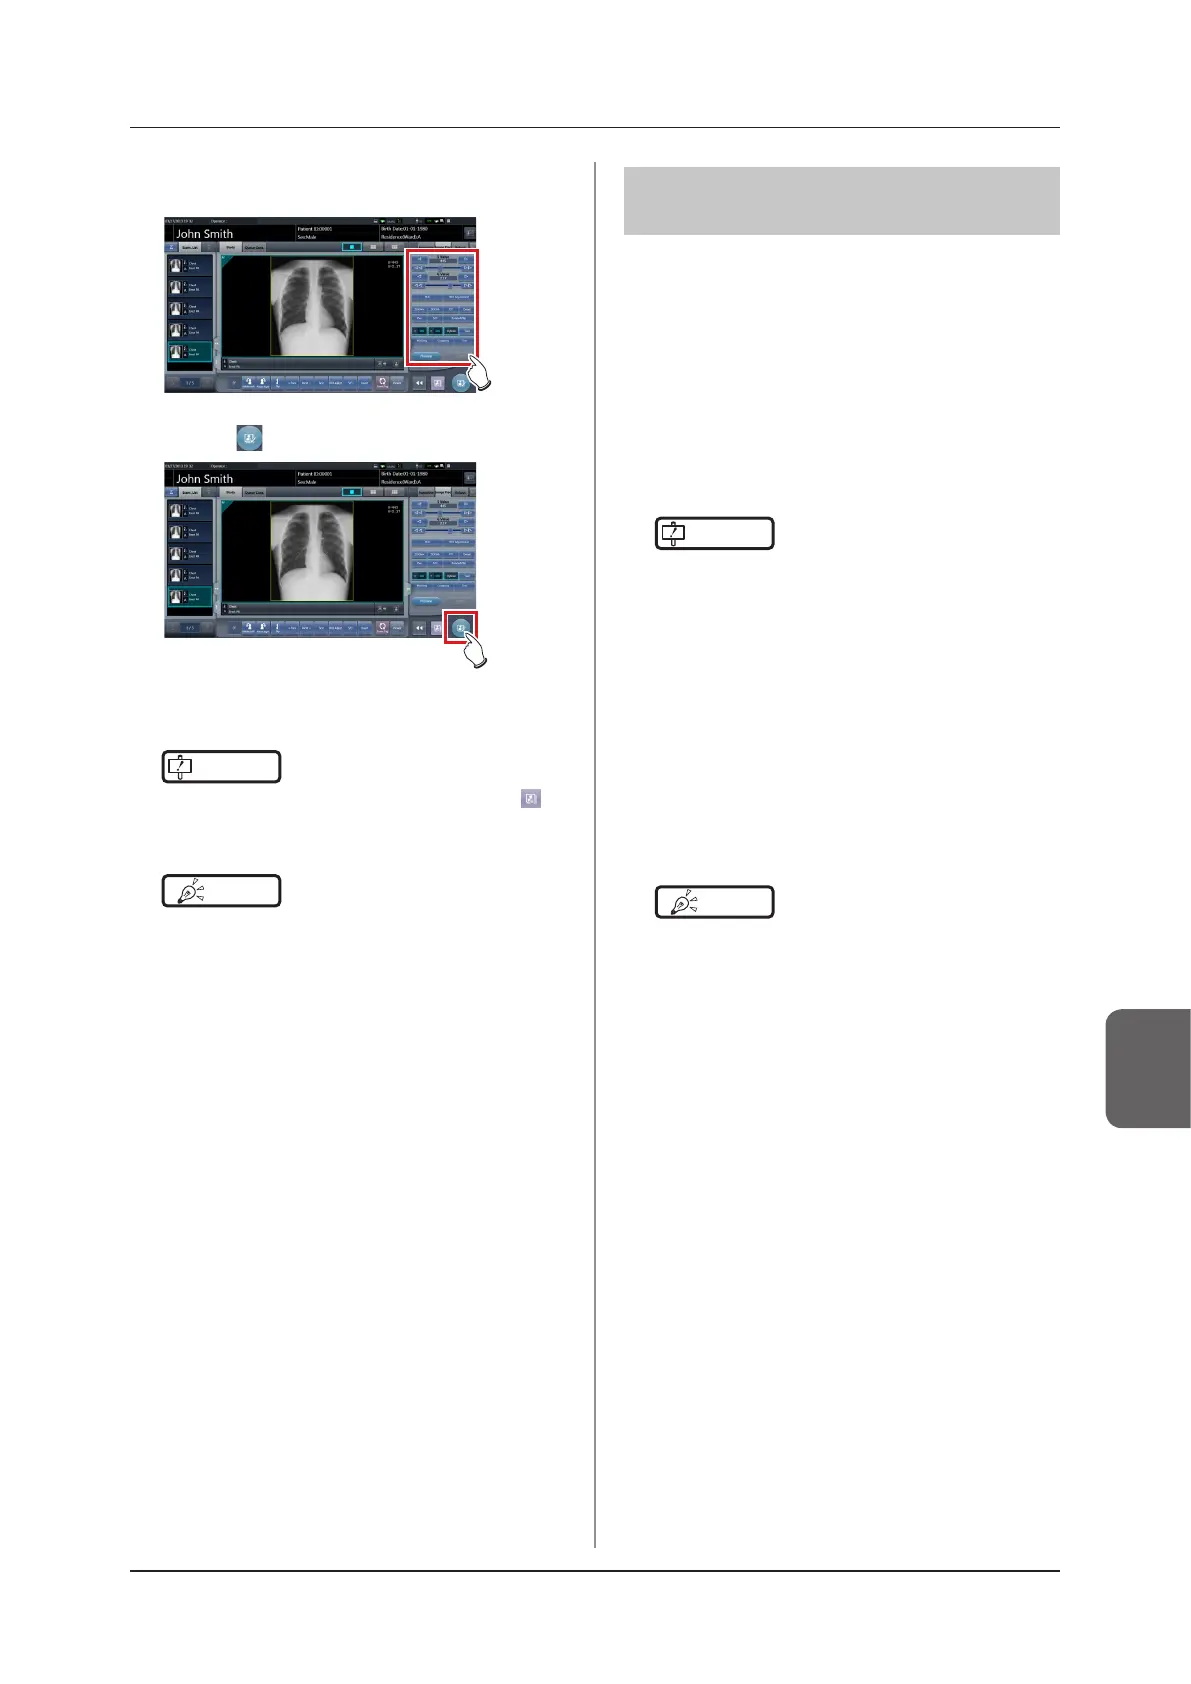
Adjust the image.
• After exposure, adjust the image as required.
7
Press [ ].
• The exposure is completed, and the display re-
turns to the initial screen.
IMPORTANT
•••••••••••••••••••••••••••••••••••••
• When consolidating image adjustment, press [
] to
pause the examination and return to the initial screen.
•••••••••••••••••••••••••••••••••••••••••••••••••••••
HINT
•••••••••••••••••••••••••••••••••••••
• Image adjustment can be done on the portable de-
vice's [Image Proc] tab. However, if a more advanced
image adjustment is required, perform image adjust-
ment on the [Image Proc] tab or the viewer screen.
For details on the viewer screen, refer to "6.7 Func-
tions of the viewer screen".
• When moving the exposure location, after moving the
exposure location, perform the procedure again from
step 1.
• It is all right to keep power of this device and the DR
Detector on.
•••••••••••••••••••••••••••••••••••••••••••••••••••••
7.4.4 Operations after
exposure
When the exposure is completed, move the portable
X-ray device and send the image data, etc. saved in
this device to the higher system. The following proce-
dure is for an example in which a wired connection is
in operation between this device and a higher system.
1
Connect the Ethernet cable connected to
the DR Detector registration side hub to
this device.
• On connection, the icon of [System] will change.
IMPORTANT
•••••••••••••••••••••••••••••••••••••
• When a small access point is connected to this device,
connect this device to the institution network after dis-
connecting the Ethernet cable connected to the small
access point from this device.
• Do not disconnect the Ethernet cable while the data is
being transmitted.
• The status of communication with the host is displayed
on the [System] button. For detail, refer to "7.4.1
Screen structure".
•••••••••••••••••••••••••••••••••••••••••••••••••••••
2
Plug the power cable into the outlet to
charge this device.
HINT
•••••••••••••••••••••••••••••••••••••
• Also charge the DR Detector, AeroDR Portable UF
Unit, and portable X-ray device as required.
•••••••••••••••••••••••••••••••••••••••••••••••••••••