291
7.11 Media output
Chapter 7
7.11.3 Operation of the PDI
viewer
This section describes how to start and operate the
PDI viewer.
HINT
•••••••••••••••••••••••••••••••••••••
• The device to start the PDI viewer must meet the fol-
lowing specications.
OS: Windows 2000, Windows XP, Windows Vista, or
Windows 7
CPU: Pentium III processor or higher
Memory: 256 MB RAM or more
Graphic: 32 bit graphic board or higher
Resolution: 1024 × 768 pixels or ner
CD-ROM drive: (24 ×) or faster
•••••••••••••••••••••••••••••••••••••••••••••••••••••
z
Start-up of the PDI viewer
1
Set the disc on the disc drive of this de-
vice.
• The [INDEX.HTM] screen is displayed.
HINT
•••••••••••••••••••••••••••••••••••••
• If it does not start automatically, double-click the [IN-
DEX.HTM] le icon in the disc drive window.
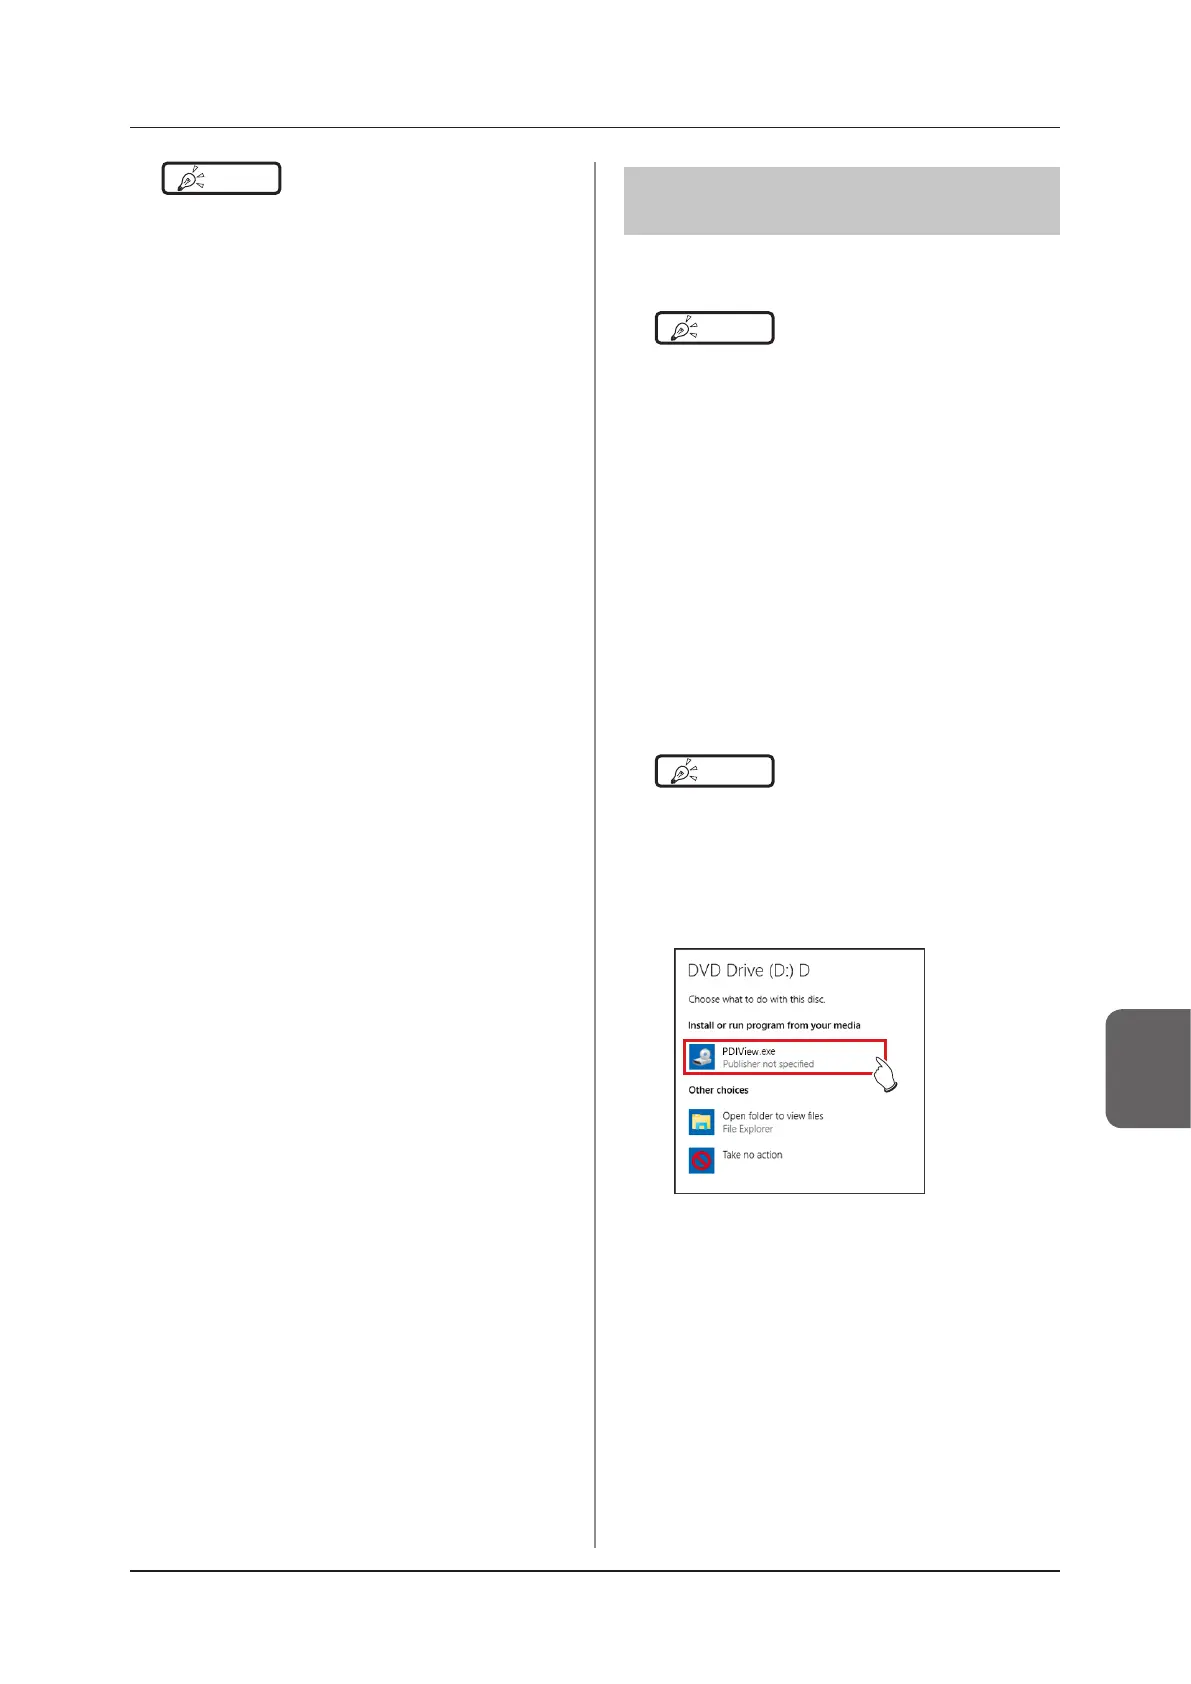
• If you start up the PDI viewer from the CD on Windows
7 and Windows 10, the dialog screen of [AutoPlay] will
be displayed. Press [Run PDIView.exe] to start up the
PDI viewer.
HINT
•••••••••••••••••••••••••••••••••••••
• Exposed images of completed examinations that in-
clude 1 or more sheets of exposed images become
targets for media output.
• Rejected images cannot be output.
• The following examinations cannot be output to media
even if exposed images are included.
– Paused examination.
– Examination with a history of deleted images.
– Examination of rejected images only.
• When an image is output to media in PDI format, out-
put it together with a PDI viewer. Depending on the
settings at installation, it may also be possible to en-
able automatic launching of the PDI viewer.
•
Do not specify the drive in which the software for this
device is installed as the output destination drive.
• In the examination that was output to media (examina-
tion that has one or more images that was normally
output), an icon is displayed in the [Output finished]
eld of the list display area.
• When you press [Area Select] to select the range, the
button display changes to [Area Selecting]. If range is
selected or cancelled, the button display will return to
[Area Select].
• Pressing [Area Select] to select the start point of the
selected range displays that examination in a color
that indicates a temporary selection. Selecting the end
point of the selected range displays all examinations
of the selected range in the normal color.
• When start point is selected in the selected range, per-
forming the following operations cancels the selected
status of the range.
– [Select All] is pressed.
– [Remove All] is pressed.
– [Area Selecting] is pressed.
– Rened search is on.
– [Clear] is pressed.
– The display is transitioned to another screen from
the media output screen.
• The file name of the image to be output to media is
automatically added in the following format (folder
structure):
– Folder name (specied)
└ Folder (PatientID)
└Folder (ExposureDate)
└ File (PatientID_Name_Exam.Tag_
ExposureTime(seconds)_ImageNumber.jpg)
•••••••••••••••••••••••••••••••••••••••••••••••••••••