216
7.3 Exposure with AeroDR Portable UF Unit
IMPORTANT
•••••••••••••••••••••••••••••••••••••••••••••••••••••••••••••••••••••••••••••••••••••••••••••••••••••
• When you restart this device, also restart the AeroDR Portable UF Unit.
• With Aero Sync mode exposure, X-rays with default intensity that reached the DR Detector are detected, and image acquisi-
tion is started. Select any one of the following X-ray detection levels during exposure according to the model or conditions of
the DR Detector to be used.
– Small
Used for general imaging such as that of the chest and limb bones.
– Med
This is eective for imaging of the abdomen or lumbar front of patients with thick bodies as well as in the case where the
direct X-ray region does not enter the DR Detector due to the narrowed exposure eld. Be careful not to subject the DR
Detector to strong shocks during exposure.
– Large
This is more eective than the medium detectionlevel for imaging of the abdomen or lumbar front of patients with thick
bodies as well as in the case where the direct X-ray region does not enter the DR Detector due to the narrowed exposure
eld. Request that the patient stands still for as long as possible during exposure.
– Extra Large
Exposures can be performed at a level higher than [Large]. This is eective for imaging of the abdomen or lumbar front of
patients with thick bodies as well as in the case where the direct X-ray region does not enter the DR Detector due to the
narrowed exposure eld. Be careful not to subject the DR Detector to strong shocks during exposure.
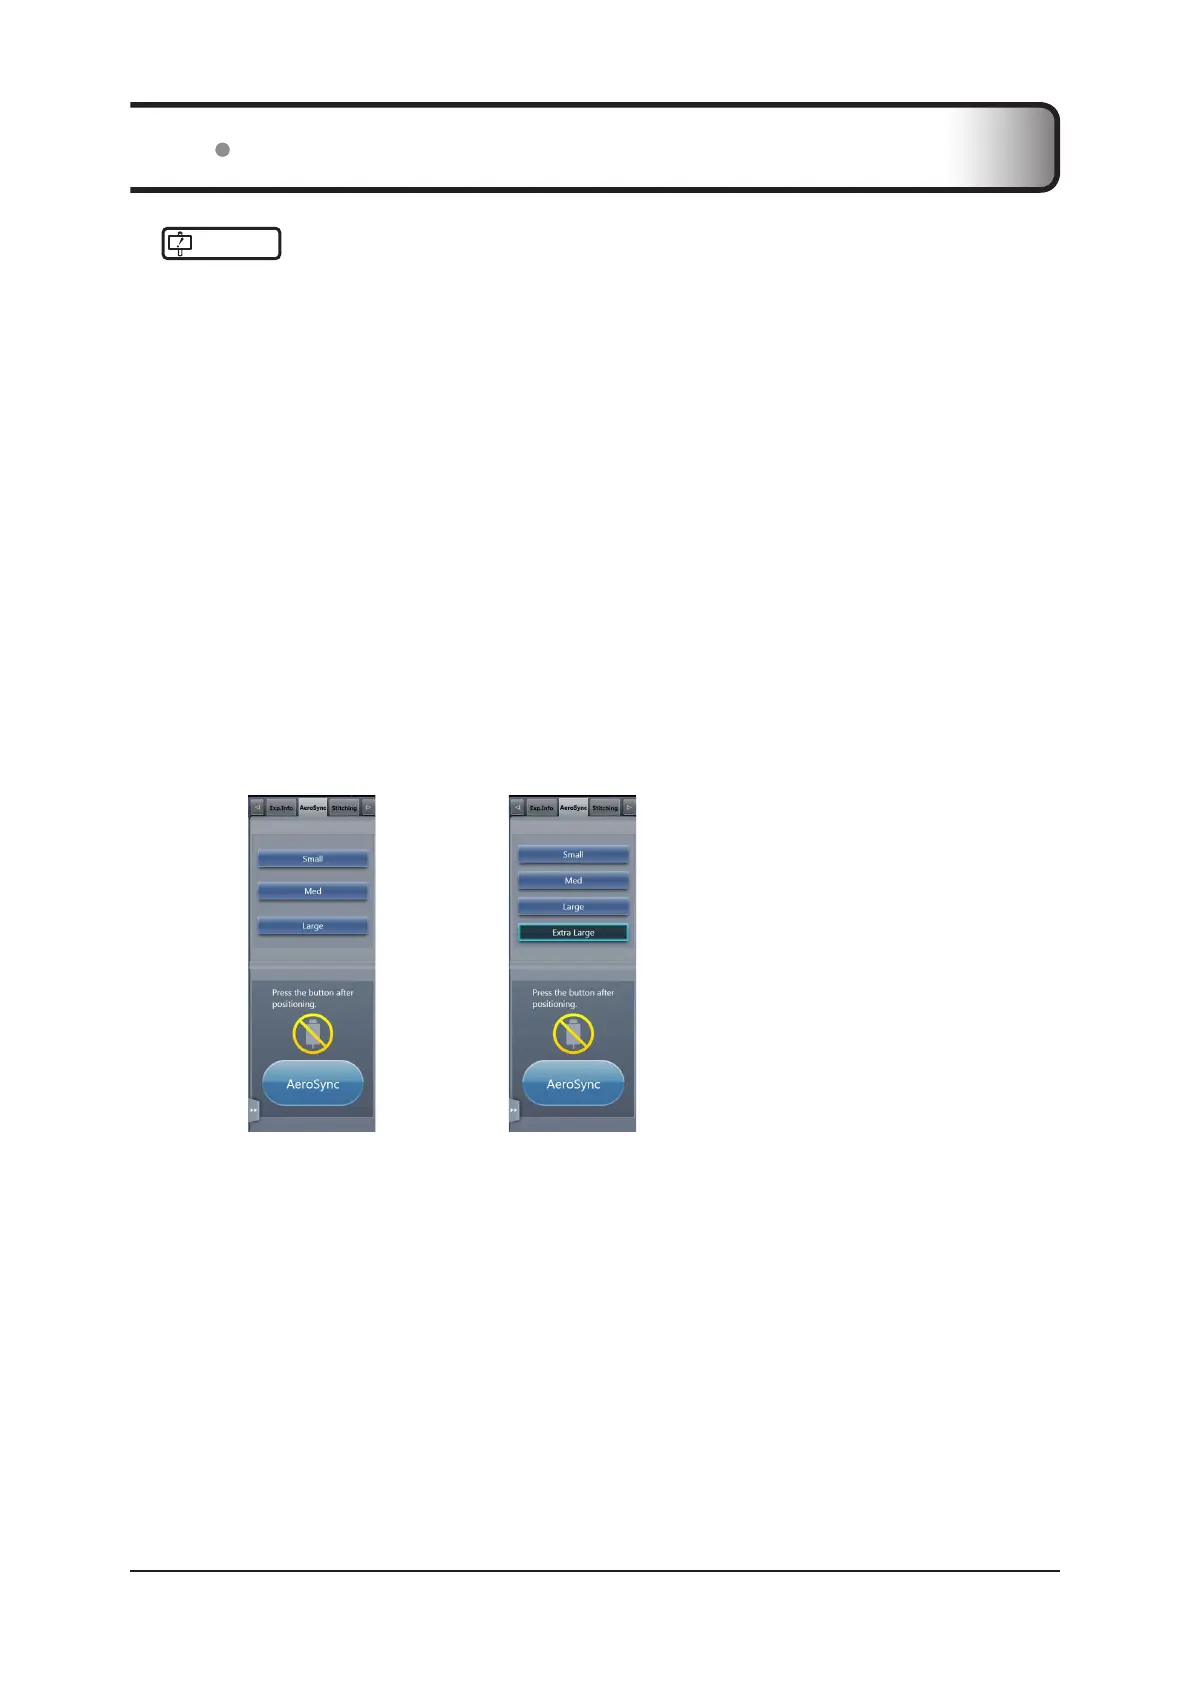
• [Extra Large] is displayed when using either the AeroDR 2 1417HQ or AeroDR 2 1417S.
• The control panel display [AeroSync] and items that can be selected dier depending on the type of DR Detector.
AeroDR 1417HQ/
AeroDR 1717HQ/
AeroDR 1012HQ:
AeroDR 2 1417HQ,
AeroDR 2 1417S:
•
If there are any radioactive substances remaining in the patient's body after nuclear medicine testing or some other reason, the
AeroDR 2 1417HQ and the AeroDR 2 1417S may recognize that X-rays were emitted and start image transfer. When the im-
age is transferred, change the X-ray sensitive setting of the image processing controller to "Large" before performing exposure.
If you change the X-ray sensitivity to "Large", make sure that all of the following conditions are met before performing expo-
sure. If you perform exposure under other conditions, you may not be able to get an image.
– On the DR Detector, set up an area (2 cm x 2 cm or larger) on which the X-rays are emitted directly.
– Emit the X-rays onto the entire DR Detector.
– Emit the X-rays by using a tube current of 140 mA or higher or a tube voltage of 90 kV or higher.
• Once the X-ray detection level is selected, it is kept until an examination is completed if it is not changed. If you want to re-
turn it to the initial detection level for each exposure, contact Konica Minolta technical representatives.
•••••••••••••••••••••••••••••••••••••••••••••••••••••••••••••••••••••••••••••••••••••••••••••••••••••••••••••••••••••