312
7.14 Merging and separation of studies
HINT
•••••••••••••••••••••••••••••••••••••
• You can also drag and drop an image to move it.
• To move images to the image list area on the left,
select images in the image list area on the right and
press [
].
• To swap images between the left and right image list
areas, select images in each image list area and press
[ ].
• The moved image is placed at the end of the image
list area of the destination.
• If the moved image is moved to the original study
again, it will be placed in the same location it was in
before it is moved.
• If an output image is moved, the study status is sus-
pended, and the output completed checkmark is
cleared. To output data again, press button or
complete the study that is being performed.
•••••••••••••••••••••••••••••••••••••••••••••••••••••
8
Press [Save].
• Press [Close] to return to the list screen.
• The Image Move screen is closed.
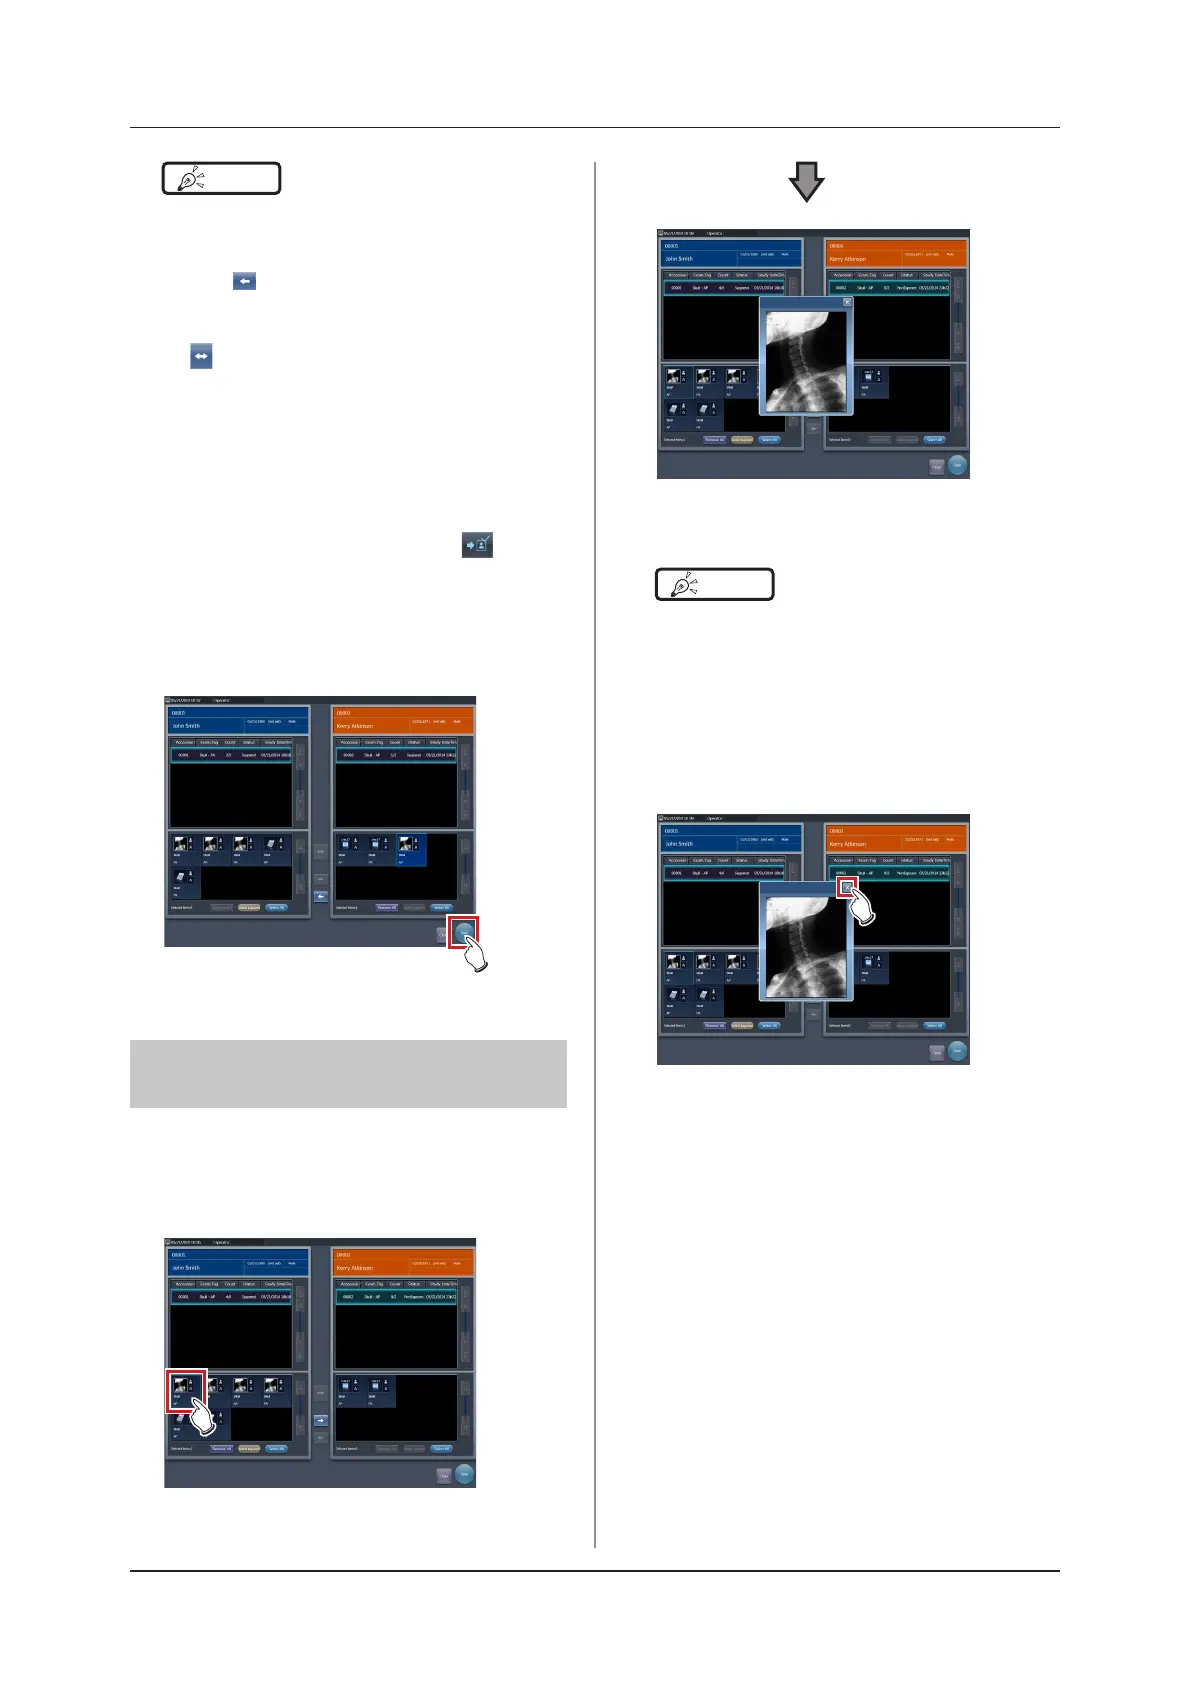
7.14.4 Checking an image
The procedure for checking an image is as follows.
1
Double-click the image to check its de-
tails.
• The image display dialog box appears, and you
can check the details of the target image.
HINT
•••••••••••••••••••••••••••••••••••••
• The image display dialog box shows the same image
as the one displayed on the exposure screen.
• If you drag four corners or four sides of the image
display dialog box, you can zoom in on or out of the
image display dialog box.
•••••••••••••••••••••••••••••••••••••••••••••••••••••
2
Press [×].
• The image display dialog box closes.