213
7.2 Exposure with AeroDR Portable RF Unit2
Chapter 7
3
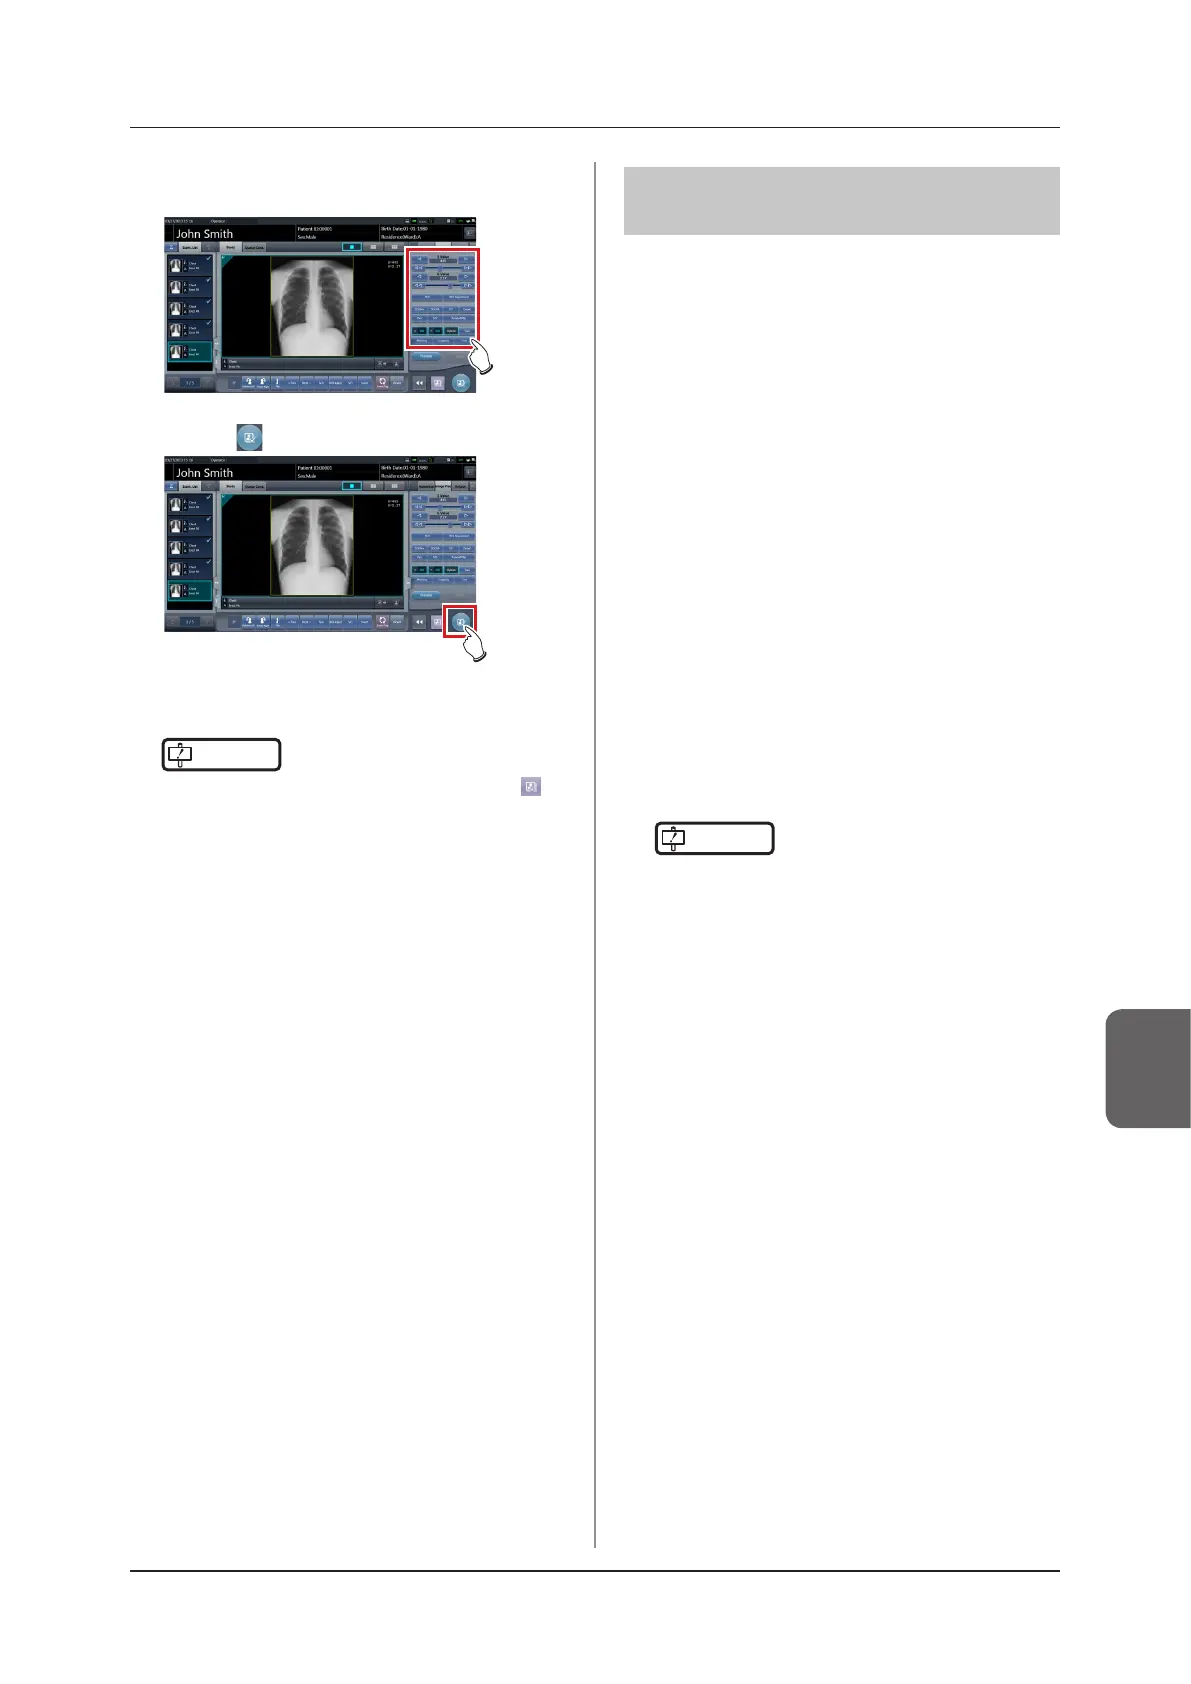
Adjust the image.
• After exposure, adjust the image as required.
4
Press [ ].
• The exposure is completed, and the display re-
turns to the initial screen.
IMPORTANT
•••••••••••••••••••••••••••••••••••••
• When consolidating image adjustment, press [
] to
pause the examination and return to the initial screen.
•••••••••••••••••••••••••••••••••••••••••••••••••••••
7.2.6 Operations after
exposure
Operations after an exposure has been completed is
performed according to the following procedure. After
returning to the institution, output image data saved on
this device to the host system. The following procedure
is for an example in which a wired connection is in op-
eration between this device and a higher system.
1
Turn all the devices o.
• For information on how to shut down each de-
vice, refer to "AeroDR Portable RF Unit2 Opera-
tion Manual".
2
Place each device in the carrying case.
• For information on how to store each device,
refer to "AeroDR Portable RF Unit2 Operation
Manual".
3
Return to the institution.
4
Connect this device to the institution net-
work using an Ethernet cable.
• On connection, the icon of [System] will change.
IMPORTANT
•••••••••••••••••••••••••••••••••••••
• Do not disconnect the Ethernet cable while the data is
being transmitted.
• The status of communication with the host is displayed
on the [System] button. For detail, refer to "7.2.1
Screen structure".
•••••••••••••••••••••••••••••••••••••••••••••••••••••
5
Charge this device and the DR Detector.
• For information about the operations of the DR
Detector, refer to "AeroDR Operation Manual".