5-21
DS35-W00 May. 2007
CLUTCHCLUTCH
CLUTCHCLUTCH
CLUTCH
TRANSMISSIONTRANSMISSION
TRANSMISSIONTRANSMISSION
TRANSMISSION
ENGINEENGINE
ENGINEENGINE
ENGINE
HSTHST
HSTHST
HST
FRONT AXLEFRONT AXLE
FRONT AXLEFRONT AXLE
FRONT AXLE
STEERINGSTEERING
STEERINGSTEERING
STEERING
BARKEBARKE
BARKEBARKE
BARKE
ELECTRICELECTRIC
ELECTRICELECTRIC
ELECTRIC
INDEXINDEX
INDEXINDEX
INDEX
HYDRAULICHYDRAULIC
HYDRAULICHYDRAULIC
HYDRAULIC
GENERALGENERAL
GENERALGENERAL
GENERAL
REAR AXLEREAR AXLE
REAR AXLEREAR AXLE
REAR AXLE
CK22/CK22H
196W4B7A
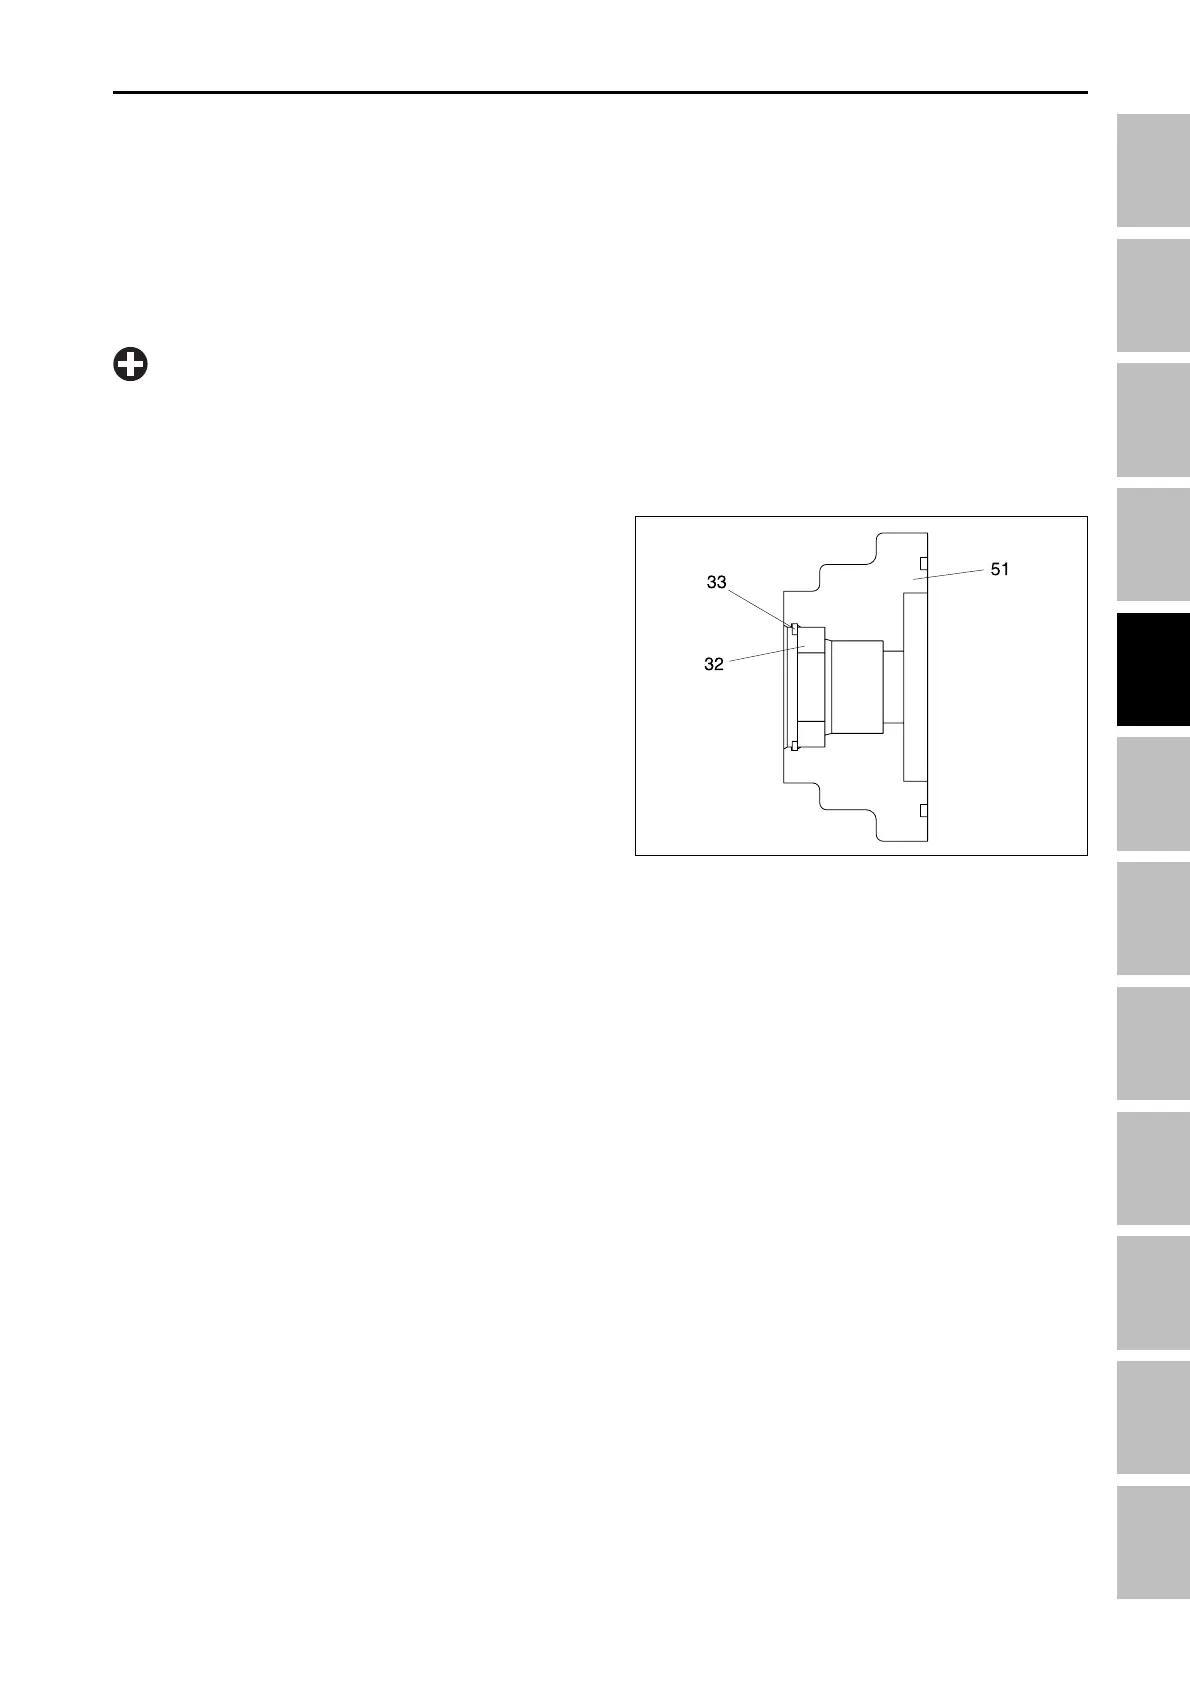
11. Press a new oil seal (32) into the charge pump cas-
ing (51). Install the snap ring (33).
(32) Oil seal
(33) Snap ring
(51) Charge pump casing
12.Install items (50 and 53) and new O-ring into the
charge pump casing (51) and install items (51, 54,
55, 56) onto the housing and tighten (55) to a torque
of 26.5 ~ 32.4 Nm (2.7 ~ 3.3 kgf-m, 19.5 ~ 23.9 lb-ft).
8. Install the swash plate (15) into the housing, match-
ing the dowel in the housing with the hole in the
swash plate (15). Install the shoe plate (16) as
shown in the figure. Then, assemble items (17 ~
24) and install them onto the swash plate (16).
9. Apply petroleum jelly to the valve plates (45, 46) and
install them onto the rear cover (25).
10.Install items (25, 44, 47) and tighten (47) to a torque
of 44 ~ 54 Nm (4.49 ~ 5.51 kgf-m, 32.5 ~ 39.8 lb-ft).
•
Make sure that the valve plates are installed into
the same position as removed in Hydrostatic
Transmission Disassembly.
IMPORTANT
HST - SERVICING