106
5.3 Exposure with DR Detector (Aero Sync mode)
• Images that were automatically altered by the E
process or F process are displayed.
• When [E] or [F] is pressed again, the original im-
ages are displayed.
IMPORTANT
•••••••••••••••••••••••••••••••••••••
• In the case of a pneumoconiosis examination, a
warning message is displayed when parameters are
changed.
•••••••••••••••••••••••••••••••••••••••••••••••••••••
HINT
•••••••••••••••••••••••••••••••••••••
• The parameter options available on the exposure
screen are only ON and OFF. Perform detailed adjust-
ments on the viewer screen.
•••••••••••••••••••••••••••••••••••••••••••••••••••••
z
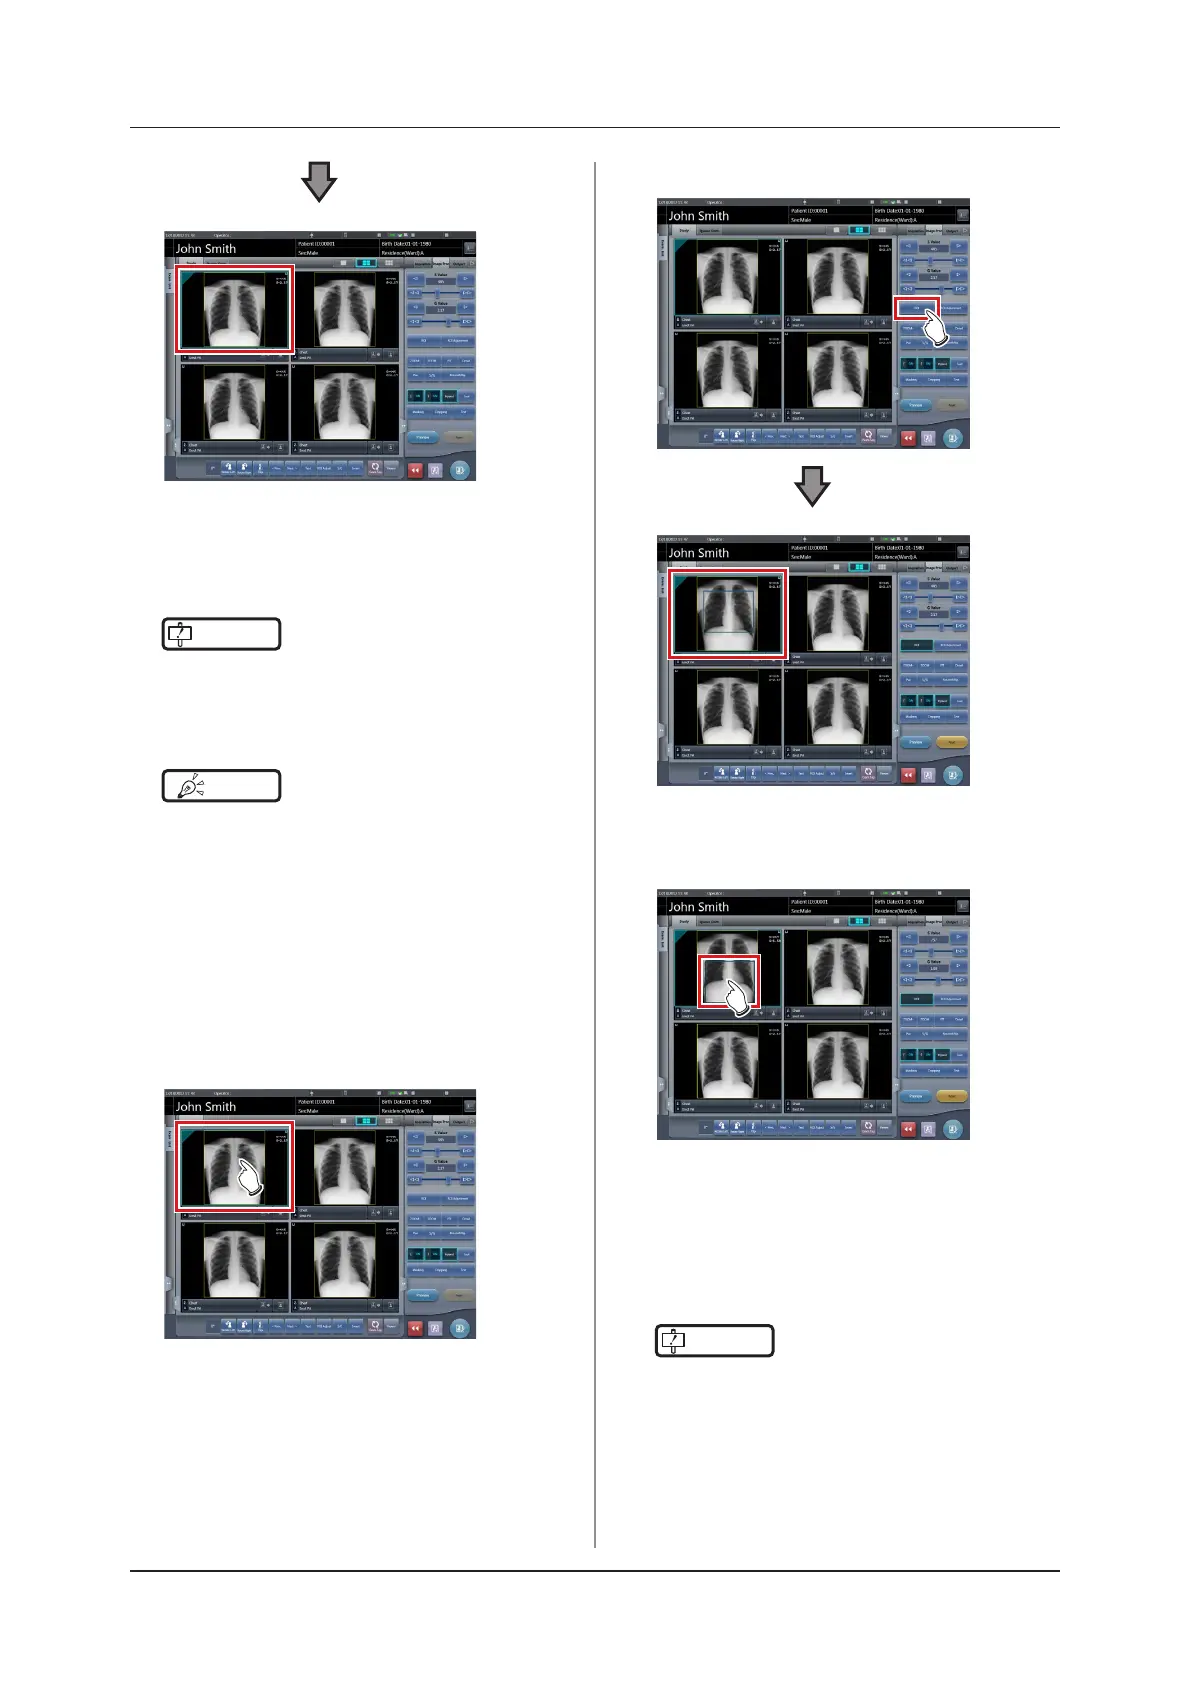
Change of ROI area position
Change of ROI area position is performed with the fol-
lowing procedure.
1
Select an image whose ROI area you want
to change.
• The control panel automatically switches to the
[Image Proc] tab. If it does not switch, select the
[Image Proc] tab manually.
2
Press [ROI].
• The ROI area is displayed.
3
Move the ROI area.
• When any part of the image is clicked, the ROI
area moves to the center of the clicked part.
• The following operations will cancel the ROI
mode.
– Pressing [ROI] again
– Pressing another button
IMPORTANT
•••••••••••••••••••••••••••••••••••••
• When ROI area movement is performed after chang-
ing S value/G value, the changed S value/G value is
reset, and the S/G value becomes optimized after ROI
area movement.
•••••••••••••••••••••••••••••••••••••••••••••••••••••

 Loading...


