255
7.6 Auto stitching exposure with AeroDR Detector
Chapter 7
3
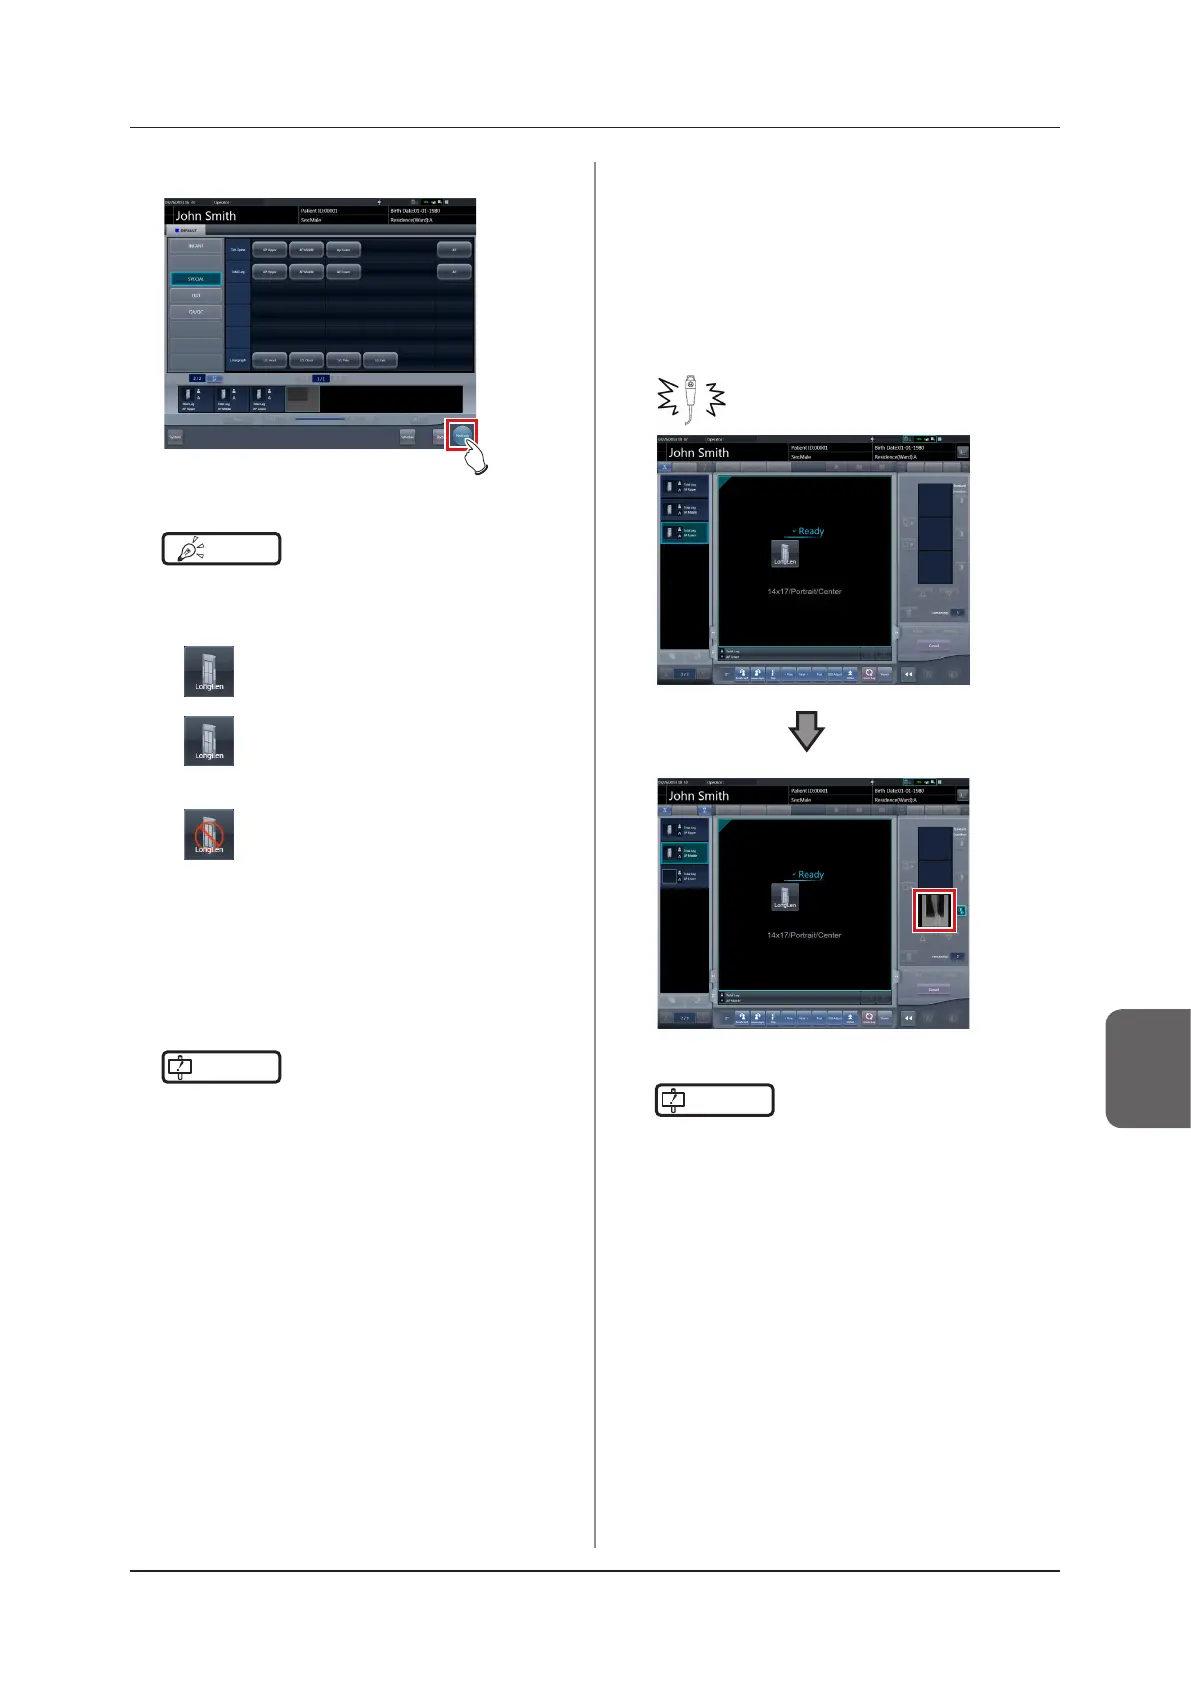
Press [Perform].
• The exposure screen is displayed.
HINT
•••••••••••••••••••••••••••••••••••••
• Display of the device icon and message changes ac-
cording to the device status. The meaning of the sta-
tuses to be displayed are listed below.
"Please do the height detection."
AeroDR Stitching Unit is in preparation.
"Please detect radiation eld."
Condition of undetected exposure. Detect
exposure eld detection.
"Please check a panel"
DR Detector is not set (ready) for modality
to be used for exposure. Set (prepare) the
DR Detector.
•••••••••••••••••••••••••••••••••••••••••••••••••••••
4
Patients are led before the AeroDR Stitch-
ing Unit and the X-ray exposure range is
set.
IMPORTANT
•••••••••••••••••••••••••••••••••••••
• If Exam. Tag and exposure field confirmation results
do not match, the following action is performed.
– If exposure field confirmation results are less
than the Exam. Tag, the confirmation screen is
displayed. The Exam. Tag is maintained as is and
exposure is enabled.
– If exposure field confirmation results exceed the
Exam. Tag, an error is displayed. Either reset the
exposure field or add an Exam. Tag on the body
part selection screen.
•••••••••••••••••••••••••••••••••••••••••••••••••••••
5
The exposure ready LED (blue) of the
AeroDR Stitching Unit lights to let you
know exposure is enabled.
6
Exposes the rst.
• Set up the X-ray device before exposure. Per-
form exposure after checking the exposure set-
tings.
Press the exposure switch
• Exposed preview image is displayed.
IMPORTANT
•••••••••••••••••••••••••••••••••••••
•
Make sure the focus matches stitching Exam. Tags.
•
Always ensure the exposure ready LED (blue) of the
AeroDR Stitching Unit is lit before performing an expo-
sure. Additionally, do not press the rst stage of the ex-
posure switch until the exposure ready LED (blue) is lit.
•••••••••••••••••••••••••••••••••••••••••••••••••••••