MAINTENANCE AN D SERVICING
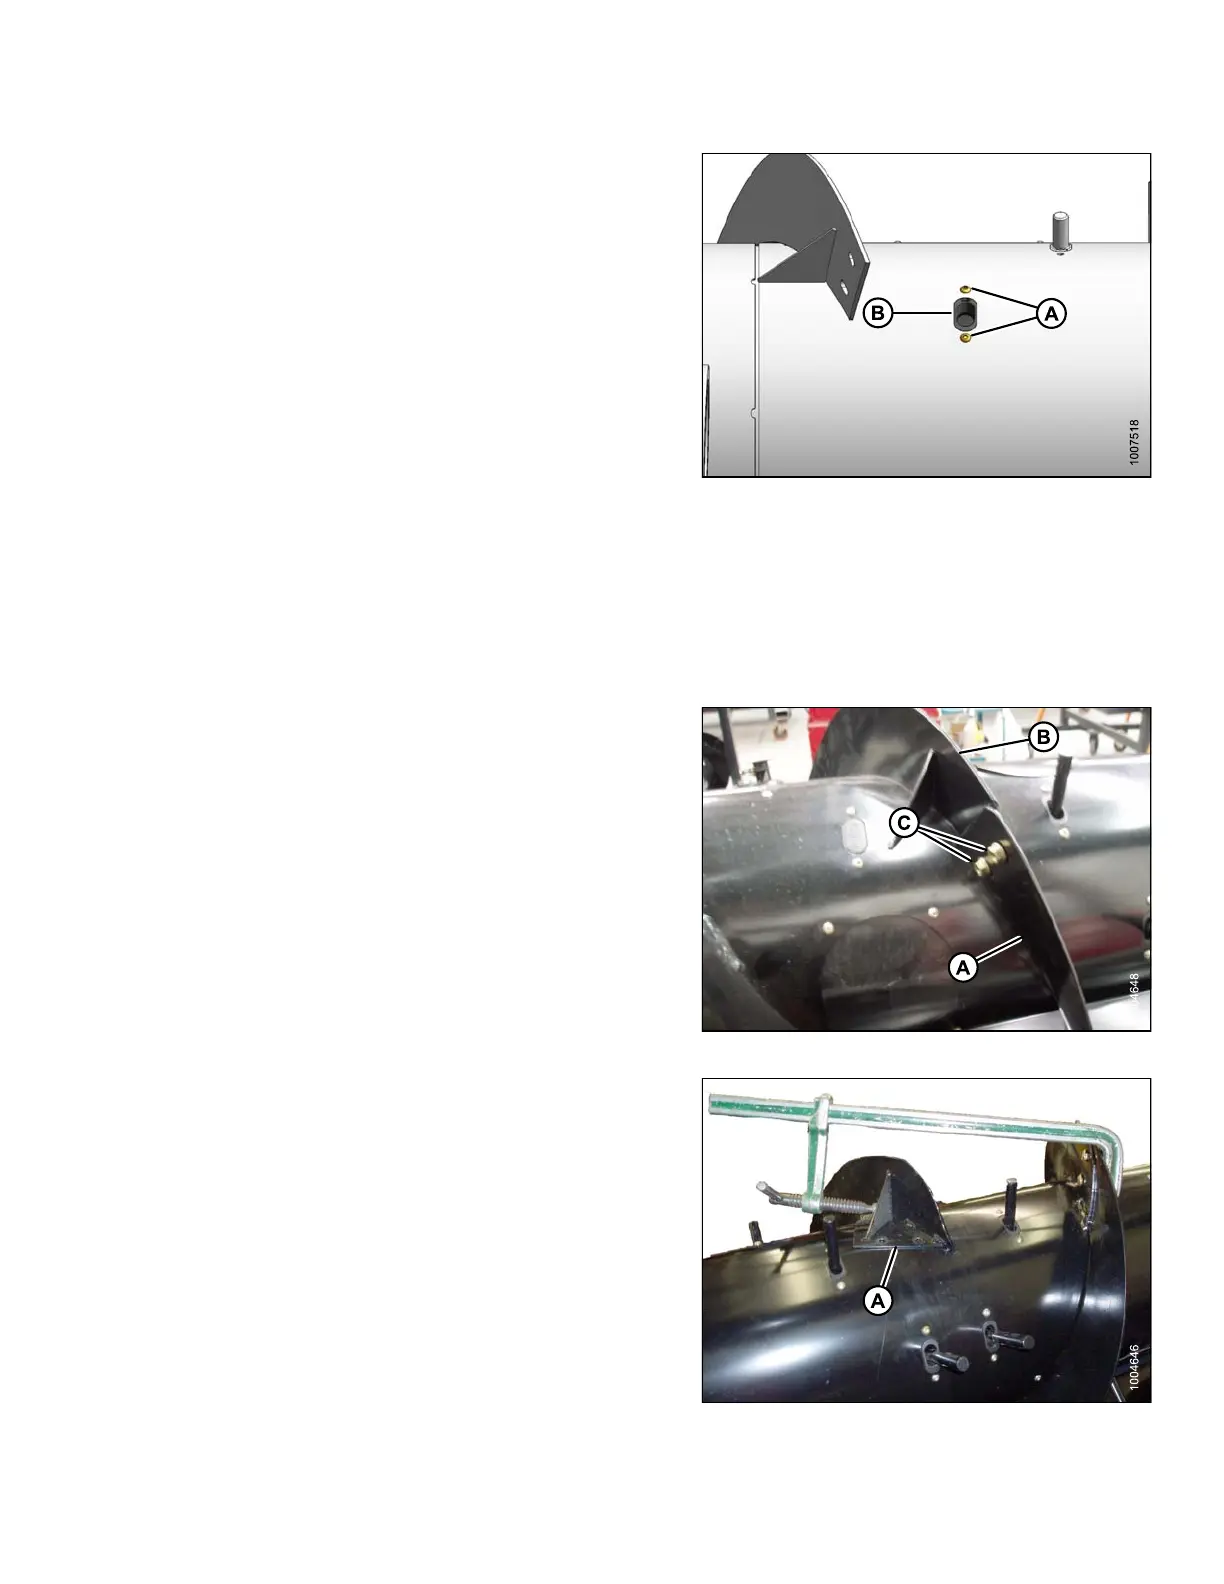
2. Position plastic guide (B) from inside auger and secure
with screws (A). Coat screws with Loctite
®
#243 (or
equivalent), and torque to 75 in·lbf (8.5 N·m).
3. Reinstall tine. Refer to Installing Fee d Au g er Tines ,
page 295.
Figure 5.76: Auger
5.7.6 Flighting Extensions
Installing Flighting Extensions
To install flighting extensions to the adapter, follow
these steps:
1. Place the flighting extensions (A) outboard of the auger
flighting (B). Tighten hardware, finger tight making sure
that carriage bolt heads are on the crop side (inside)
and nuts (C) are on the outside of the fl ighting.
Figure 5.77: Flighting Extension
2. Stretch flighting e xtensions (A) to fit a uger tube. Use
slotted holes on flighting exten sion to get the best fit
around the auger tube.
Figure 5.78: Flighting Extension
147695 297 Revision A