5-24 Phaser 6128MFP Service Manual
Print-Quality Troubleshooting
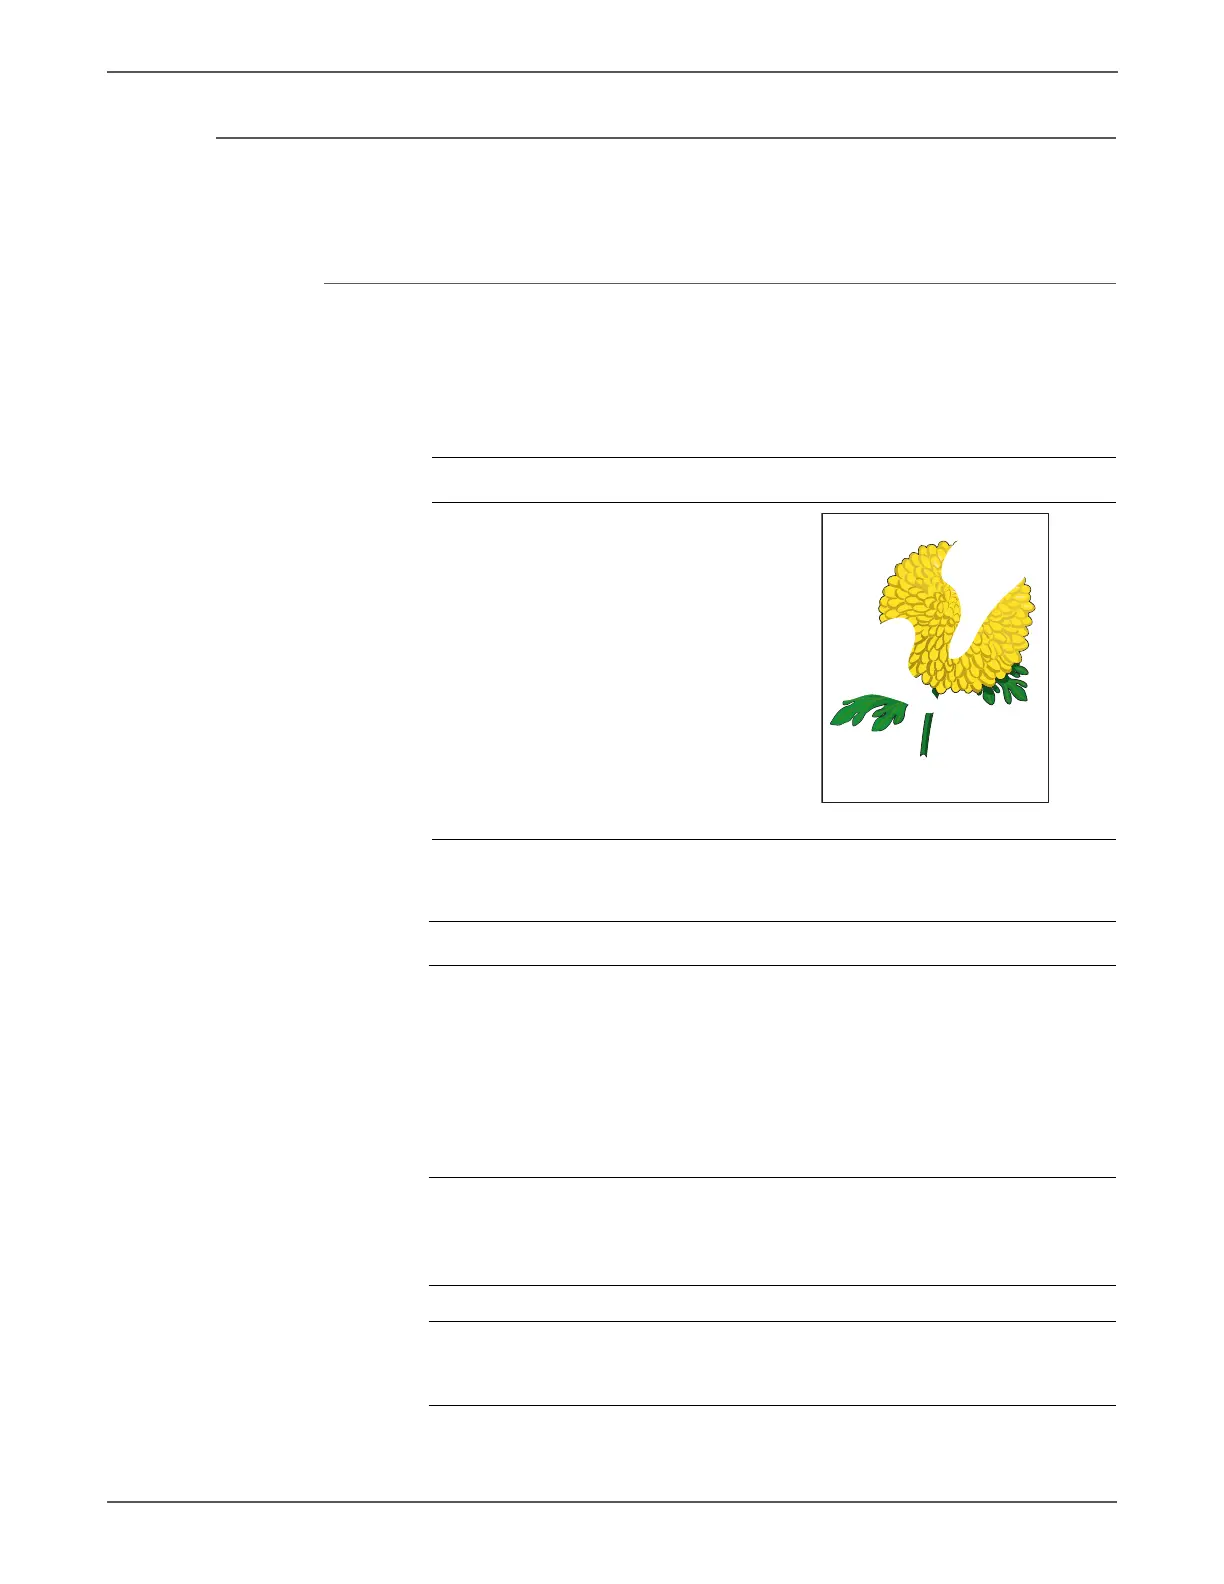
Partial Band
There are areas of the image that are extremely light or are missing in a limited
area on the paper.
Initial Actions
• Check the paper transfer path.
• Ensure there are no debris on the transfer path.
Troubleshooting Reference Table
Applicable Notes Example Print
■ Laser Unit Kit (PL4.1.99)
■ Imaging Unit (PL4.1.21)
■ Transfer Belt (PL6.1.7)
■ IP Board (PL10.6.6)
■ MCU Board (PL10.7.7)
Troubleshooting Procedure Table
Step Actions and Questions Yes No
1 1. Run the Contamination Check test
print: Service Mode > Test Print >
Contamination Chk
2. Compare any blank areas with the
Pitch Chart (page 5-51).
Do any of the blank areas appear at
regular intervals, and do the
intervals match the chart?
Replace the
corresponding
parts.
Go to step 2.
2 Check the paper condition
Is the paper dry and approved for
use?
Go to step 4. Replace with
dry, approved
paper, then go
to step 3.
3 Is the image printed correctly? Complete Go to step 4.
4 Inspect the transfer belt surface.
Is the transfer belt damaged?
Replace the
Transfer Belt
(page 8-103).
Go to step 5.
Partial Band
 Loading...