Phaser 6128MFP Service Manual 5-29
Print-Quality Troubleshooting
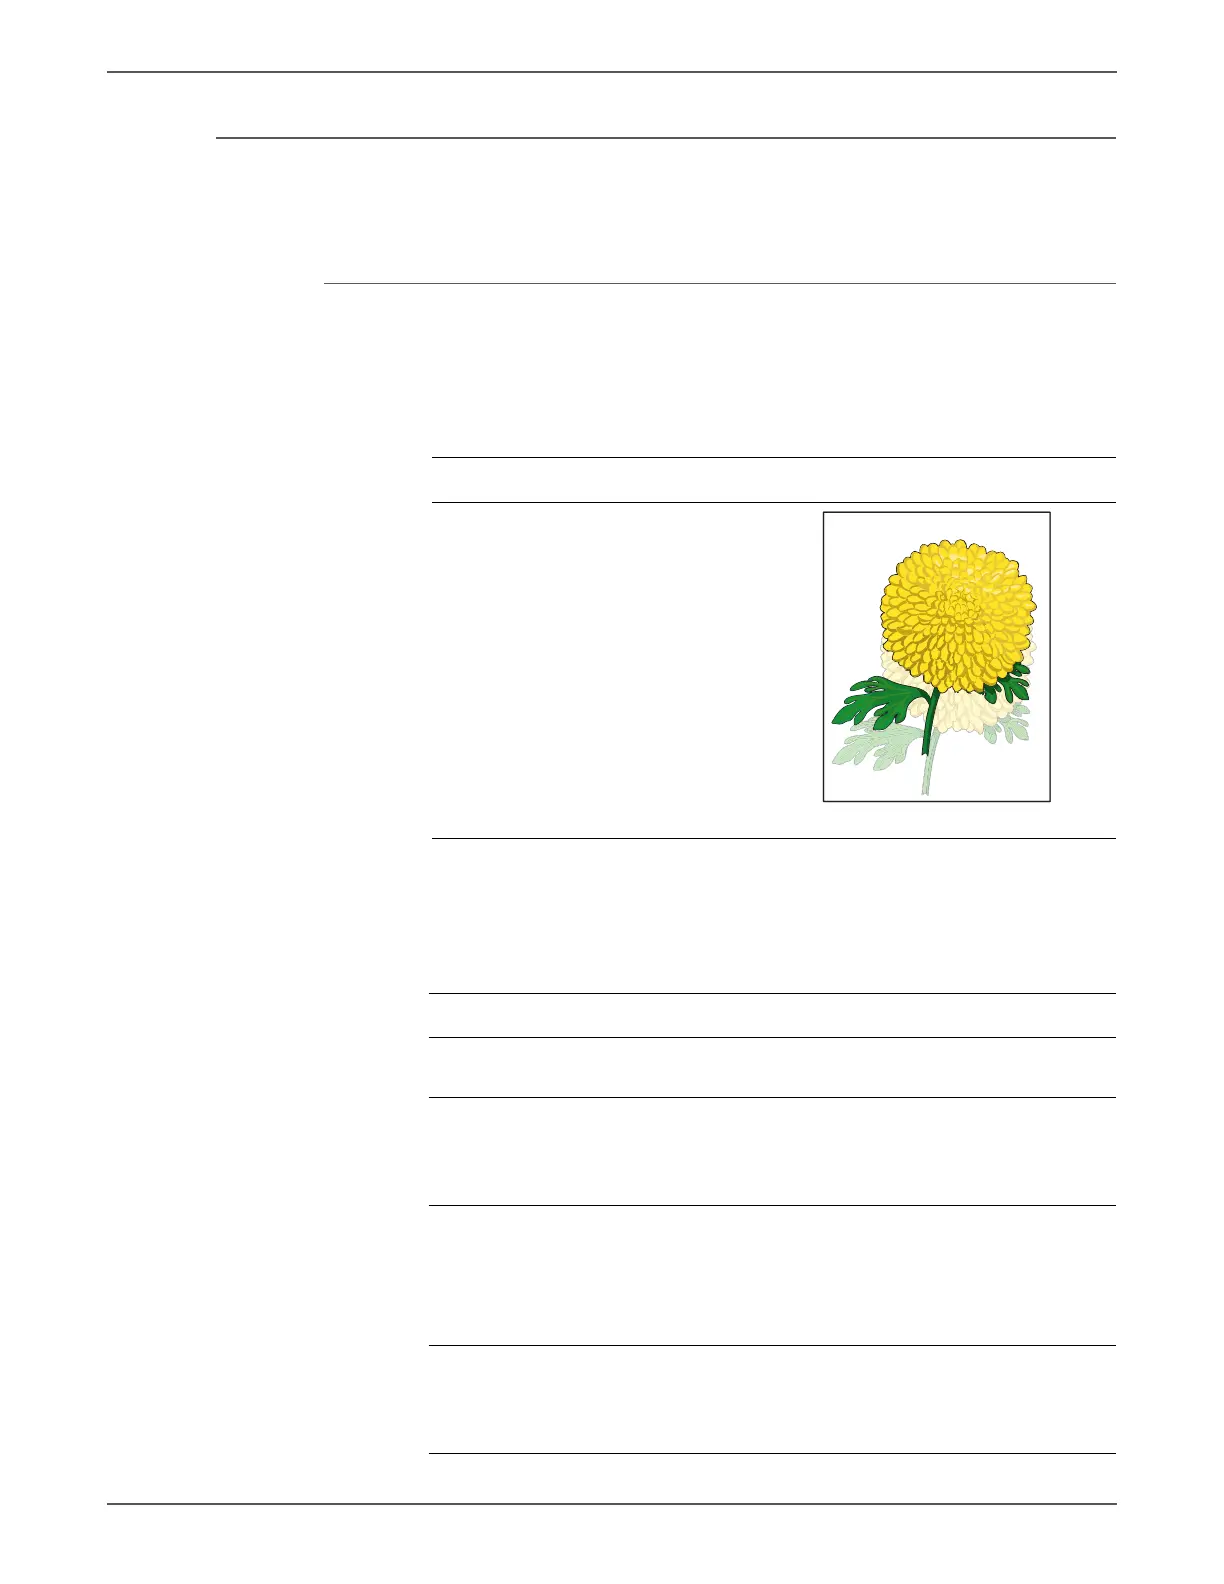
Residual Image or Ghosting
There are faint, ghostly images appearing on the page. The images may be either
from a previous page or from the page currently being printed.
Initial Actions
• Check the paper transfer path.
• Ensure there are no debris on the transfer path.
Allow the Fuser to cool before starting the procedure.
Troubleshooting Reference Table
Applicable Notes Example Print
■ Erase LED Assy (PL4.1.8)
■ Imaging Unit (PL4.1.21)
■ Fuser (PL6.1.1)
■ Transfer Belt (PL6.1.7)
■ IP Board (PL10.6.6)
■ MCU Board (PL10.7.7)
■ LVPS Harness Assy (PL10.8.14)
Troubleshooting Procedure Table
Step Actions and Questions Yes No
1 Did the client print a large number
of the same image?
Go to step 2. Go to step 3.
2 Run the Contamination Check test
print: Service Mode > Test Print >
Contamination Chk
Is the image printed correctly?
Complete Go to step 3.
3 1. Open the Front Cover, and remove
the Imaging Unit.
2. Defeat the safety interlock switch.
Do the four erase LEDs light
correctly?
Go to step 6. Go to step 4.
4 Inspect the connections between
the MCU Board and Erase LED Assy.
Are P/J141 and P/J14 connected
correctly?
Go to step 5. Reconnect the
connectors
securely, then
go to step 5.
 Loading...