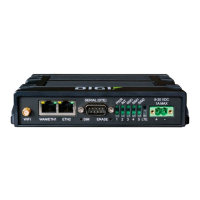
Serial port Review the serial port messagelog
IX20 User Guide
309
Log into the IX20 WebUI asa user with full Admin accessrights.
1. On the main menu, click Status
2. Under Connections, click Serial. The Serial Statuspage displays.
3. If a green Log button isdisplayed, the serial port modeselected for the port supports serial
port logging, and logging is enabled. Click the Logbutton to open the Serial Port Log page for
that port. TheSerial port log window displays.
Note If the Log button is gray, the serial port modeselected for the port supports serial port
logging, but logging is not enabled. If there is no Log button, the serial port mode selected for
the port doesnot support serial port logging.
4. Review the messages in the window.
n
Click Refresh to refresh the log display.
n
Click Download to download the serial port log to your local device. The log file is
saved to the /opt/serial directory. Because this is being save to the device's memory,
you should use serial logging for diagnostic purposes, rather than having it permanently
enabled.
n
Click Restart to clear and restart the serial port log.
Command line
1. Select the device in Remote Manager and click Actions> Open Console, or log into the IX20
local command line as a user with full Admin access rights.
Depending on your device configuration, you may be presented with an Access selection
menu. Type admin to accessthe Admin CLI.
2. To show the serial port's contents and logging status:
> system serial show port-number
Logging is active on port-number
>
3. To savethe log to your local device:
> system serial save port-number path
>
If a relativepath is provided, /etc/config/serial will be used as the root directory for the path
and file. (Required)
The log file is saved to the /opt/serial directory. Because this is being save to the device's
memory, you should use serial logging for diagnostic purposes, rather than having it
permanently enabled.
4. To clear and restart the log:
> system serial clear port-number
>

 Loading...