Firewall Firewall configuration
IX20 User Guide
933
c. Click Settings.
d. Click to expand Config.
Local Web UI:
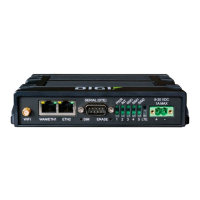
a. On the menu, click System. Under Configuration, click Device Configuration.
The Configuration window is displayed.
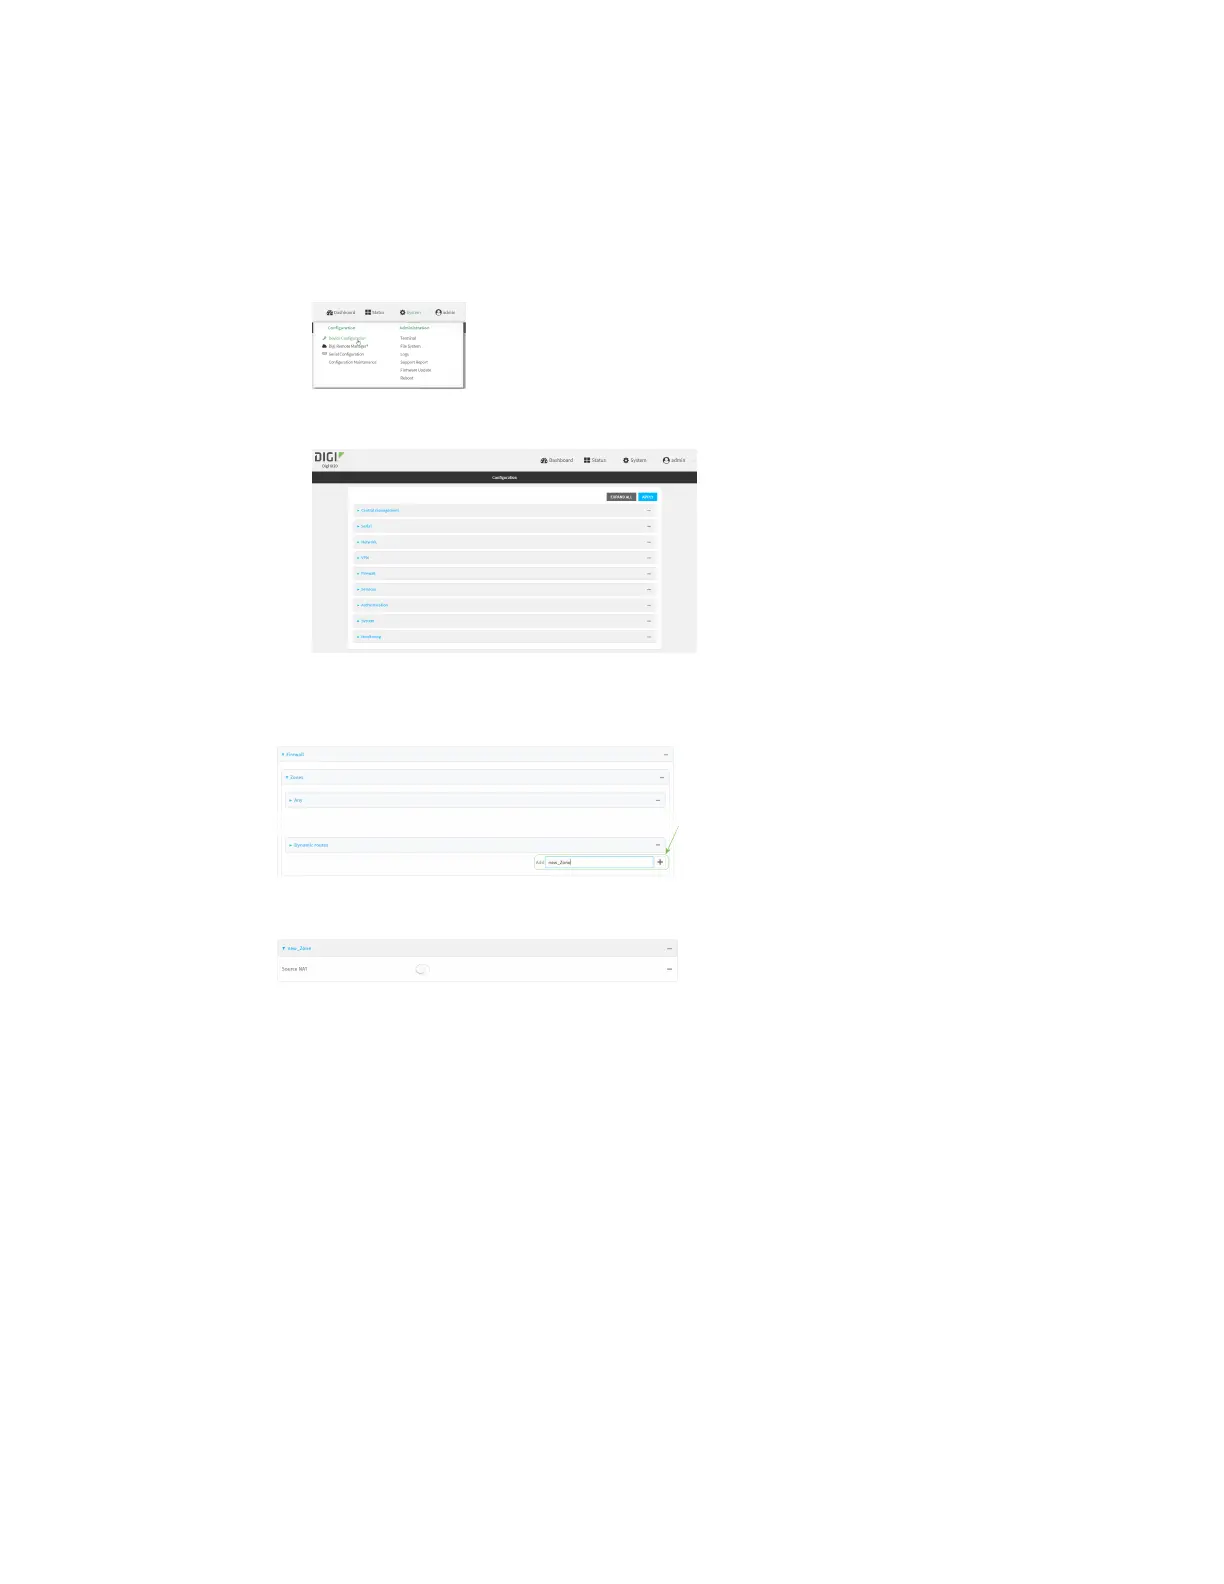
3. Click Firewall >Zones.
4. In Add Zone, enter a name for the zone and click .
The firewall configuration window is displayed.
5. (Optional) If traffic on this zone will be forwarded from aprivate network to the internet,
enable Network Address Translation (NAT).
6. Click Apply to savethe configuration and apply the change.
See Configure the firewall zone for a network interface for information about how to configure
network interfacesto use a zone.
Command line
1. Select the device in Remote Manager and click Actions> Open Console, or log into the IX20
local command line as a user with full Admin access rights.
Depending on your device configuration, you may be presented with an Access selection
menu. Type admin to accessthe Admin CLI.