HEADER ATTAC HMENT/D ETACH ME NT
27. If quick disconnects are installed, connect as follows:
a. Remove covers (if installed) from receptacles and
hose ends.
b. Check connectors, and clean if required.
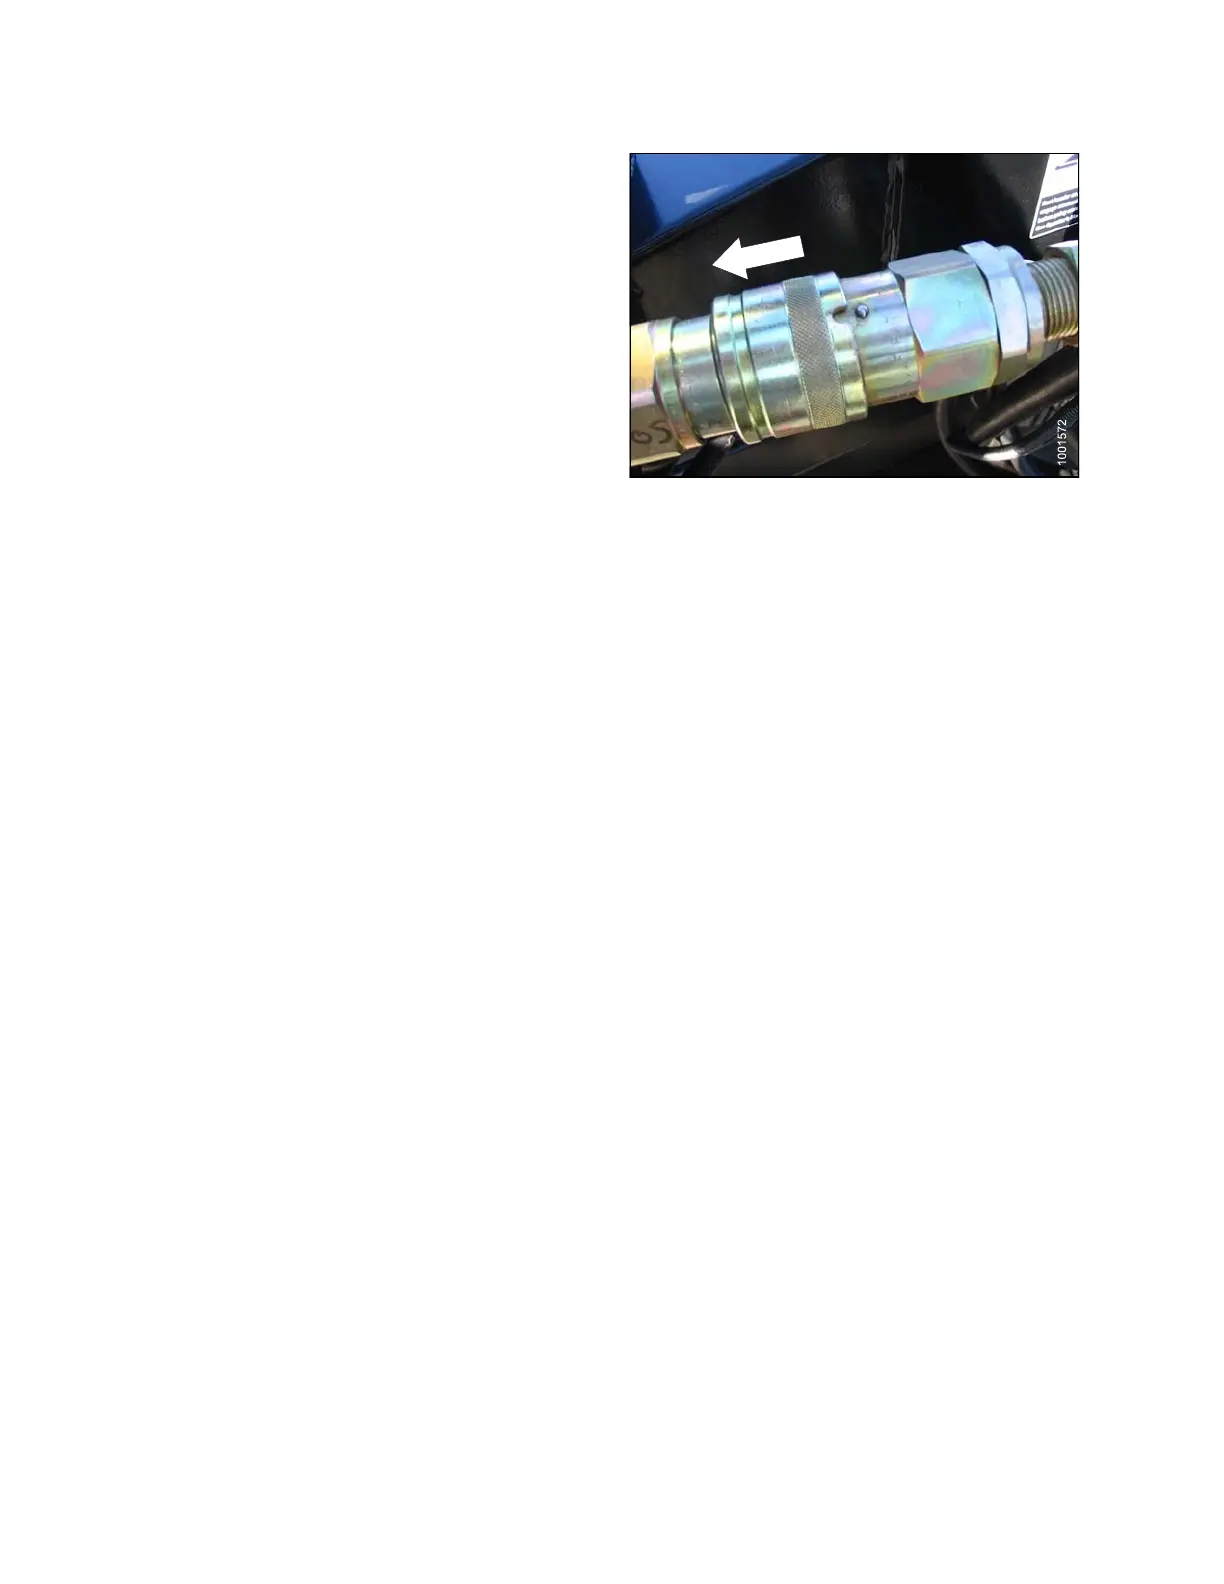
c. Push hose connector onto mating receptacle until
collar on receptacle snaps into lock position.
NOTE:
Ensure hoses are clear of driveline and
adjacent structure.
NOTE:
It is not nec
essary to bleed the system by
loosening fi
ttings.
28. Check float, and confirm that the header is level.
Refer to:
• Checking and Adjusting Header Float, page 58.
• 3.9 Levelling the Head er, pa g e 17 3.
29. Start combine and perform the following:
• Raise and
lower reel to ensure hoses are
properly
connected.
•Run the h
eader to ensure hoses are
properl
y connected.
30. Check fo
r leaks.
Figure 4.124: Q uick Disconnect
147695 250 Revision A