8-38 Phaser 4500/4510 Service Manual
FRU Disassembly
Laser Unit Assembly
(PL8.1.1)
Caution
When removing or installing the laser unit assembly, set the printer on a
smooth, level work surface such as a desk. Working on a rough or
inclined surface can result in mis-alignment of the laser unit assembly.
Procedure:
1. Remove the vacuum duct (page 8-35).
2. Remove the front duct (page 8-36), but do not remove the sub fan from
the duct.
3. Remove the three screws (machine with flange, 8 mm) that attach the
upper duct (4).
4. Tilt out the left side of the upper duct to clear the connector, and remove
the duct.
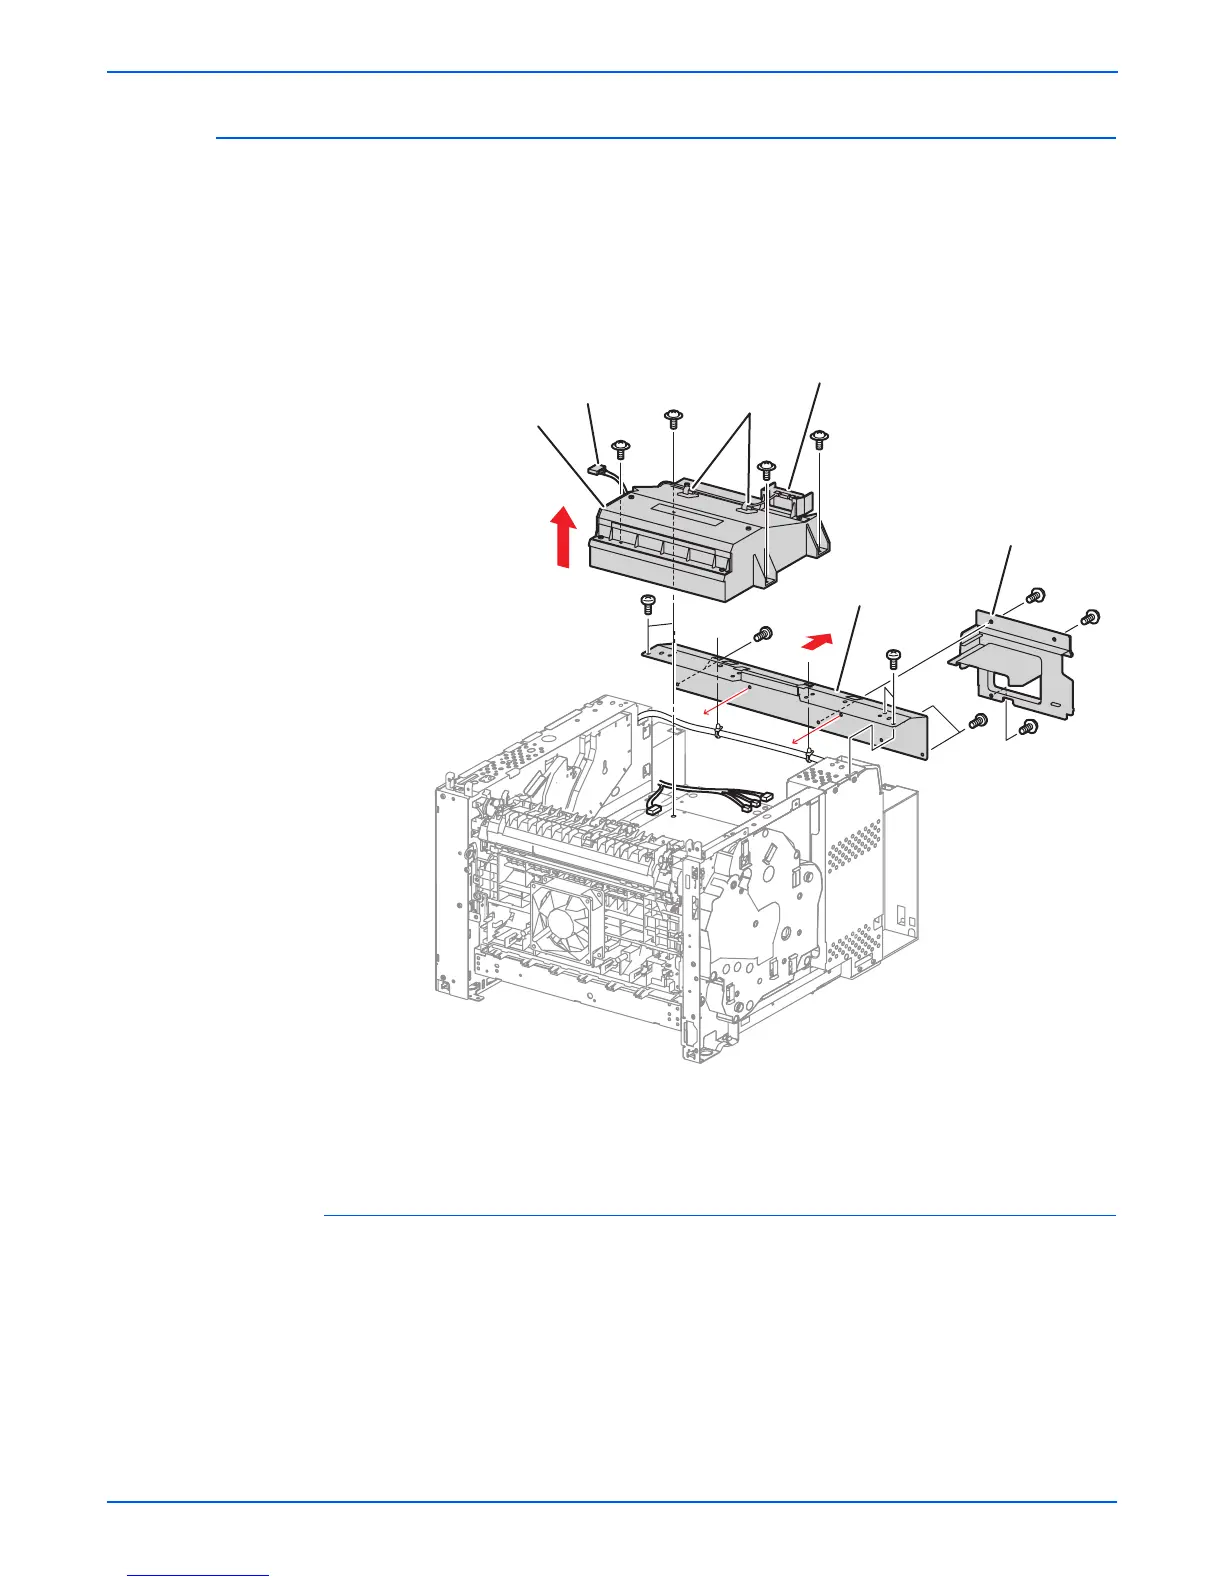
5. Release the three cable restraints on the inside of the front tie plate (3).
1.Laser unit assembly 3.Front tie plate
2.Cable clamps 4.Upper duct
s4500-111
1
P/J131
P/J140, 160, 170
2
3
4

 Loading...


