Wireless Access Point
601
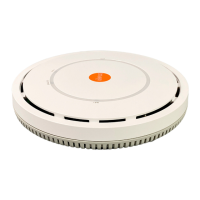
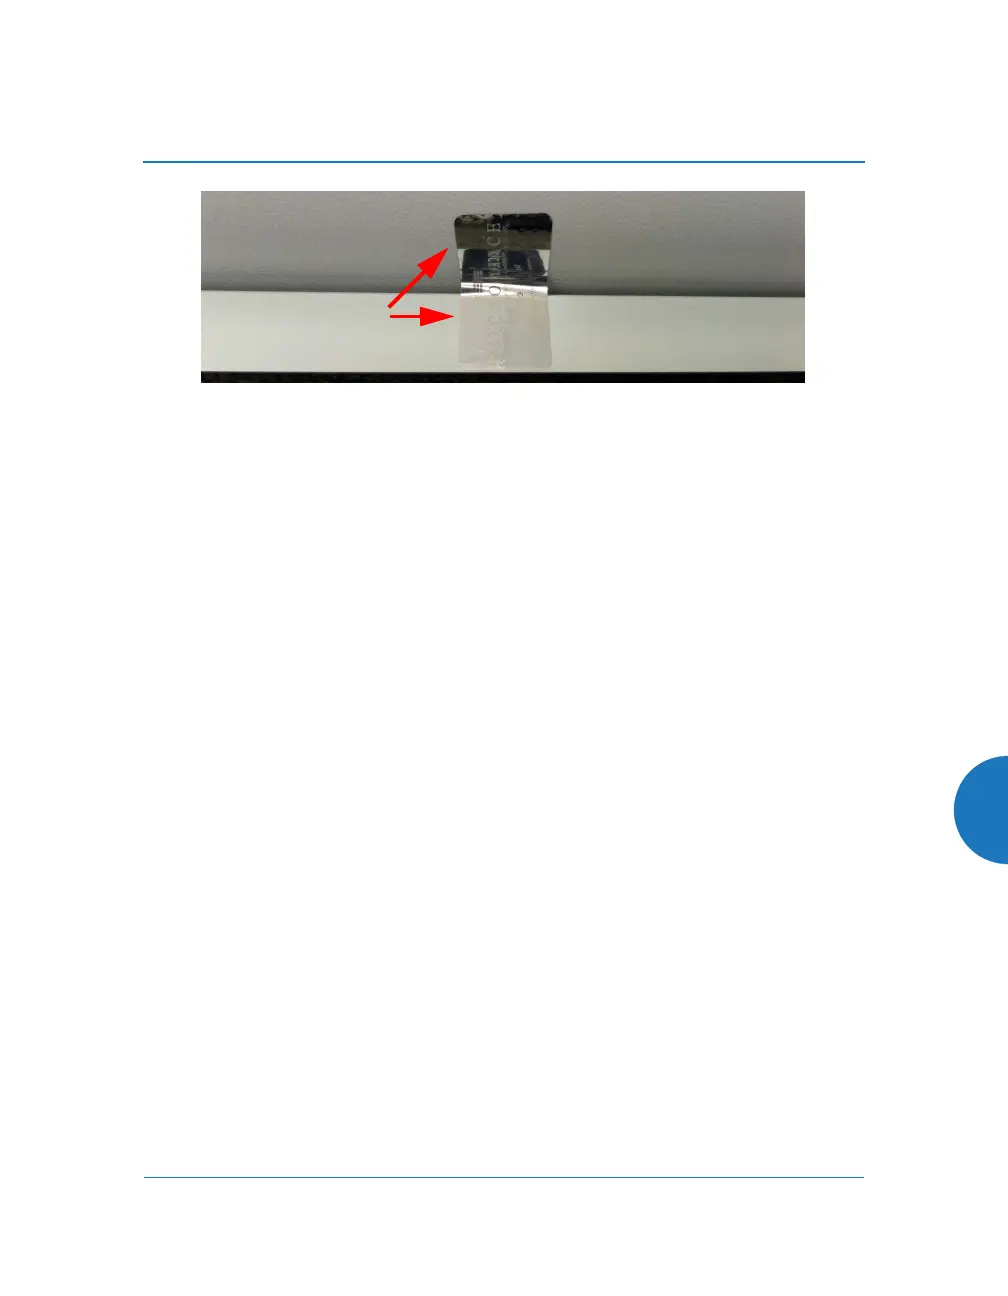
Figure 230. Tamper Evident Seal Application Close-up
2. Apply four seals, near the middle of each of the sides of the enclosure and
straddling the slight gap between the metal back and the plastic dome
cover as shown below. IMPORTANT: Make sure that each seal straddles
a seam.
To implement FIPS 140-2, Level 2 using WMI
You must enable FIPS 140-2, Level 2 Security on the AP by turning on the FIPS
setting. For details of the configuration changes that are enforced by that
command, see “About FIPS Configuration” on page 605.
To enable FIPS using the Web Management Interface (WMI), follow the steps
below after the AP has Internet connectivity. (To do this using the CLI, please see
“To implement FIPS 140-2, Level 2 using CLI:” on page 604.)
1. Open a web browser and enter the hostname of the AP. By default, this is
its serial number, which may be found on the back of the AP and on the
label of the box that it came in. For example, enter the URL https://
XR4012807707A. Log in—the default user name/password is admin/
admin. If you have any difficulties, please see “AP Management
Interfaces” on page 77.
The following steps must be performed in the order shown — you must
enable FIPS 140-2 before you create SSIDs. Otherwise, FIPS mode will
change the PSK keys of SSIDs, and you will not know what the keys are.
Each seal straddles
both sides of an
opening
 Loading...