364 Calyx Software
Templates
4 If you did not select a Microsoft application, browse to the location of the
.exe
file for
the selected application and select the file.
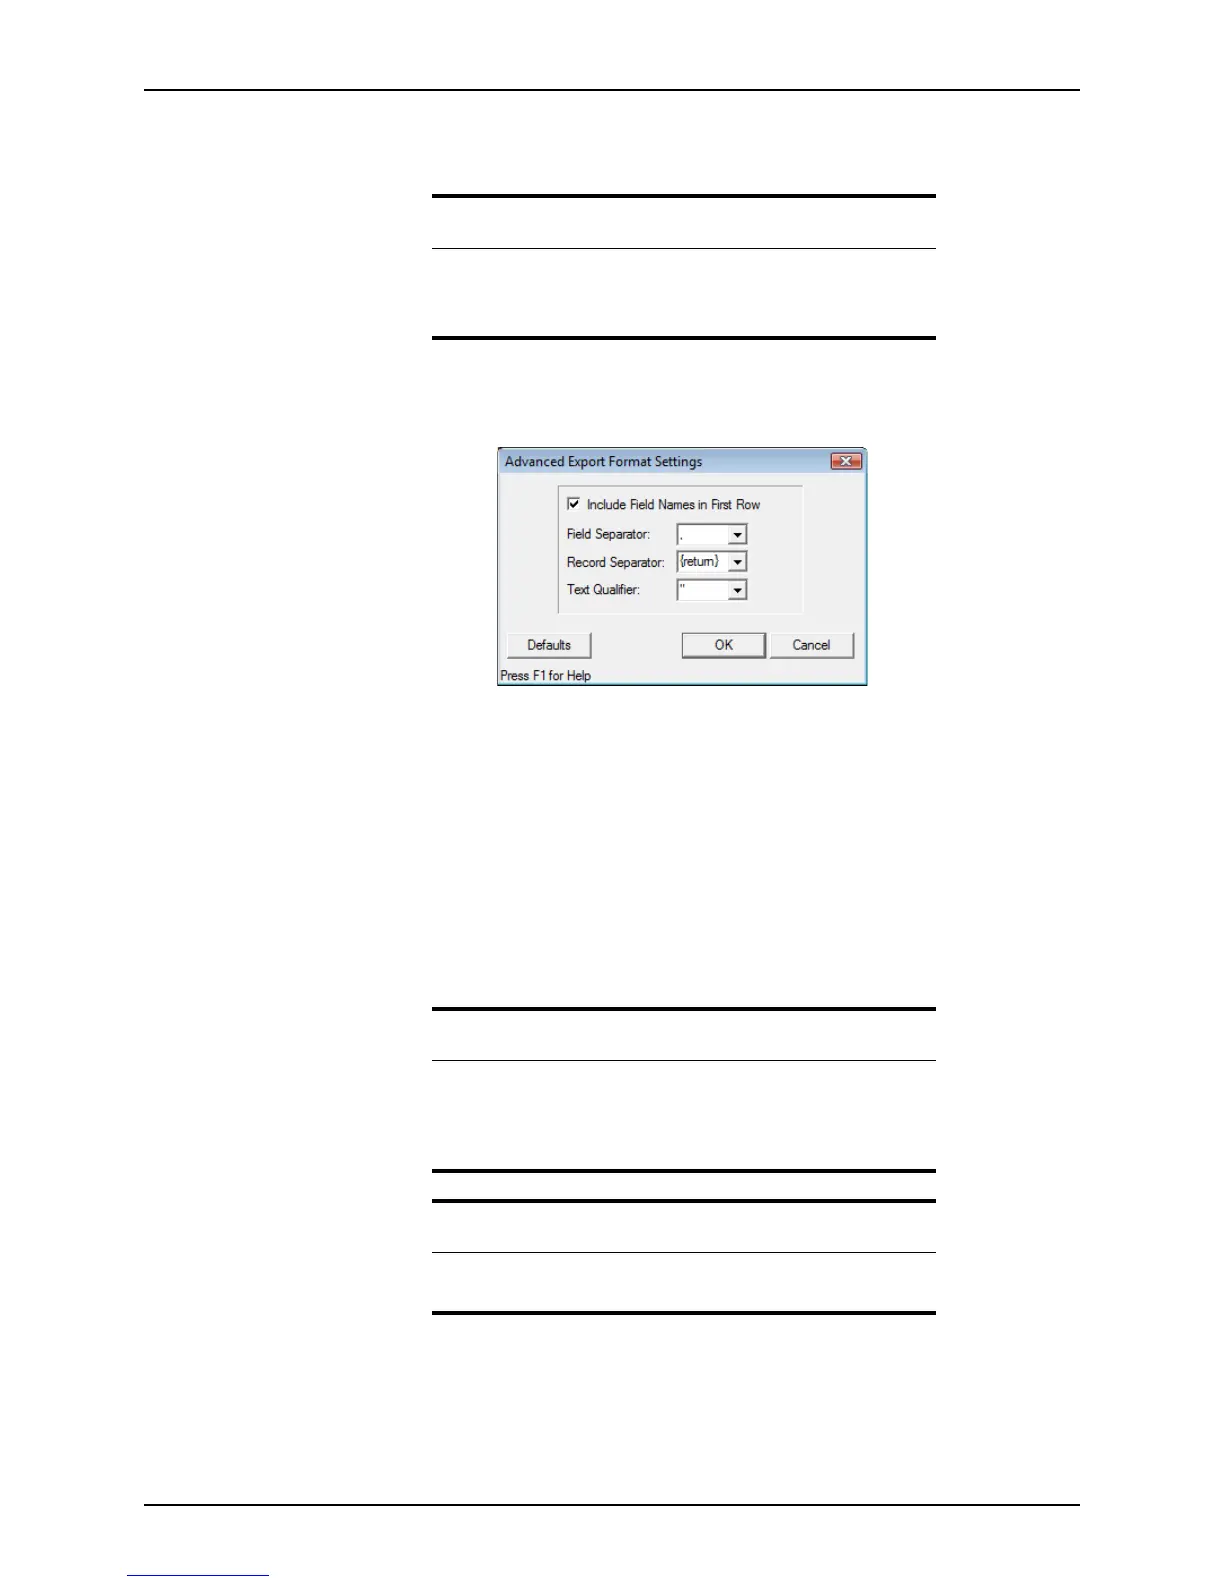
5 If you selected <custom ASCII format>, click Advanced.
The
Advanced Export Format Settings dialog box is displayed.
This dialog box is used to specify the delimiters for the output data file.
6 Click OK to accept the defaults and return to the data export template.
7 To link to a merge file, click Browse in the
DocumenttoLinkto field and navigate to
the file.
8 In the
OutputDataFile field, click Browse and navigate to the file that contains the
data to export.
9 Complete the table by entering information in a row for every column in your file.
10 After you are finished building the template, select File > Save As.
11 Enter a file name and click Save.
Note
The output data file is saved in the WINPOINT\WORK folder.
The default name and path for the output data file is
C:\WINPOINT\WORK\pointexp.dat.
Important
Point saves data export templates with an
.exp
extension. Do not change
the extension. The file name cannot contain any of the following
characters:
\ / : * ? “ < > .
Related information
For more information about field IDs, refer to Identifying fields and field
IDs, on page65.