Point User Guide 25
Buttons and options
Movement keys
Use movement keys to navigate quickly through Point when entering data. Use the
following keys to navigate in Point:
Scrolling keys
Use scrolling keys to navigate up, down, and across the screen when it exceeds the
window boundaries, without using the mouse. Use the following keys to scroll in the Point
screens:
Buttons and options
Point contains buttons on the command bar at the bottom of the workspace and
throughout the screens which are used to access other Point screens, functions, and
dialog boxes.
Some buttons are used in multiple Point screens. For your convenience, they are listed
here alphabetically by location.
Banker
The following buttons are used in various combinations on the Banker screens:
Key Description
<Tab> Moves forward one field.
<Shift> + <Tab> Moves backward one field.
<Alt> + <
J>
Moves forward one section.
<Alt> + <I>
Moves backward one section.
Key Description
<Ctrl> + <Page Down> Scrolls down one page.
<Ctrl> + <Page Up> Scrolls up one page.
<Ctrl> + <Home> Scrolls to top of form.
<Ctrl> + <End> Scrolls to bottom of form.
<Ctrl> + <
J>
Scrolls to the right.
<Ctrl> + <I>
Scrolls to the left.
<Ctrl> + <
L>
Scrolls down one line.
<Ctrl> + <K>
Scrolls up one line.
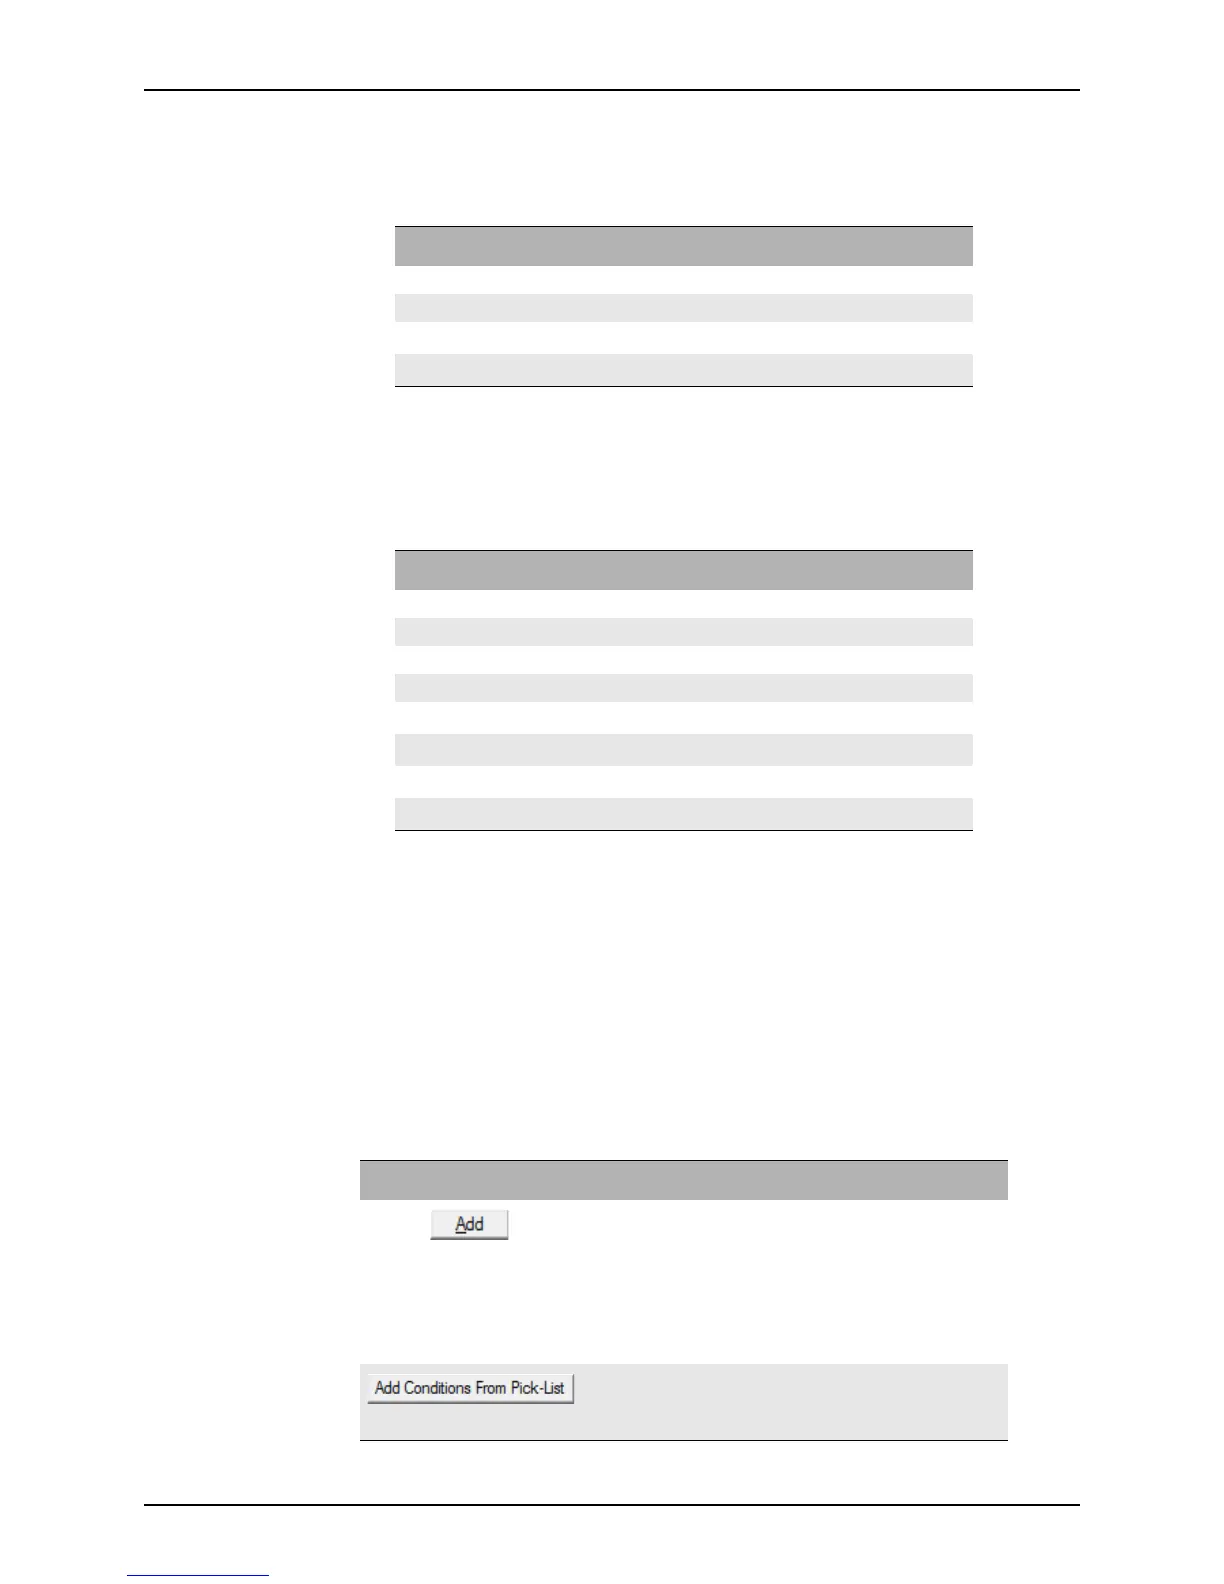
Button Description
Opens the Trail Document Entry dialog box or the Edit
Condition
dialog box.
On the
Trail Documents screen, use the Add button to
create a new entry for a specific document, such as shipping
information and fees.
On the
Conditions screen, use the Add button to add new
loan conditions that must be met before the loan is funded.
Opens the Conditions Pick-List dialog box which is used to
select individual loan conditions from a template.
This button is located on the
Conditions screen.