Point User Guide 59
Creating custom screens
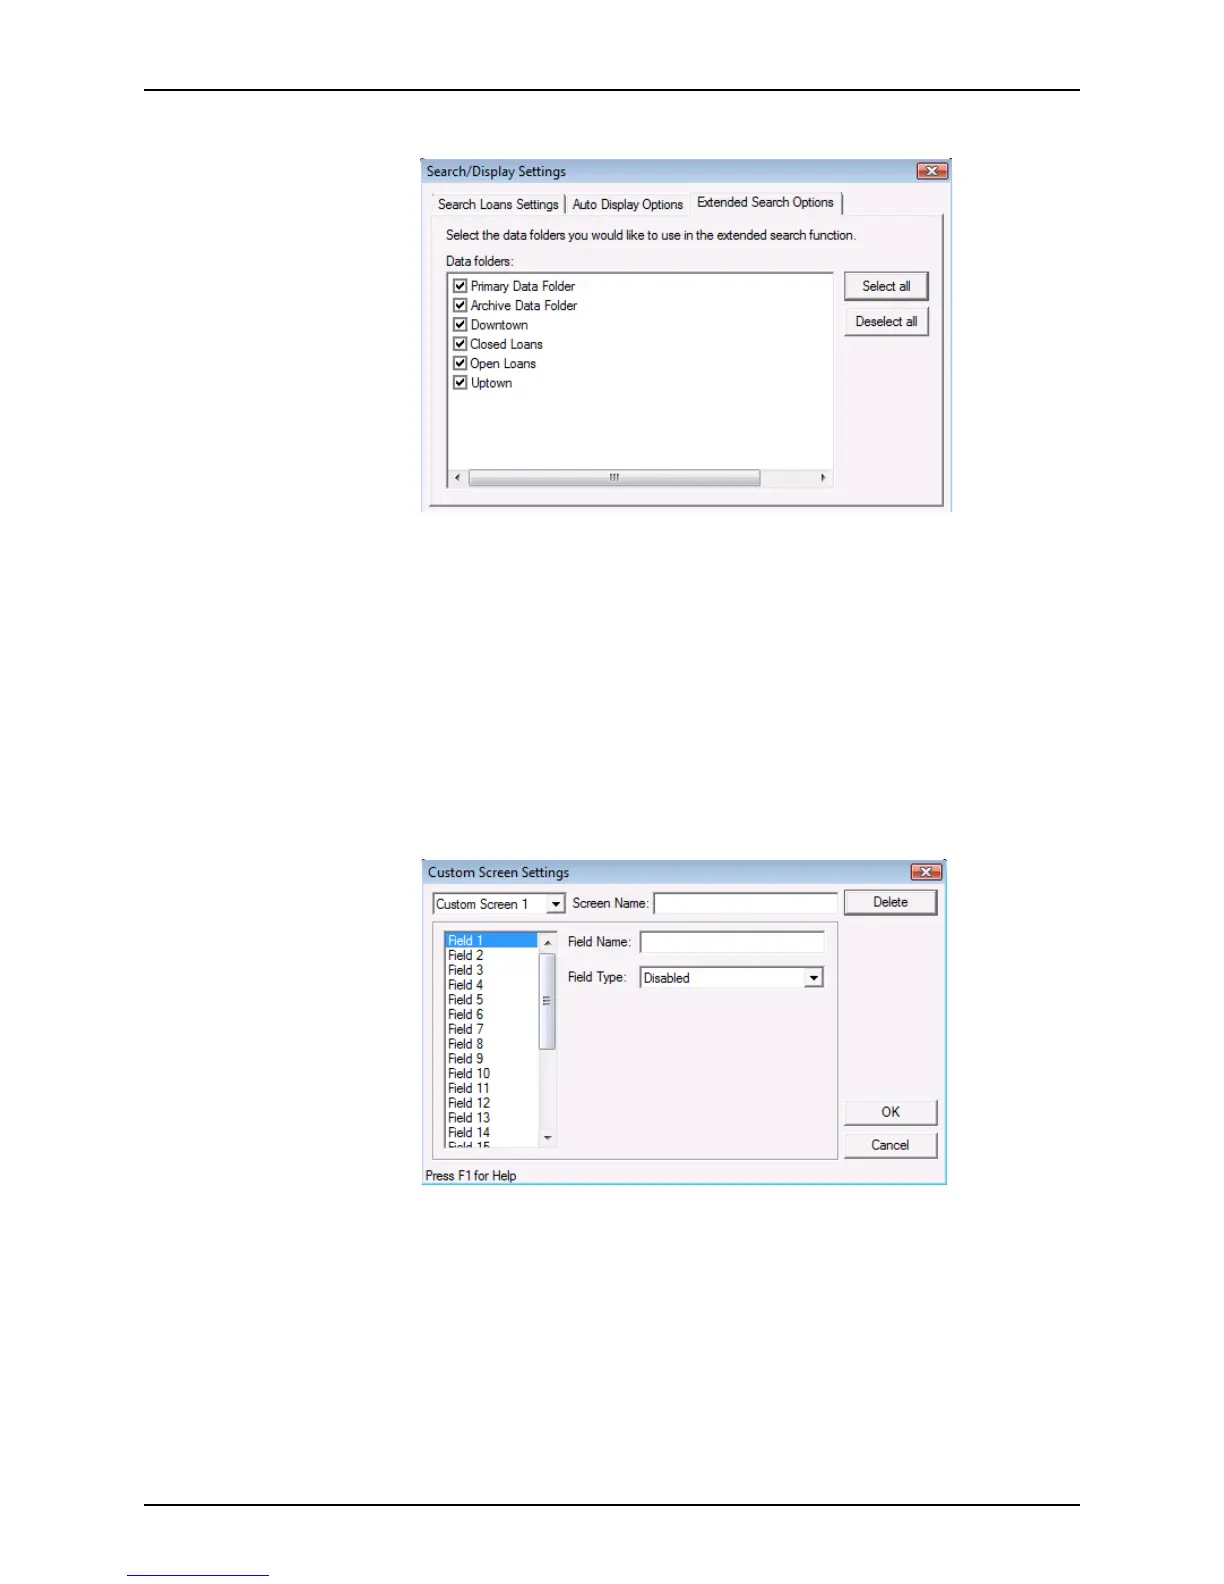
5 Click the Extended Search Options tab.
6 Select the data folders where you want the search to take place.
To select all data folders, click Select all. To remove all folders, click Deselect all.
7 Click OK to save your settings.
Creating custom screens
Use the Custom Screen Settings option to create company-specific fields that are not
included in Point. It is possible to create up to four customized screens that can each
contain up to 25 fields of information.
To create a custom screen:
1 Select Utilities > Custom Screen Settings.
2 Select the custom screen you want to create or edit from the dropdown list.
3 In the
ScreenName field, enter a name for the screen.
4 Select Field 1, or the first undefined field and enter a title in the
FieldName field.
5 To format the field content, select the field type from the dropdown list.
• To create a date field, select Date from the dropdown list. When information is
entered into the
Date field in the custom screen, it is automatically formatted as a
date (MM/DD/YYYY).
• To create a title for the form or a section heading that does not have a data entry
field, select Disabled from the dropdown list.