60 Calyx Software
Utilities configuration
• To create a dropdown list, select Dropdown List and enter the list items in the
Dropdown field.
6 Repeat Step 4 and Step 5 for any additional fields to include in the screen.
7 Click OK to save your settings.
Customizing the shortcut toolbar
Customize the shortcut toolbar to arrange it in a way that is most convenient for you to
access forms.
To customize the shortcut toolbar:
1 Select Utilities > Customize Shortcut Toolbar.
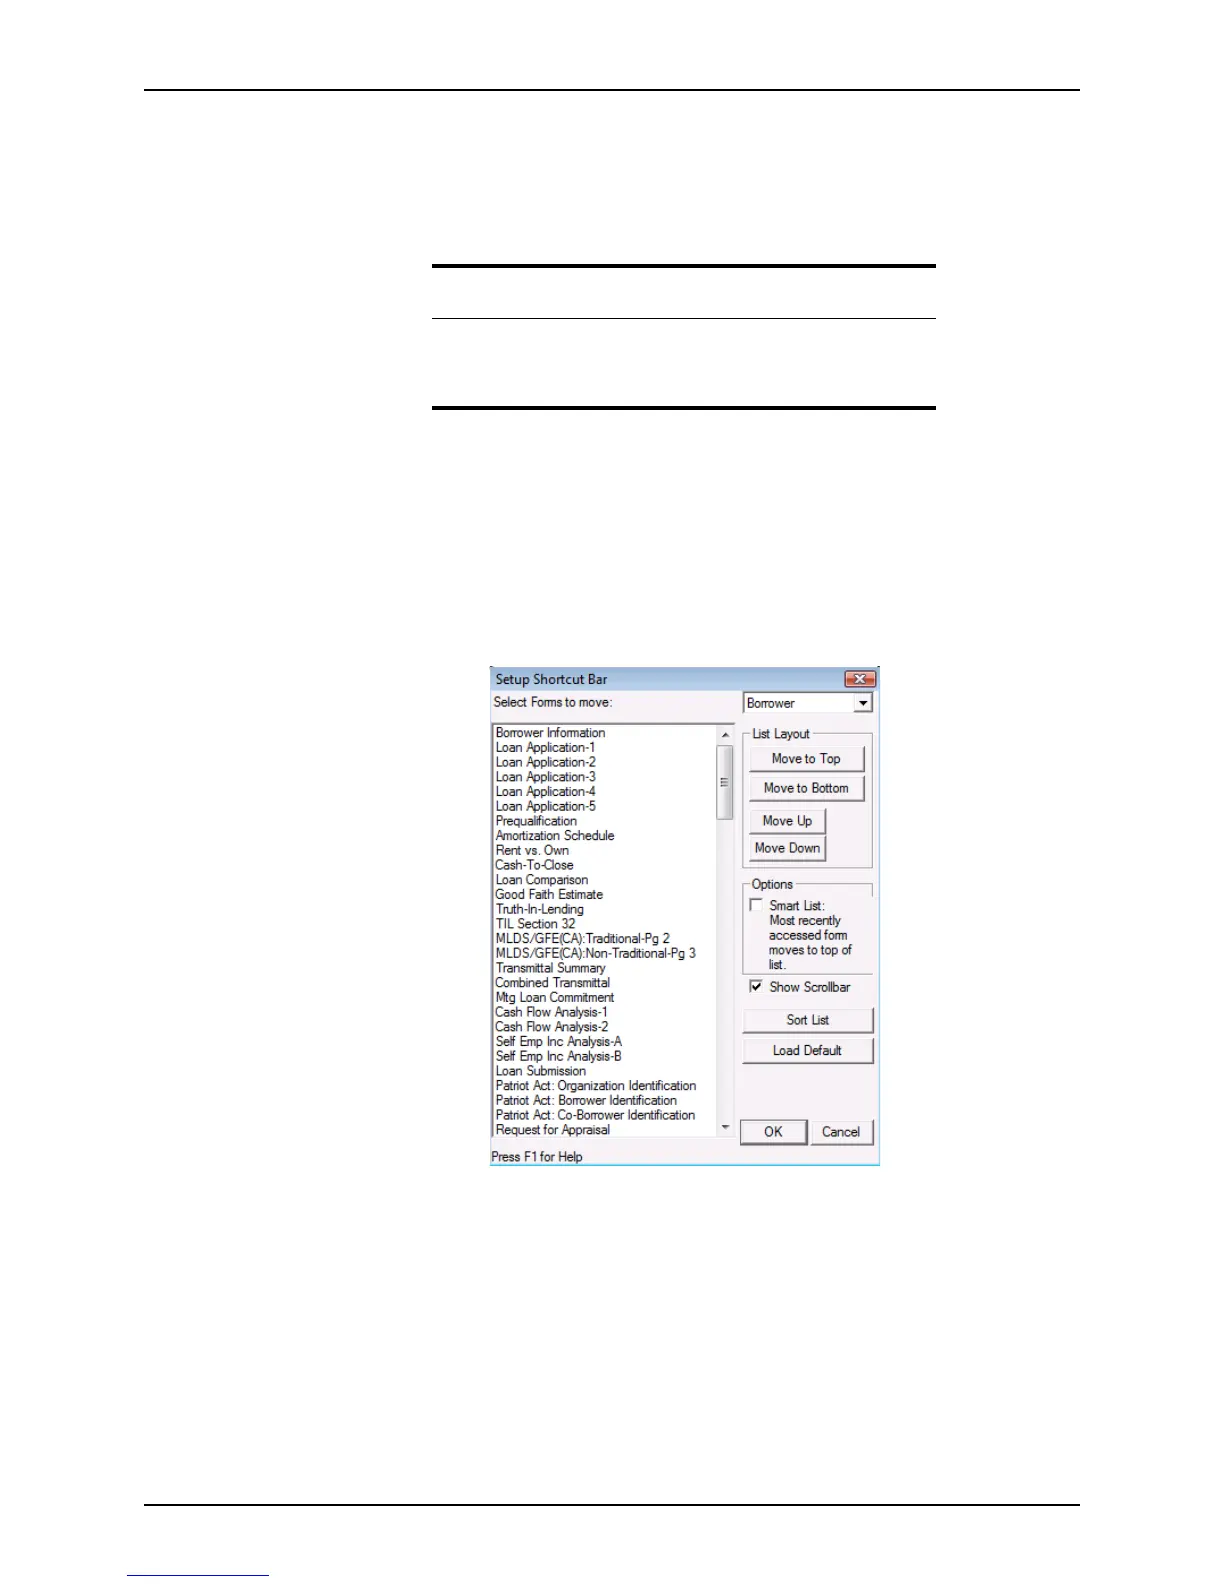
The
Setup Shortcut Toolbar dialog box is displayed.
2 Select the file type for this arrangement from the dropdown list.
3 Use the following controls to further define the shortcut toolbar:
• In the List Layout section, arrange the sequence of the list by using the move
buttons. Select the form to move and click Move Up, Move Down, Move to
Bottom, and Move to Top.
• In the Options section, select the Smart List: Most recently accessed form moves
to top of list
check box to place the most-recently accessed forms at the top of the
list.
• Click Sort List to sort the list alphabetically.
Tip
To access custom screens:
1 Open a prospect or borrower file.
2 Select Forms > Custom Screens.