414 Calyx Software
Marketing tools
Customizing manually
When you select the Customize Payment Schedule check box, the grayed-out fields in the
Payment Schedule section of the Amortization Schedule screen enable for editing.
1 In the payment fields, adjust the number of payments, the interest rates, or the
monthly payment amounts.
2 Click the Calculate button to recalculate the amortization figures.
Printing an amortization schedule
To print an amortization schedule:
1 Open a prospect or borrower file.
2 Select File > Print.
3 In the
Borrower Forms dialog box, select the Amortization Schedule.
4 Click Print.
5 In the
Amortization Print Options dialog box, specify the number of years to print,
and the number of months to print.
6 For a running total of the amounts to print, click
Yes next to Cumulative.
7 Click OK.
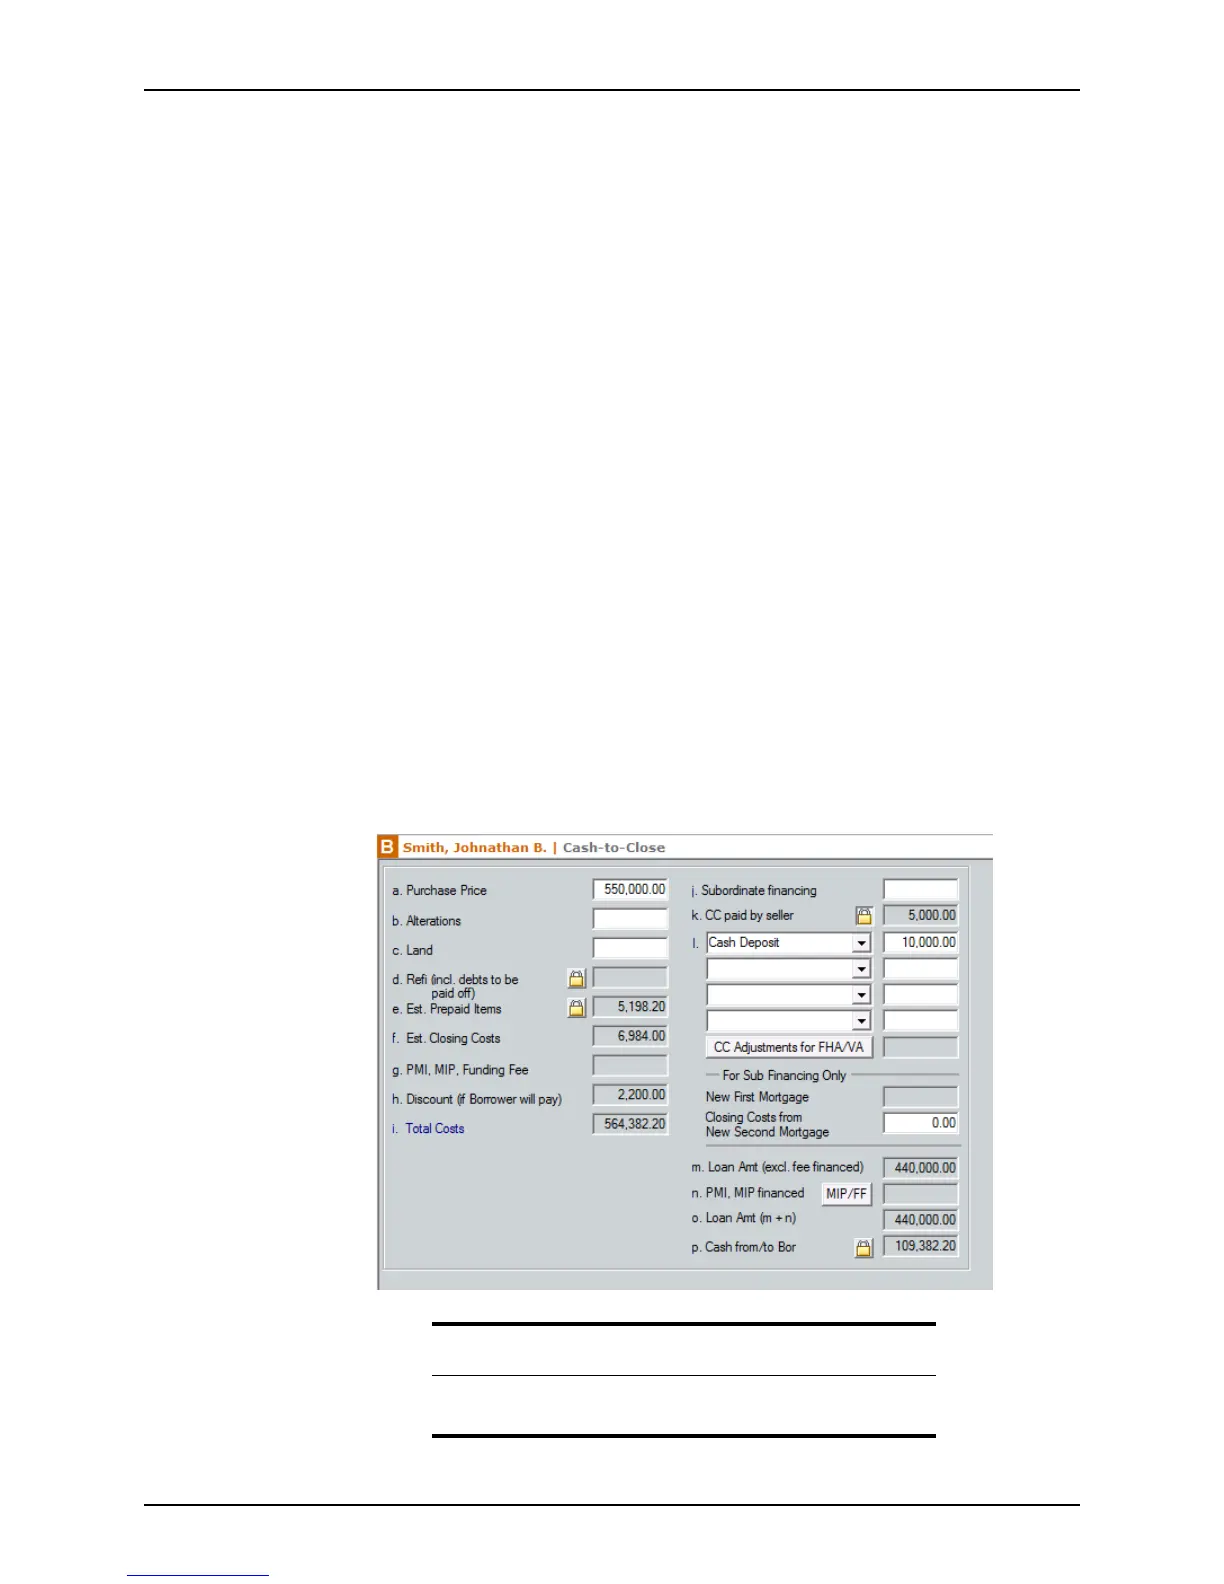
Cash-to-close statements
The Cash-to-Close screen produces a statement that follows the format of the Details of
Transaction
section in the Loan Application and shows the prospect or borrower the
amount of cash needed to close a loan.
Tip
To manually enter values in the Cash-to-Close screen, click the lock box
next to the corresponding field to unlock the field.