3. Use SP2-104-001 (Paper Edge Detection Delay Adj: Normal Paper Right Edge) and
SP2-104-002 (Paper Edge Detection Delay Adj: Normal Paper Left Edge) to adjust the left and
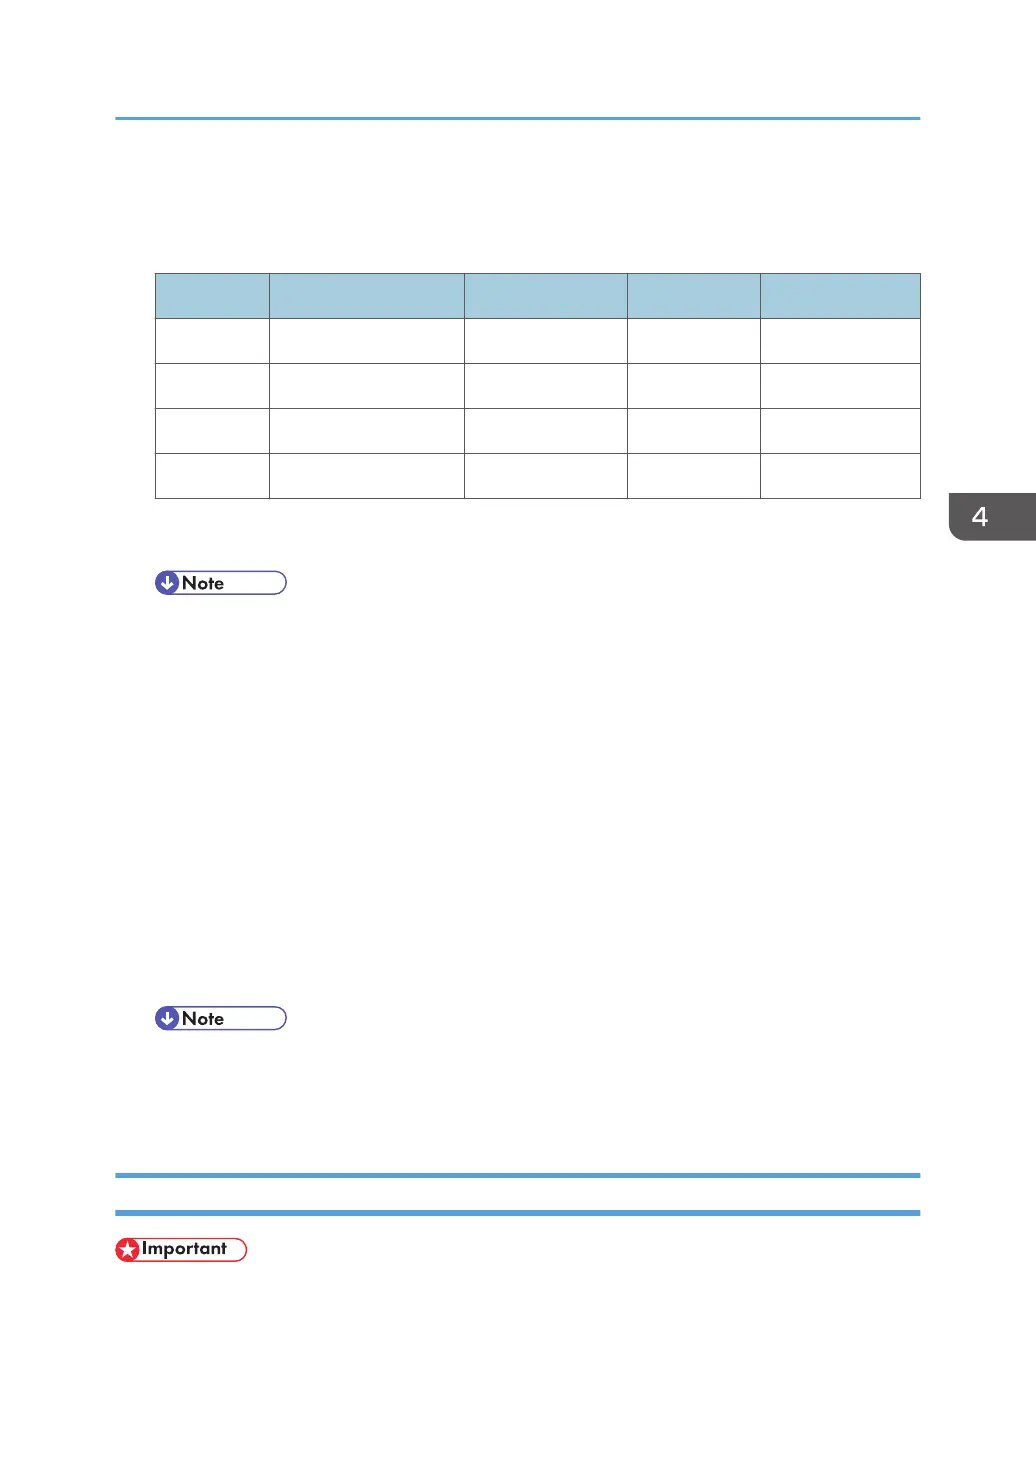
right margins. Here are some sample measurements and correction entries.
Margin Measured (mm) SP Enter +/- Target
Right 1 2104-001 +2 3
Right 4.5 2104-001 -1.5 3
Left 1.0 2104-002 -2.0 3
Left 4.5 2104-002 +1.5 3
4. Print another test pattern with SP4-417 (IPU Test Pattern Setting - Pattern Selection) Pattern 3 Grid
Pattern A and check the results.
• SP4-417
• Enter the number for the desired test pattern, switch the display to the "Copy Window" then
press the [Start] button.
5. Repeat the adjustment procedure until both measurements are equal and within range.
6. After completing the adjustment, open SP2-104-031 (Paper Edge Detection Delay Adj: Automatic
Conversion) and touch [EXECUTE].
• This saves the adjusted settings.
• These adjusted settings are applied not only to Normal Paper but all other types of paper
included under this SP code.
7. Open SP4-012 (Scanner Edge Margin).
• Touch SP4-012-007 (DF: Left Edge), and then restore the original setting noted in Step 8.
• Touch SP4-012-008 (DF: Right Edge), and then restore the original setting noted in Step 8.
• SP4-012
• These SP's define borders around the image area output by the scanner. Each edge can be
set independent of the others.
DRESS Sensor
• To remove the DRESS sensor, never loosen nor remove the two screws shown below (the figure
below shows the main unit with the carriage left cover removed).
Carriage Unit
407