10. Turn OFF then ON the main power.
11. Do SP5-801-002 to clear the all SP settings for the engine data in NVRAM.
12. Turn OFF then ON the main power.
13. From the SD card where you saved the NVRAM data in step 5, download the NVRAM
data with SP5-825-001.
14. Turn OFF the main power.
15. Remove the SD card from slot #2.
16. Turn ON the main power.
17. Check the factory setting sheet and the SMC data printout from step2, and set the user
tool and SP settings so that they are the same as before replacement.
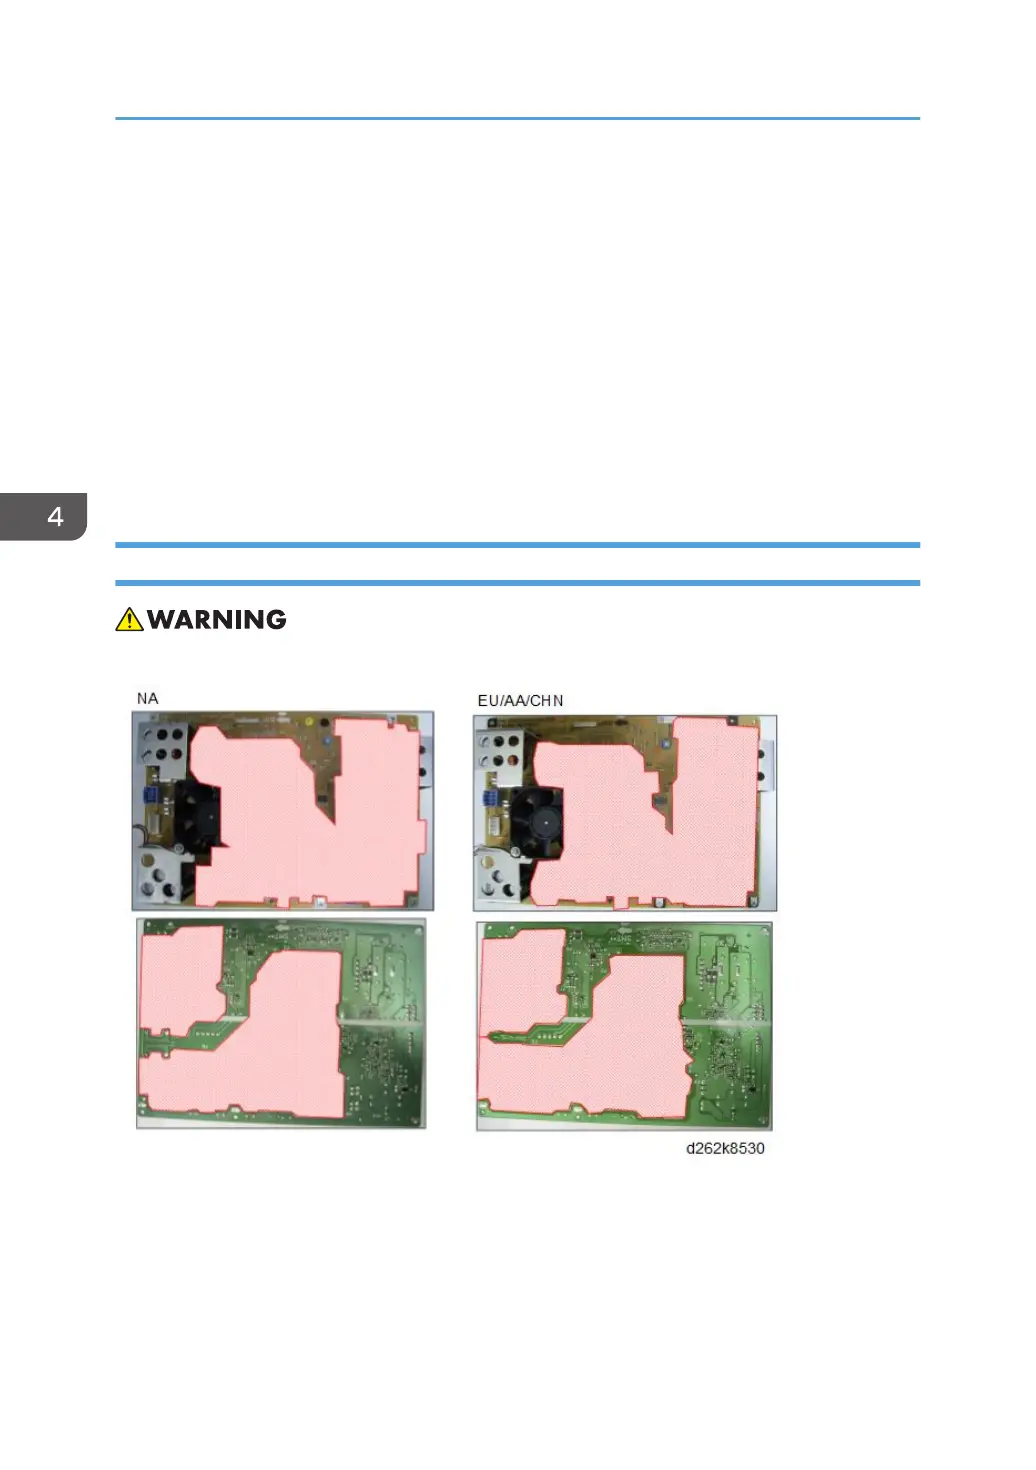
PSU (Power Supply Unit)
• When replacing the PSU, do not touch the shaded area shwon below.
The blue frame shows the location of the PSU
4. Replacement and Adjustment
570