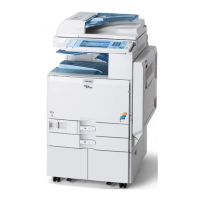
11. Move the harness [A] to the left and remove the timing belt [C] from the wiper slider [B].
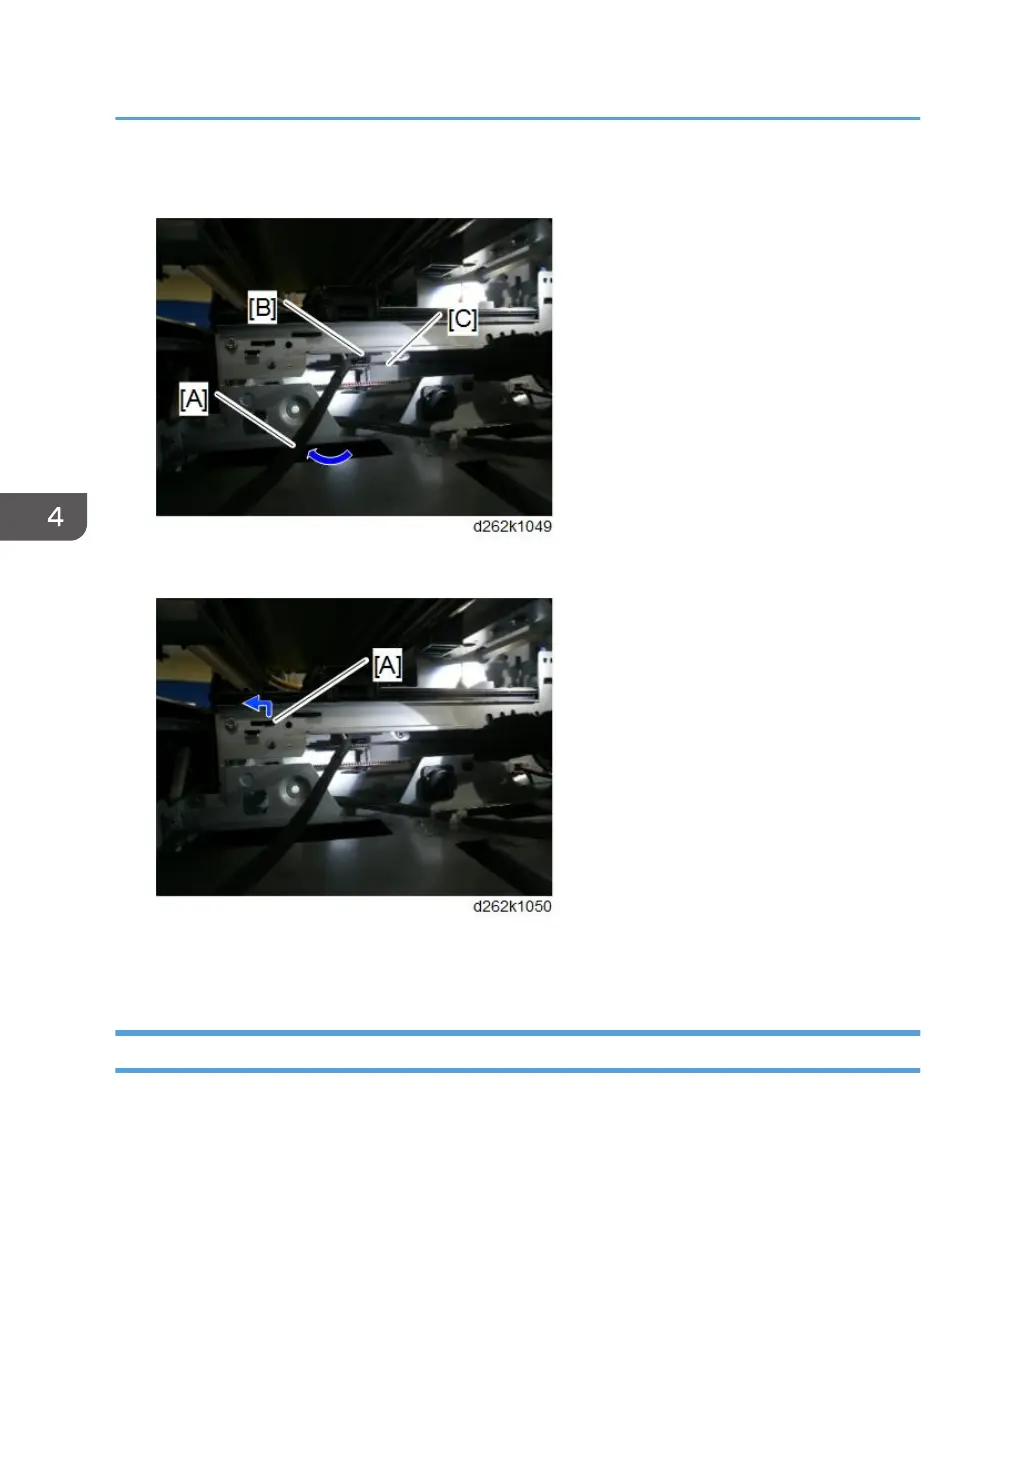
12. Move the hook [A] of the auto-nozzle check upper unit.
13. Push up the auto-nozzle check upper unit and remove it from the opening of the front
cover.
Auto-Nozzle Check Unit
If the auto-nozzle check SP cannot be performed and the head carriage, cutter, and electrode plate
cannot be moved to the specified position, change the Auto-Nozzle Check Unit including the auto-
nozzle module bracket.
1. Separate the scanner unit and main unit (p.274).
2. Open the front cover (p.249).
3. Remove the right cover (p.239)
4. Remove the right rear cover (p.247).
4. Replacement and Adjustment
540