Special Adjustments
Image Adjustment with SP Modes
Do these adjustments if output is unsatisfactory. Before you start measurements and adjustments, let the
test print cool for five minutes.
• Do each adjustment in the order described below. Be sure to turn the machine off/on after each SP
adjustment to enable the new setting.
Step 1: Magnification for Paper Type: Plain
1. Go into the SP mode.
2. Do SP4-417, select Pattern 3, and then touch [OK].
3. Touch [COPY Window] at the top of the screen.
4. Select the paper size.
5. Set a blank sheet of A1 SEF paper on the original tray.
6. Touch [Start] to print the test pattern.
7. Print two more test patterns (you need three grid pattern prints).
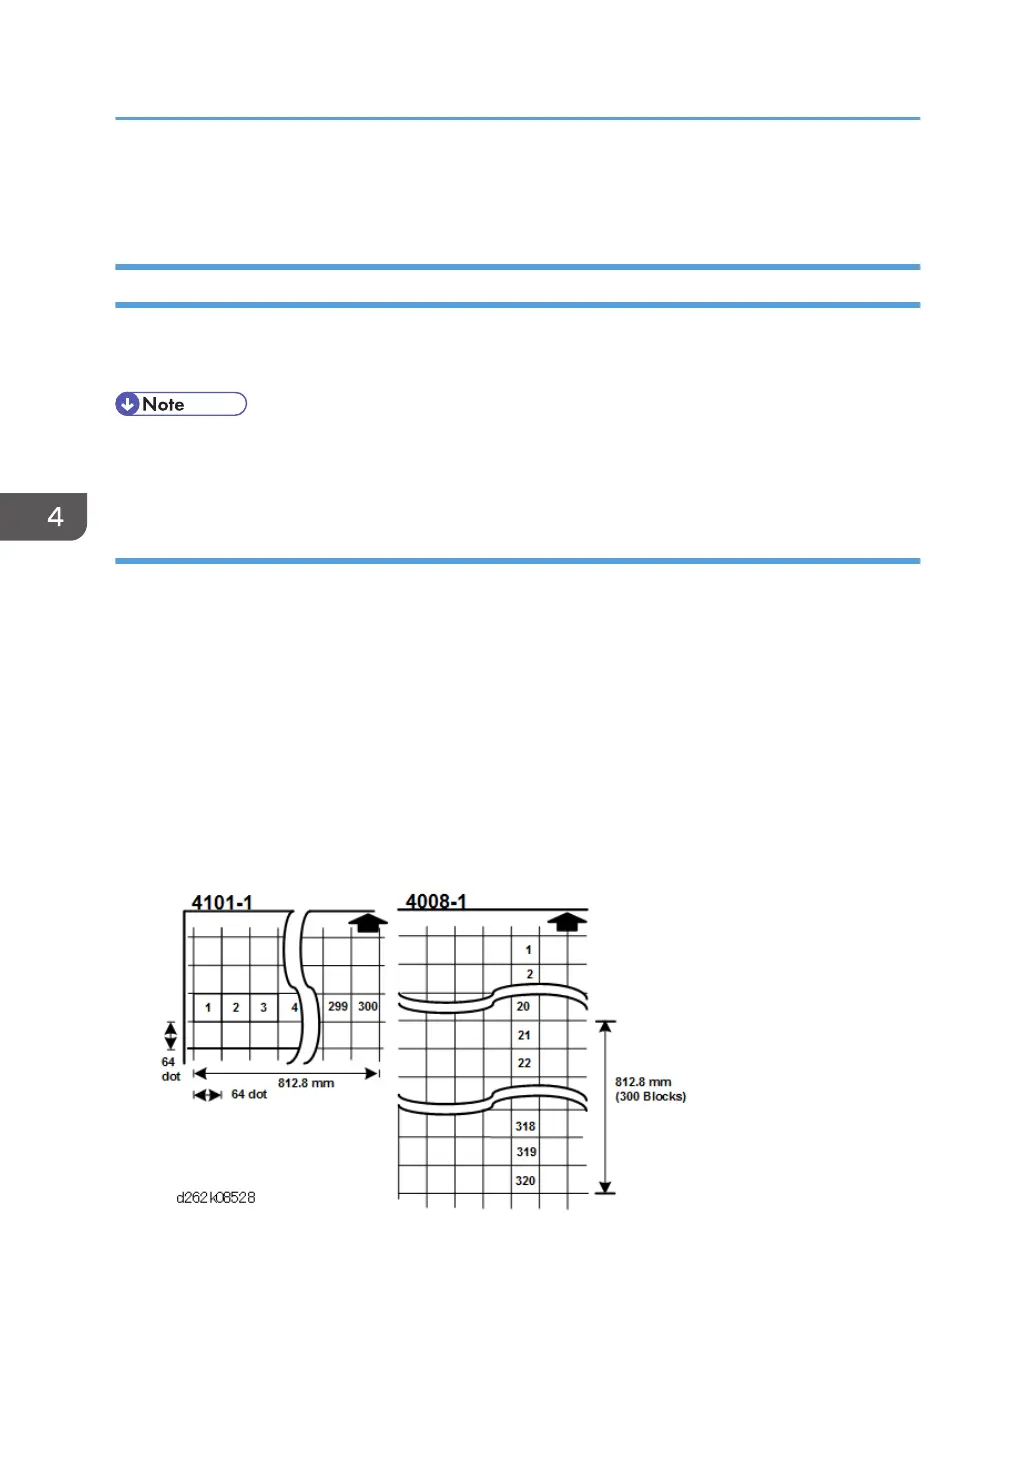
8. Refer to the diagram and instruction table below to do the SP magnification corrections if they are
needed. The example below illustrates the adjustments for "Normal/Recycled" paper.
Resolution = 600 dpi
1inch = 25.4 mm
4. Replacement and Adjustment
578