8-66 Phaser 4500/4510 Service Manual
FRU Disassembly
Procedure:
1. Remove the front cover (page 8-11).
2. Remove the LVPS shield plate (page 8-60).
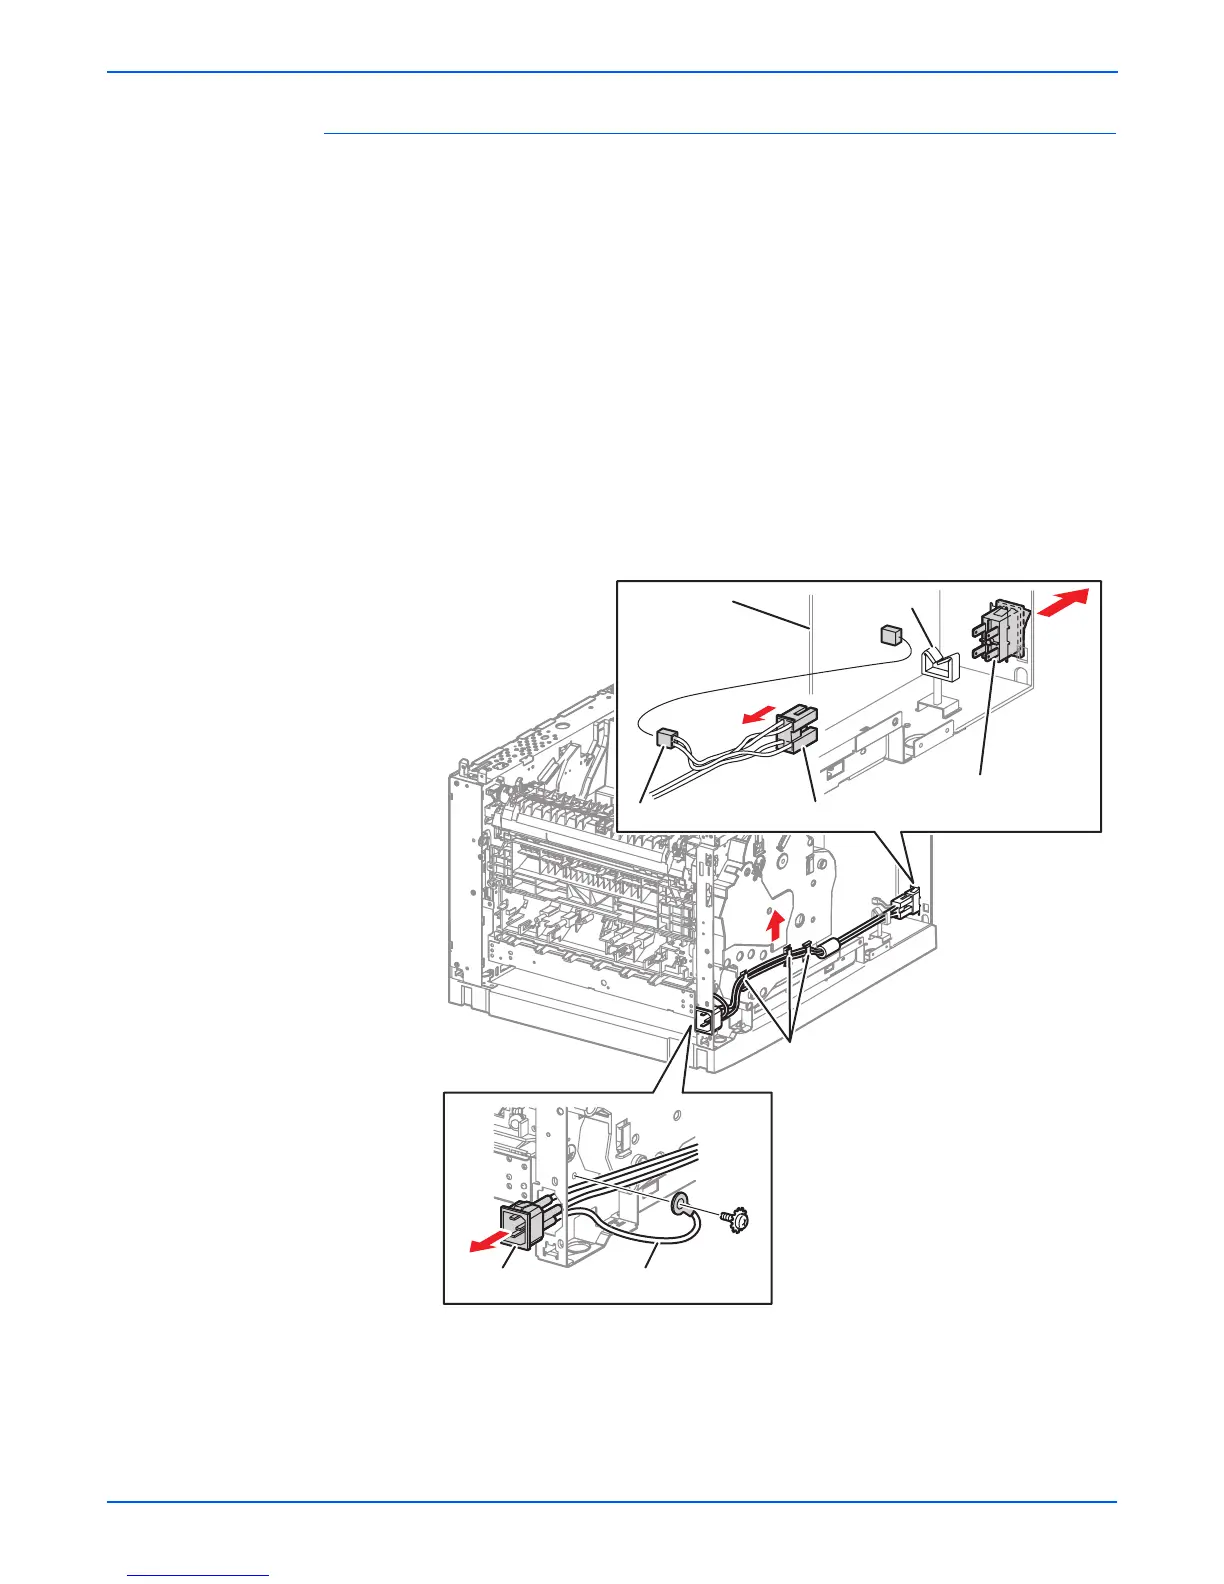
3. Release the wires of the AC power harness assembly from the cable
retainer hooks on the gear assembly housing.
4. Disconnect connector P/J480 from the power switch.
5. Disconnect connector P48 from J48 on the LVPS.
6. P4500: Release the cable tie clamp of the AC power harness assembly.
P4510: Release the AC power harness assembly from the cable clamp.
7. Remove the 6 mm screw (with toothed washer) that attaches the ground
terminal of the AC power harness assembly to the frame.
8. Squeeze the tabs on the AC Inlet to release it from the printer frame.
9. Pull out the AC power harness assembly from the hole at the rear of the
frame.
10. Remove the power switch from the frame.
1.LVPS 4.Cable retainer hooks
2.Cable clamp 5.AC inlet
3. Power switch 6.Ground wire
4
s4510-145
3
P/J480
2
J48
6
5
P48
1
P4510

 Loading...


