Point User Guide 401
Custom forms
3 Enter a name for the form and click OK.
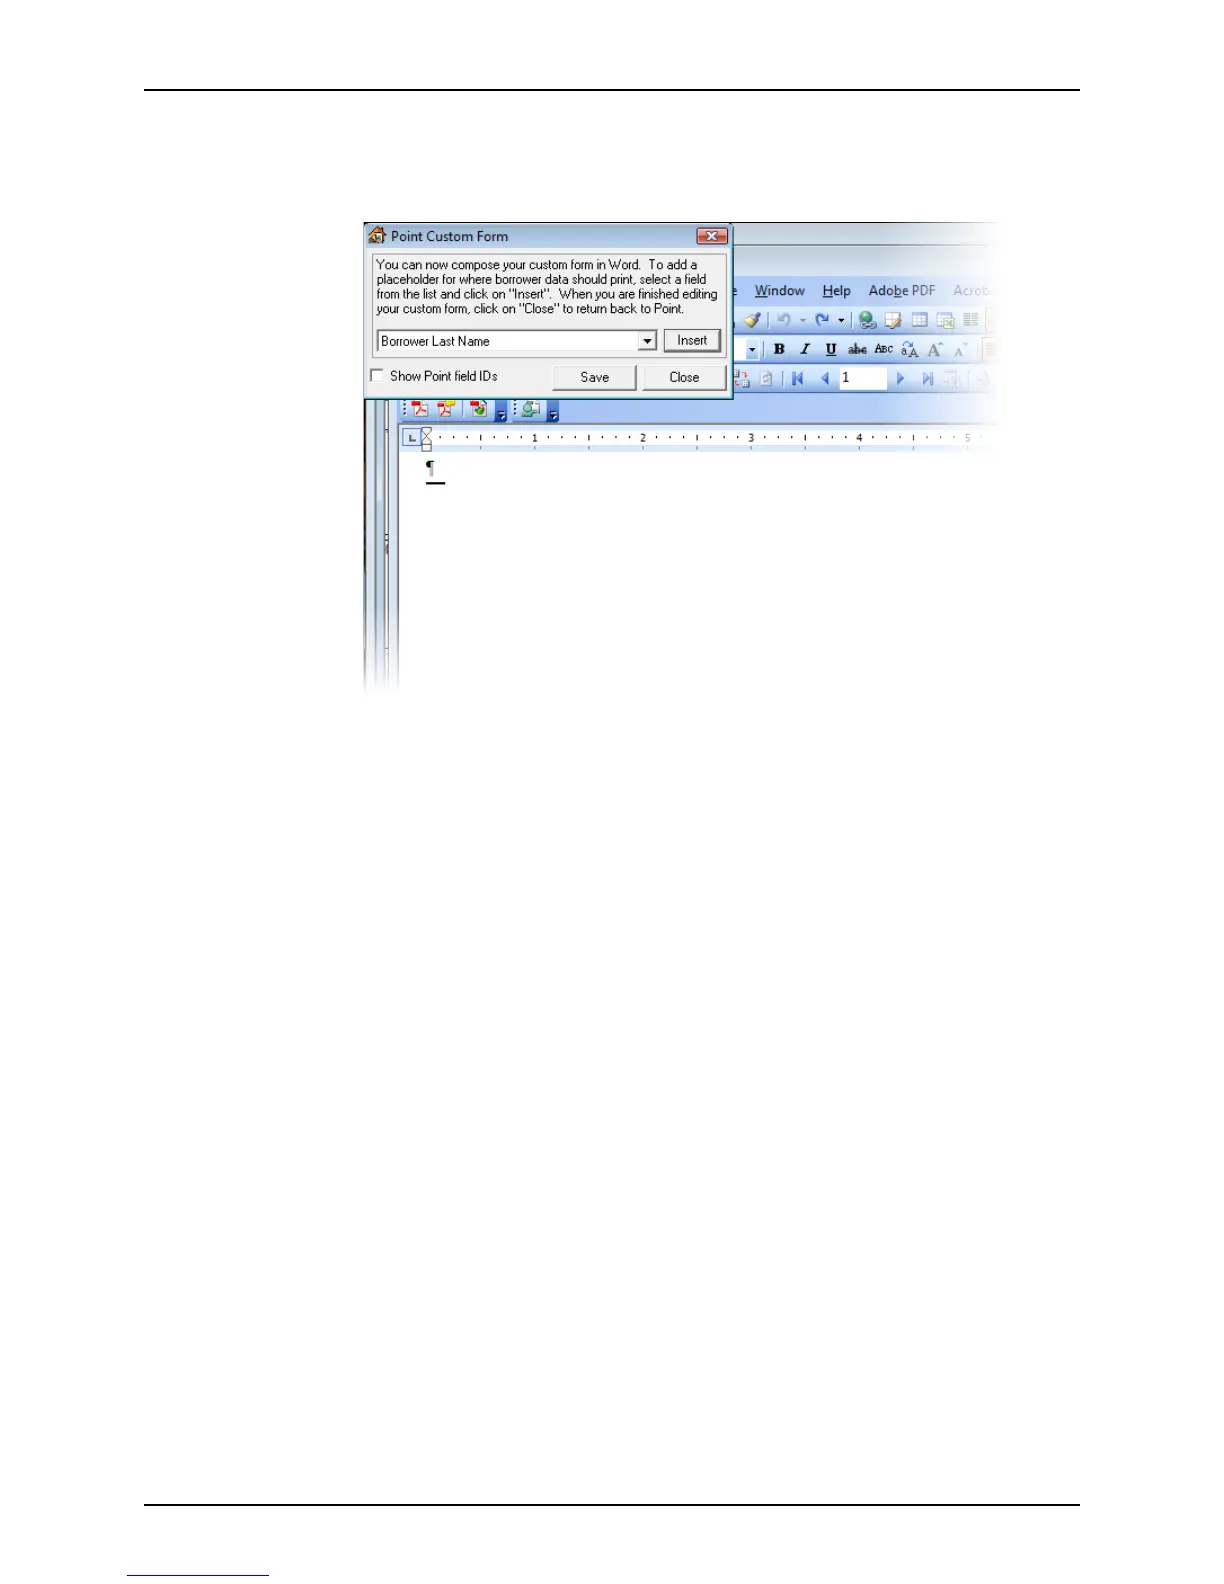
A blank Microsoft Word document and the
Point Custom Form dialog box are
displayed.
4 Construct your form by selecting values from the Select Point Field dropdown list and
clicking Insert. Enter punctuation and spaces as needed.
If the field you need is not included the dropdown list, select Other Point Fields Not
Listed Above…, click Insert, enter the field ID, click Insert, and click OK.
For example, to create a letter to send to a borrower at their current address:
a Select Borrower First Name, click Insert, and type a <space>.
b Select Borrower Last Name, click Insert, and <Enter>.
c Select Present Address, click Insert, and <Enter>.
d Select Present Address City, click Insert, and type a comma <,> and a <space>.
e Select Present Address State, click Insert, and type a <space>.
f Select Present Address Zip Code and click Insert.