Power Line Carrier
GARD 8000 SYS RFL Electronics
April 23, 2015 10-36 973.334.3100
If the protective circuits are activated the Power Amplifier will shut down for approximately 2.5
seconds and then come up for 25ms. This pattern will continue until the safety parameters are met and
the condition cleared.
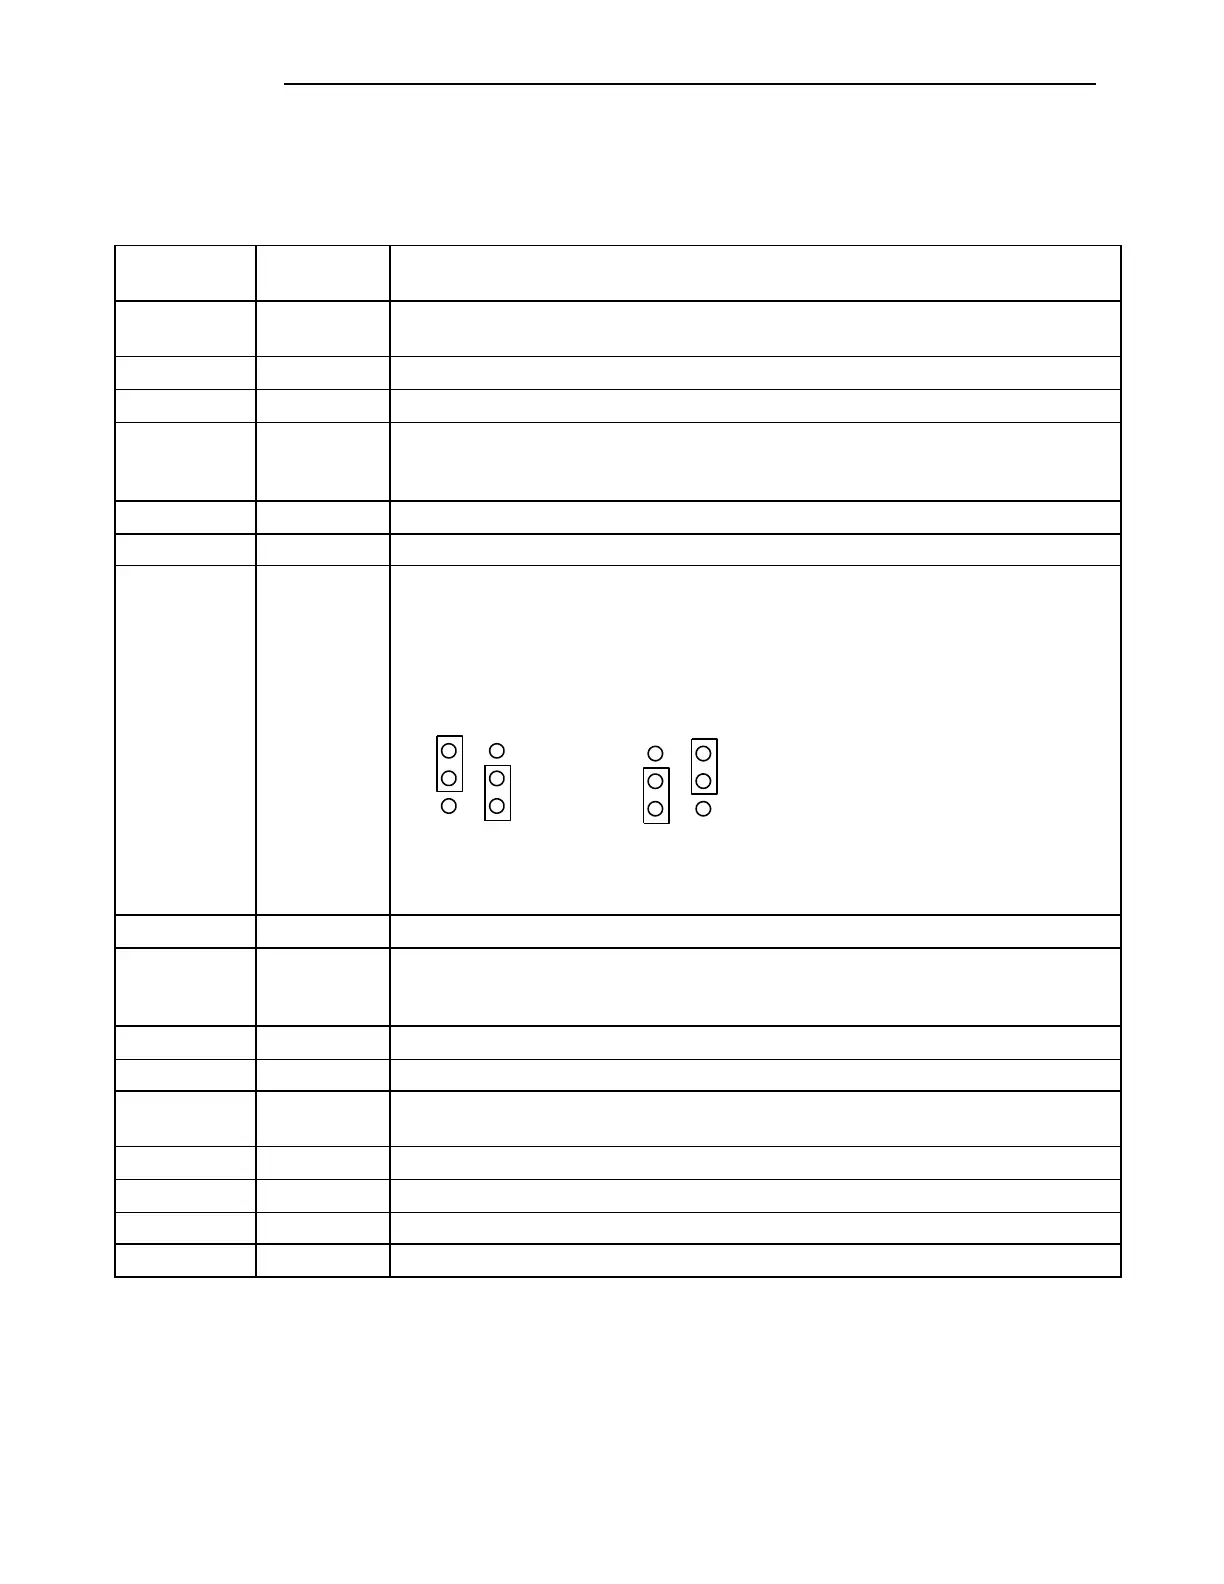
Table 10-16. Function of jumpers, connectors and potentiometers on Power Amp
This LED is located on the front left panel of the Power Amplifier. The LED is lit when
the Power Amplifier is transmitting.
Provides input dc voltage from power supply, +92Vdc and +30Vdc.
Power output to Tx Filter Module.
Power amplifier failure alarm output signal. Signal goes to alarm relay on balance
board, which provides form-C contacts on back of RF chassis. Output is +12Vdc when
power amp fails.
Tx In (RF input signal from back of MA-650)
These are Phase Jumpers used in 100W applications, which set the outputs of the two
50W amplifiers 180 deg out of phase. This will insure that the total output power is
additive. In 50W applications, J6 and J7 can be set either way. In 100W applications,
one 50W amp must be set to “A” and the other 50W amp must be set to “B”. As a
standard, set the Main 50W amplifier to “A” and the Auxiliary 50W amplifier to “B” as
shown below.
J6 J6
J7
J7
Setting "A" Setting "B"
For factory use only. Should always be set to position B.
For factory use only. Determines if output disconnect relay is used.
For use with ON-OFF carrier set to B.
For all other applications set to A.
For factory use only. Should always be set to Insert.
Sets the low input RF signal threshold at J4
Sets the idle current, which is the power that the power amp draws from the power
supply with no load and no input signal.
Balances the RF output signal.
Over current RF output adjustment.
RF output power level adjustment.
Note: All jumper and potentiometer settings are made at the factory and should not need field
adjustment, except the gain potentiometer R83, and the threshold potentiometer R8.
For DIP Switch settings SW1 and SW2 see the following table. Set to ON to enable the DIP Switch.


 To Next Page