4. Connect the cables for STO feedback to 2 digital outputs of terminal block X134.
5. Attach the shield to the shield plate of the Control Unit through the largest possible surface
area.
You have connected all cables for the STO safety function.
❒
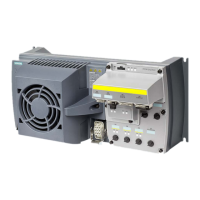
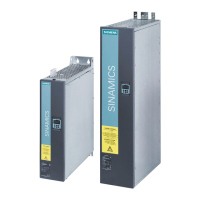
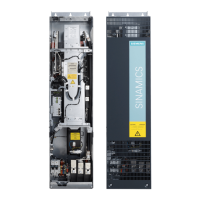
Procedure for converters in frame sizes FSH ... FSJ
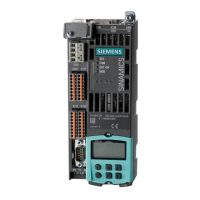
&RQQHFWLRQ$WRVHOHFW672
&RQQHFWLRQ%WRVHOHFW672
)HHGEDFNVLJQDO$WRVHOHFW672
)HHGEDFNVLJQDO%WRVHOHFW672
6ZLWFKHVWRHQDEOHRUGLVDEOH672
Both switches = ON: STO is enabled
Both switches = OFF: STO is locked
Two switches different: not permissible
Figure 4-25 Terminals and switches for the "STO" function, frame sizes FSH and FSJ
1. Connect the cable for selecting STO to terminals X41:STO_A and X41:STO_B.
2. Connect the cables for STO feedback to terminals X41:FB_A and X41:FB_B.
3. Attach the shield to the shield plate through the largest possible surface area.
You have connected all cables for the STO safety function.
❒
Wiring
4.2 Control interfaces
SINAMICS G120X converter
Operating Instructions, 06/2019, FW V1.01, A5E44751209B AC 131

 Loading...