You have now built all the components of the lamp, and it is ready to
be assembled.
9 Choose File > Save to save the current scene, and call your file
mydesklamp4.
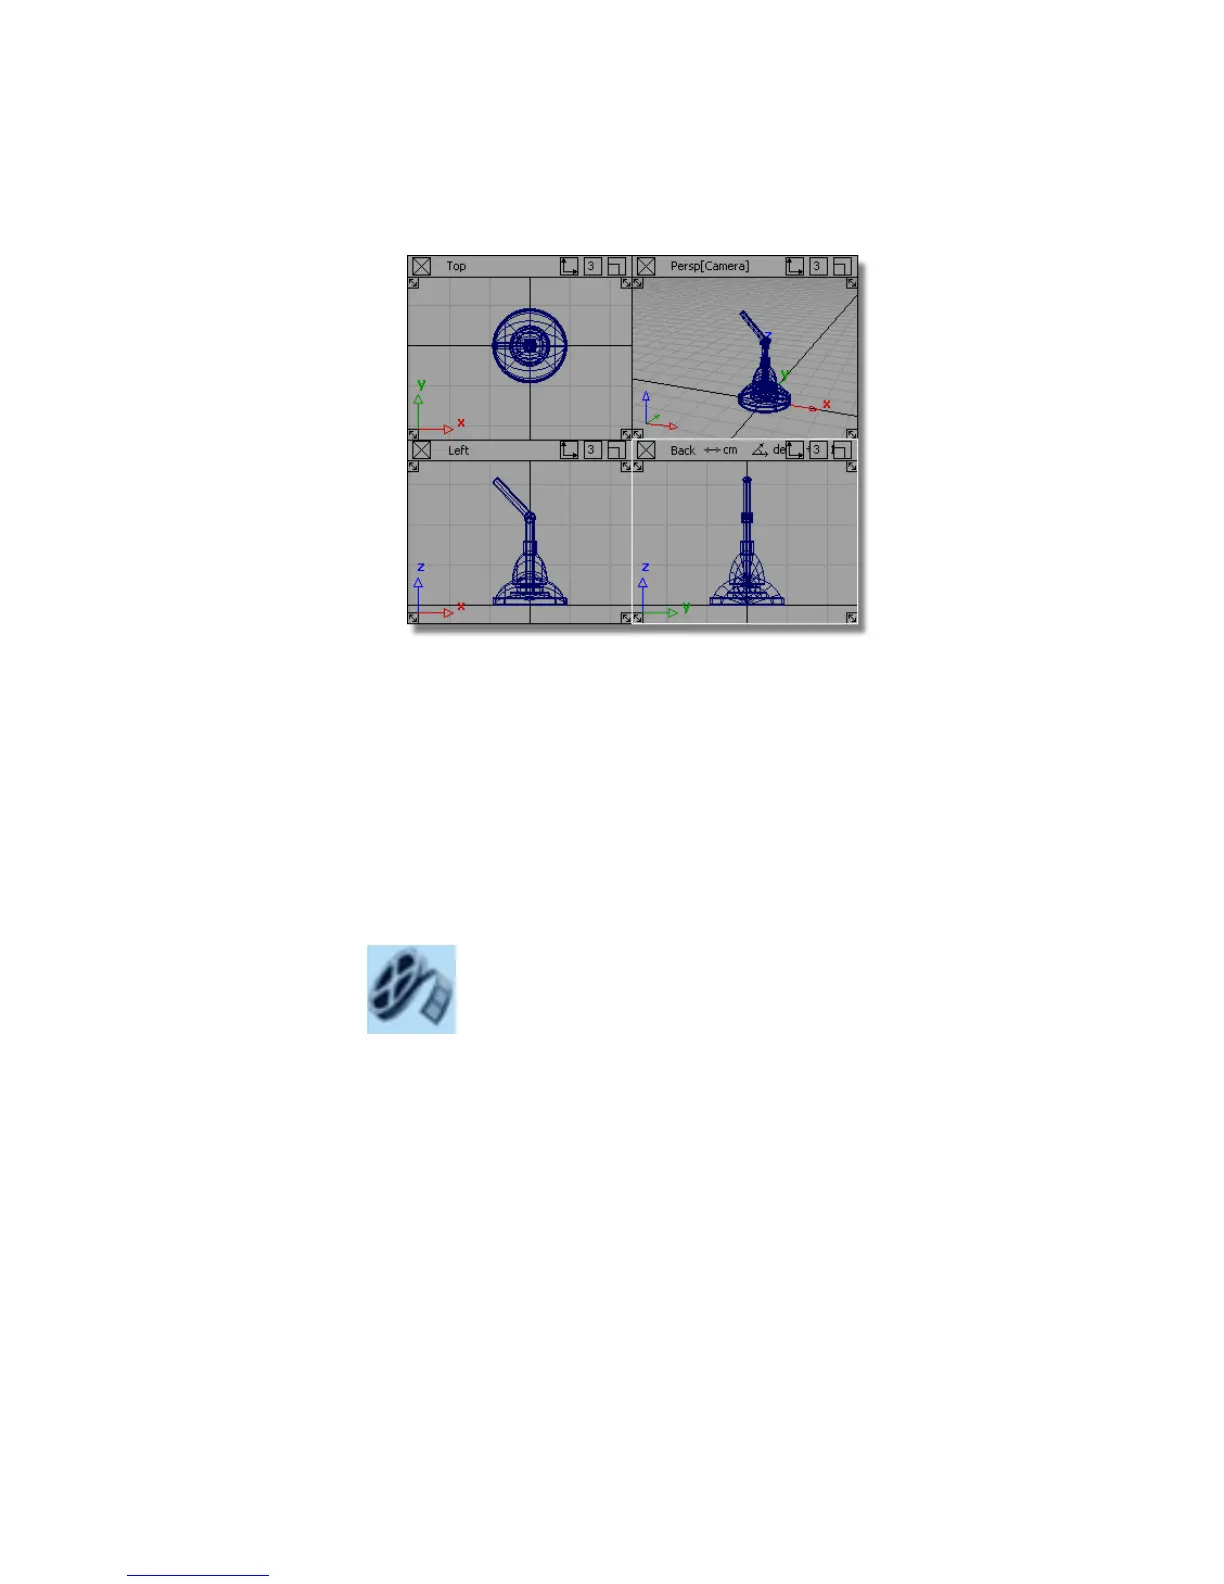
Part 5: Assembling the desk lamp
In this section, you will assemble the finished desk lamp by moving the
lampshade into the correct position and grouping it with the upper arm.
Watch Part 5 of the tutorial.
Positioning the lampshade
1 Maximize the Left window.
2 Choose Pick > Object and select the lampshade group.
Part 5: Assembling the desk lamp | 137