The File Browser closes and the render begins.
3 Select the Show button on the Render Monitor to view the rendered
image.
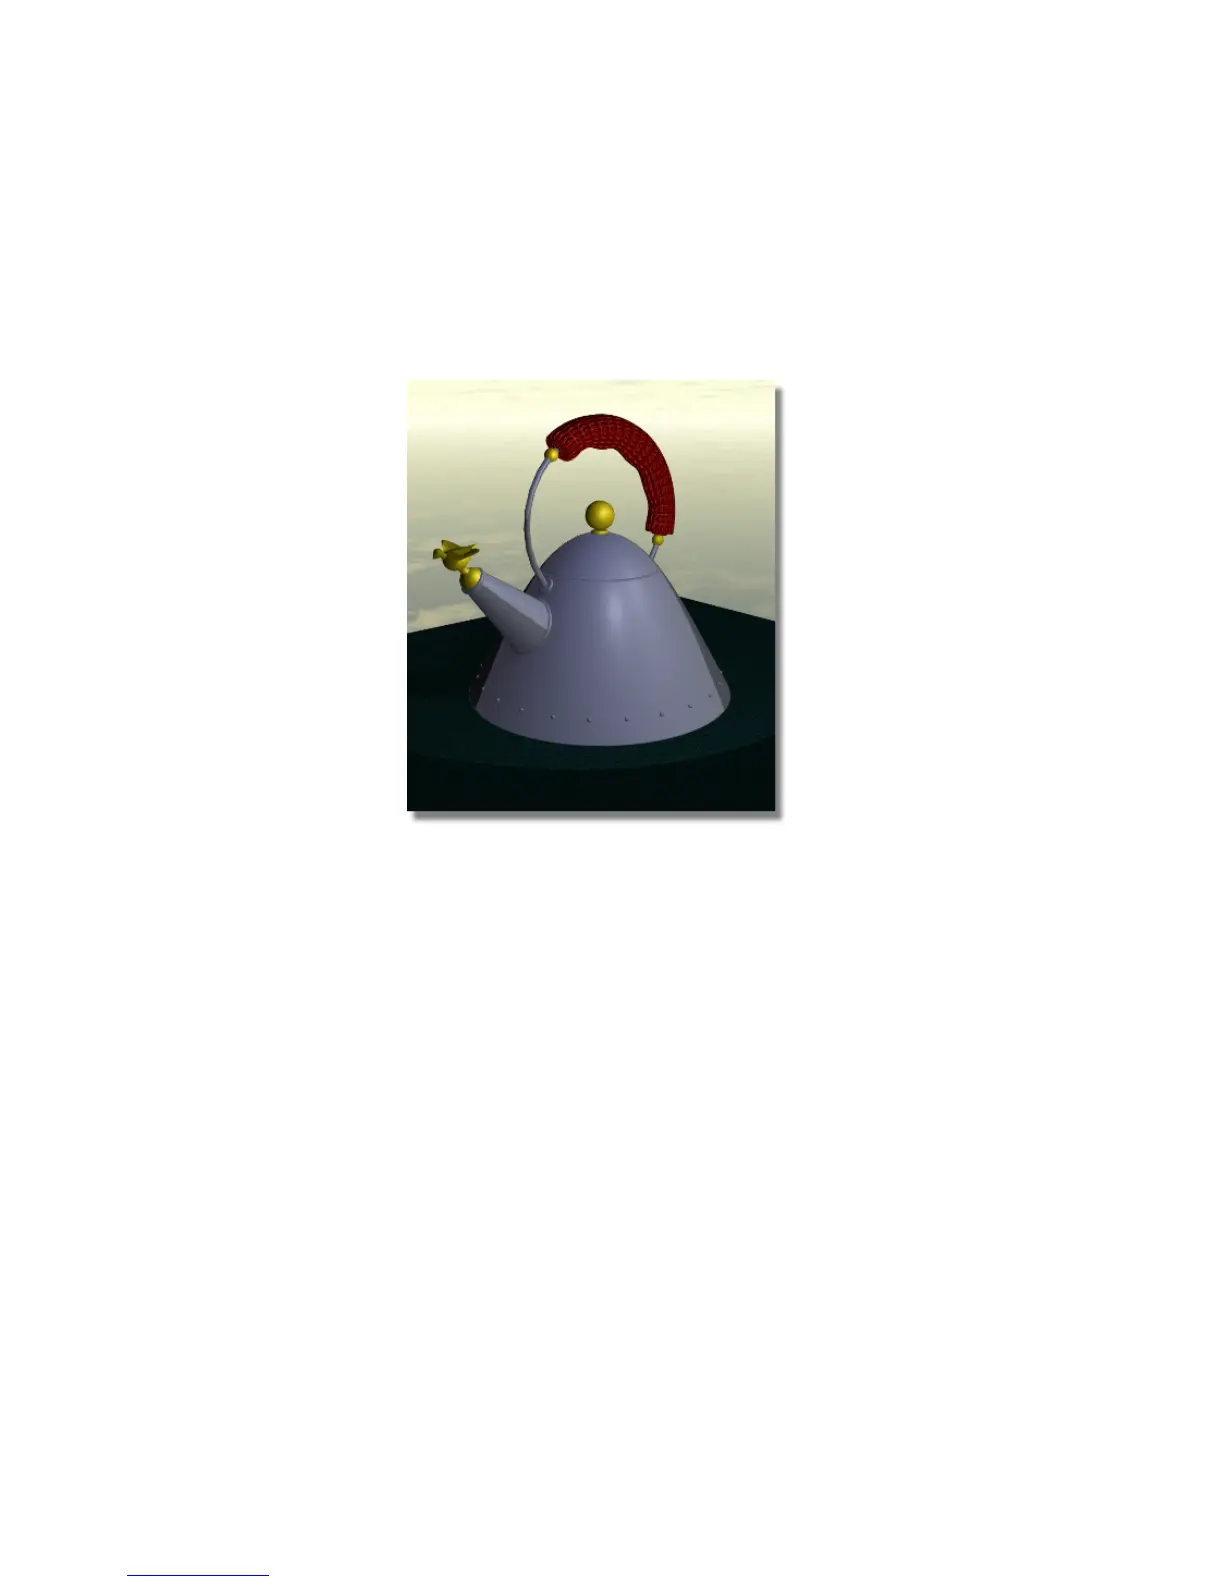
The grip now has a bumpy surface.
4 Close the rendered image and Render Monitor.
Save your work
1 Choose File > Save As to open the File Browser.
2 Save your work in the wire file of the Lessons directory.
3 Name your file myadv_rend4.wire.
Part 5: Raytracing
So far, you have been rendering your scene using a type of renderer called a
raycast renderer. A raycast rendering requires a lot of tricks to make it look
real, because raycasted images do not produce true reflections or refractions.
Part 5: Raytracing | 719