Saving your work
Choose File > Save As to save the current scene, and call your file mydesklamp5.
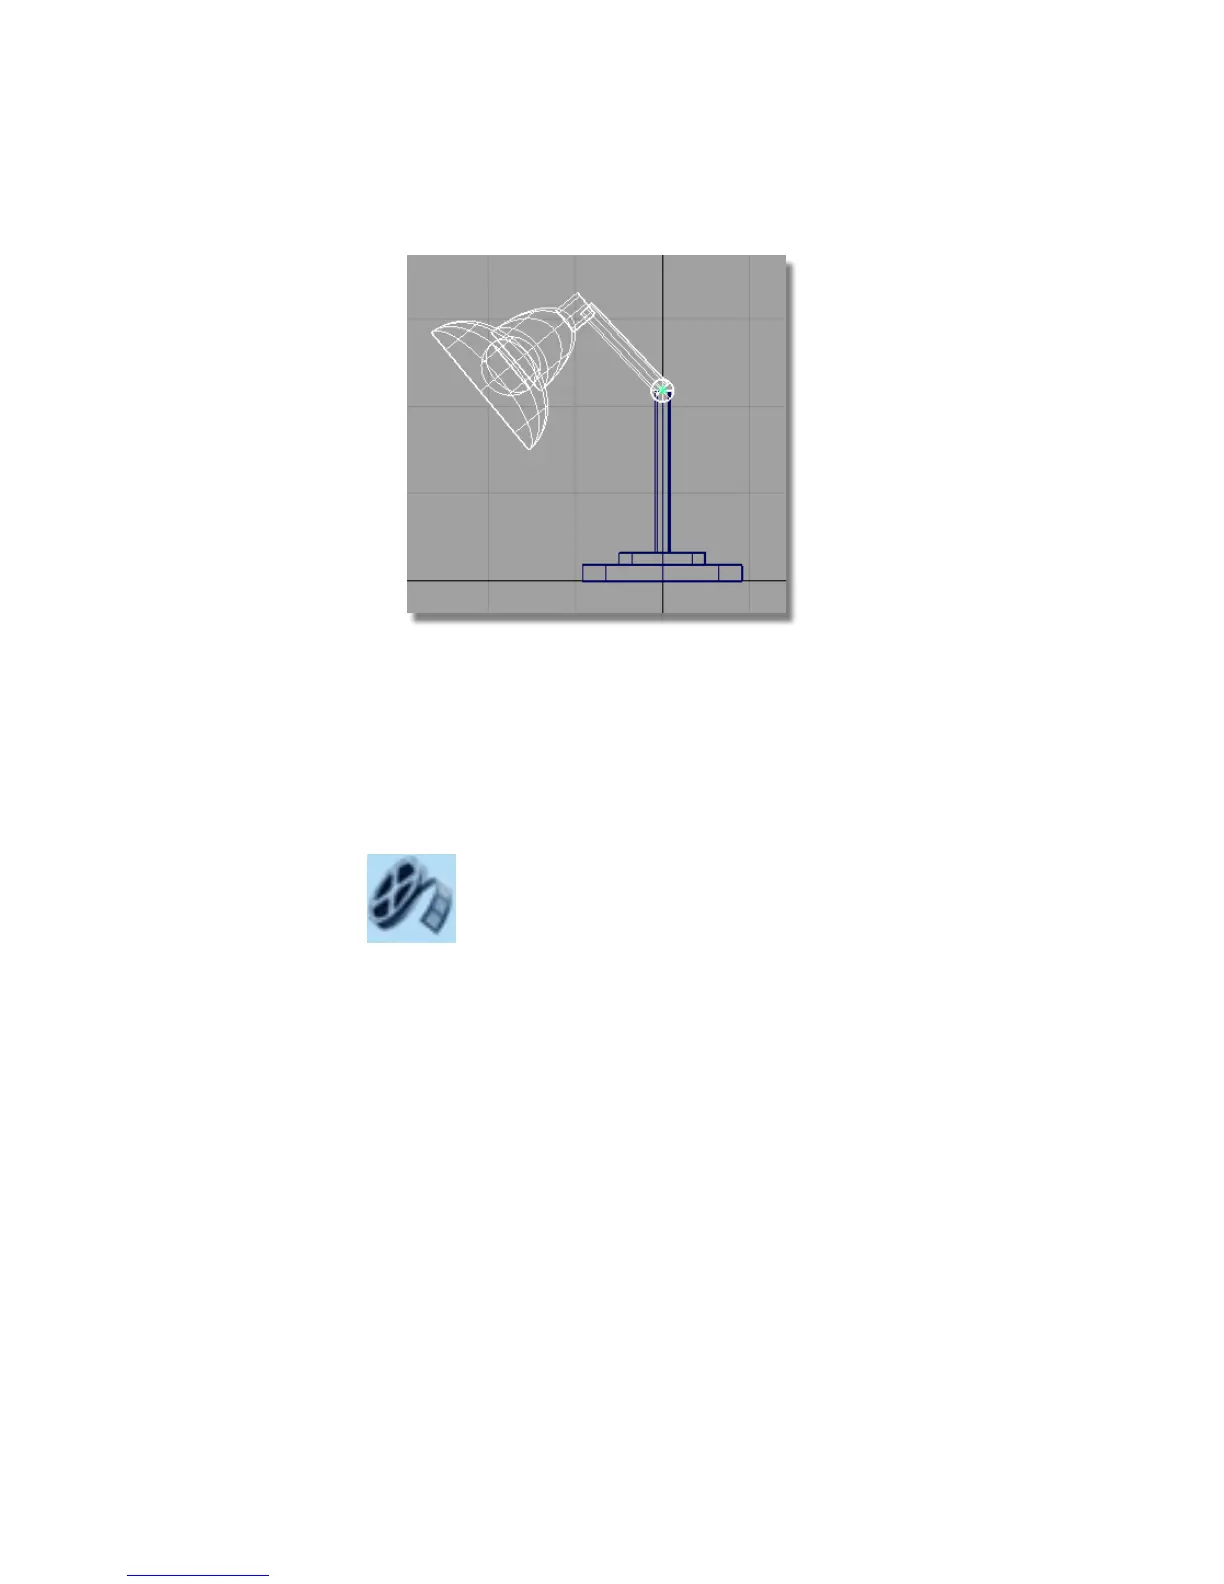
Part 6: Posing the Lamp Model
Watch Part 6 of the tutorial.
The groups you created previously are still in the model.
1 In the Object Lister click the ‘+’ sign to the left of Upper Assembly.
The Lampshade and Arm subgroups are shown.
Part 6: Posing the Lamp Model | 143